Saturday, May 9, 2009
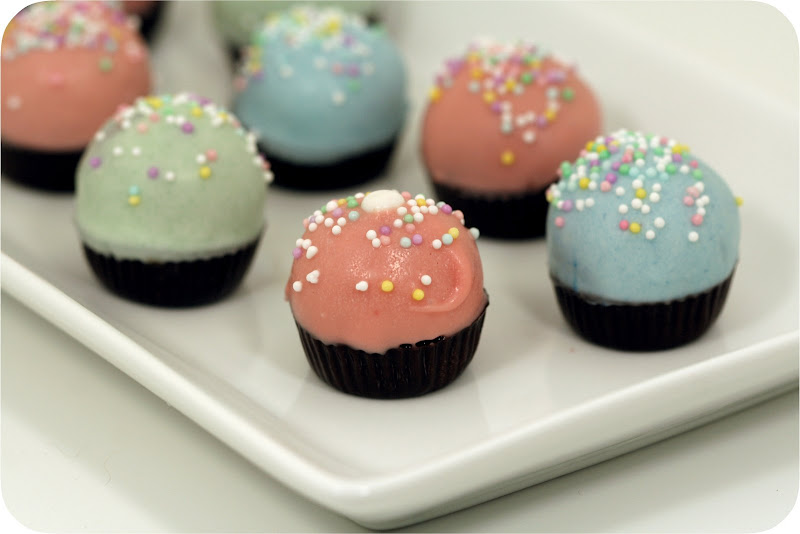
cupcake bites
to clear one thing up: i did not make these for my birthday. i don't want anyone thinking husband sat in the kitchen watching me work on my own birthday treats...oh no, these are from before easter, actually! i told you, i've got posts to catch up on.
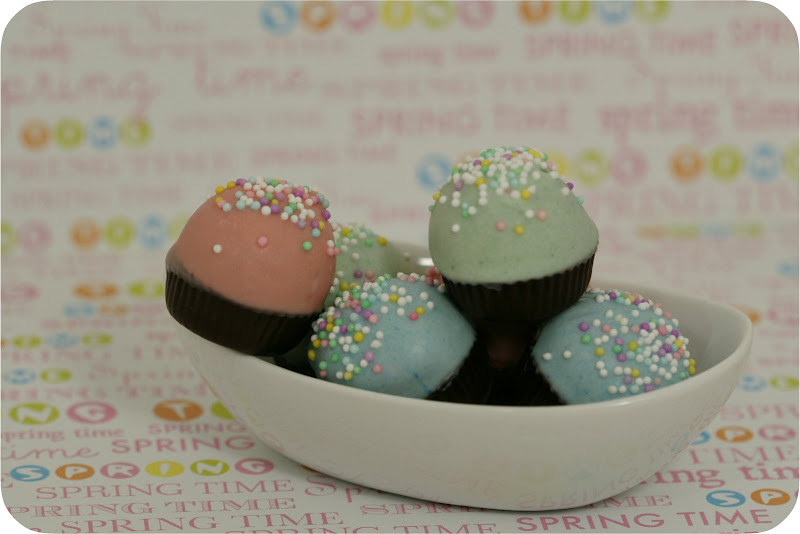
of course you've seen these on bakerella. if you haven't, then you live under a rock. ok, possibly not, but if you frequent food blogs, you must have seen what that girl can do with cake balls. i've made and posted about them here before, but this was my first attempt at the cupcake bite, a miniature "cupcake" coated with chocolate and candy melts.
of course you've seen these on bakerella. if you haven't, then you live under a rock. ok, possibly not, but if you frequent food blogs, you must have seen what that girl can do with cake balls. i've made and posted about them here before, but this was my first attempt at the cupcake bite, a miniature "cupcake" coated with chocolate and candy melts.
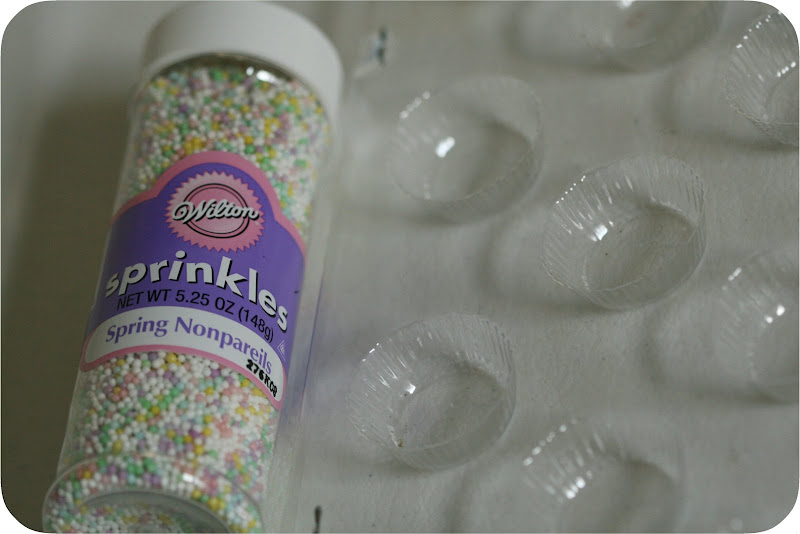

necessary supplies.
you start by making a batch of cake balls. simply, that's a baked boxed caked crumbled with 1/2 to 3/4 can of frosting. your choice, but cream cheese frosting seems to work best. (i used a "buttercream" with these ones and i wouldn't recommend it - they leaked a little oil from the "butter" in the frosting.) once incorporated, you roll the mixture into small balls, pop them on a cookie sheet and throw them in the fridge or freezer until firm.
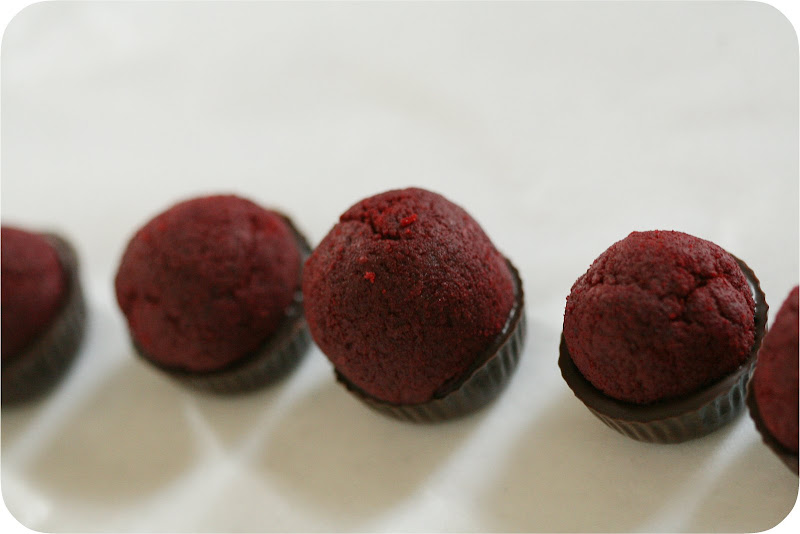
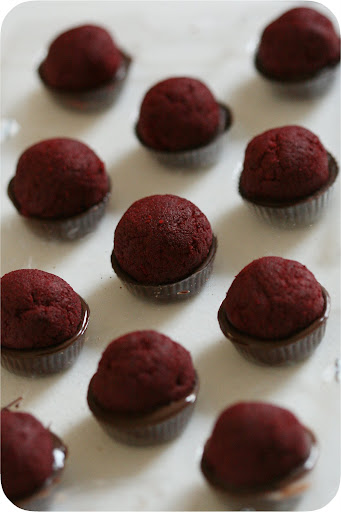
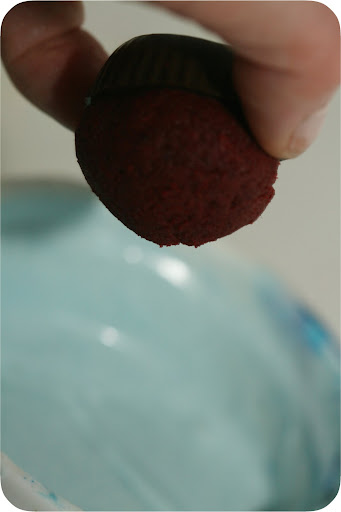
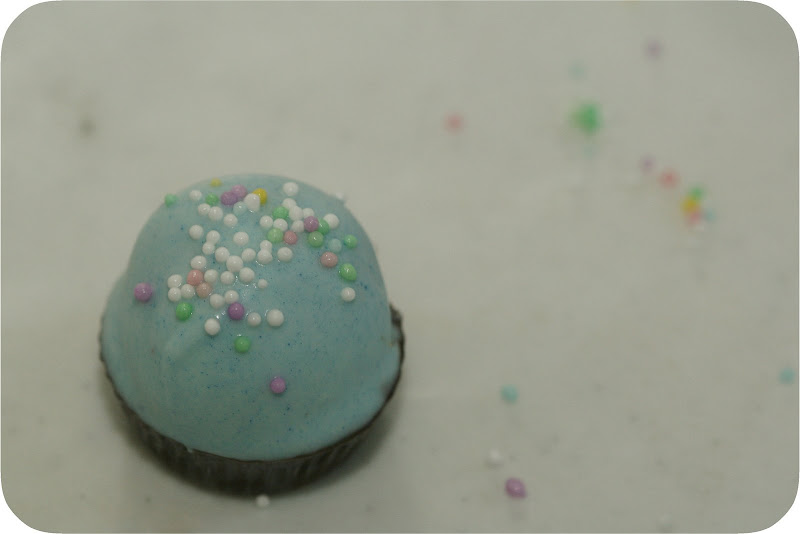
then, melt some chocolate of candy wafers in a plastic squeeze bottle. into a peanut butter cup mold, fill each spot about 1/2 full and place a ball into each one. let them harden and carefully extract them from the mold. then, dip them into melted wafers just to the edge of the molded chocolate bottom. flip them upright and allow the candy coating to smooth out (thanks, gravity!) if you'd like, sprinkle with jimmies or nonpareils like a cupcake.
then, melt some chocolate of candy wafers in a plastic squeeze bottle. into a peanut butter cup mold, fill each spot about 1/2 full and place a ball into each one. let them harden and carefully extract them from the mold. then, dip them into melted wafers just to the edge of the molded chocolate bottom. flip them upright and allow the candy coating to smooth out (thanks, gravity!) if you'd like, sprinkle with jimmies or nonpareils like a cupcake.
start to finish
these are quite simple, but labor intensive. not hard, no, but be prepared to spend some time if you're making a whole box of cake's worth. it's between 45 and 55 balls! avoid touching them as much as possible, as the hardened outside will melt if you over handle them. you can find all of the supplies at craft stores the whole thing costs next to nothing to do.
and yeah, they are good. there's a perfect ratio of cake to frosting to reach to keep them from being mushy and they are best, in my opinion, fresh out of the fridge. you can't help but eat one, two, three and oops that was a piece of cake right there. i suggest making them to take somewhere, or you will find yourself consuming a box of cake and a can of frosting quite quickly (because c'mon, even if you didn't use the whole can in the mixture, you have since put it on cookies, waffles, a spoon, etc. and suddenly it's gone..right?). that did not happen here, because i purposely made them to take to work, as i do with many things. don't worry, husband sampled plenty and there was even enough for him to take to his own graduate student cohorts. i hear they enjoyed them, too. :)
Subscribe to:
Post Comments (Atom)


3 comments:
it's pretty..
Oh yes, the cupcake bites were amazing! Thanks to Alauna for creating and to Nate for sharing!
I keep hearing about these cake bites - guess I need to try them. Yours are so cute - just looking at them puts me in a good mood :-) I just love your site - adding it to my favorites!
Post a Comment