Friday, May 29, 2009
fancy food
i was at the outlet mall a while ago and we got hungry enough to eat at the food court. choices included a $5 footlong, pizza, pretend panda, and a pretzel shop... i wanted a hot dog. when i saw the pretzel dog sign, it was an obvious yes. so good and buttery and salty. i could have eaten two. but i was saving up for fresh kettle corn (mom luckily got the last bag) so i just had one. it left me wanting more. not in the sense that i was hoping for something better, but that literally, i wanted to have them for dinner for the next week, possibly for the rest of my life. (exaggeration, but it was good.)

back at home, weeks later, i was still pining over the pretzel dog. i remembered a bag of pretzel mix my parents had purchased for me and immediately went out for hot dogs. "homemade" pretzel dogs for dinner on a weeknight with no mall walking excuses seemed so wrong, and yet so, so right.

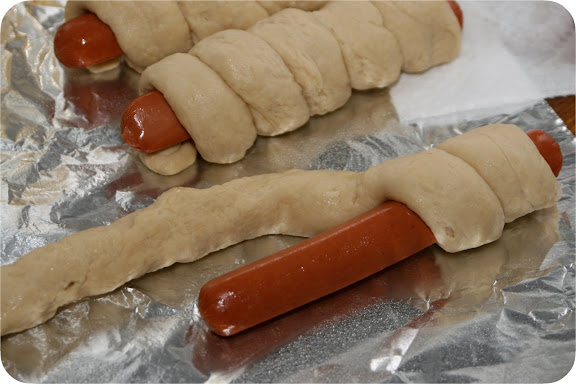
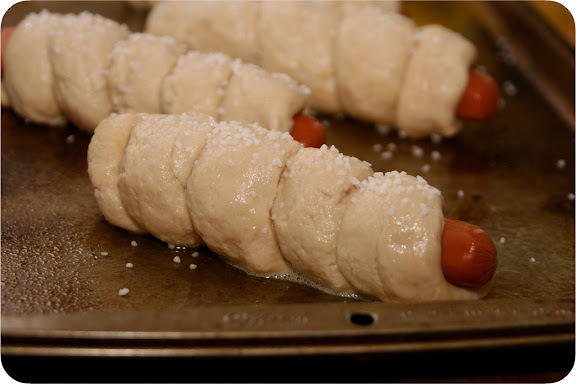
wrapping the franks
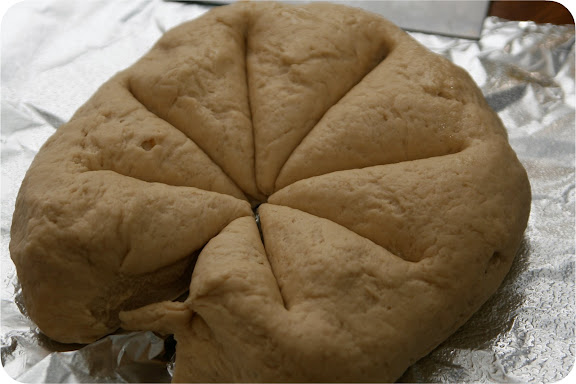
i mixed up the dough (cannot remember the ingredients, but you can find mixes in the store or you really can make your own) and let it rise. then i rolled it out into long, thin ropes and wrapped each hot dog from end to end. i coated them with the instructed baking soda/water wash (you'd dip whole pretzels in this, i guess), added the included salt, and baked until golden. sandra lee, watch out.
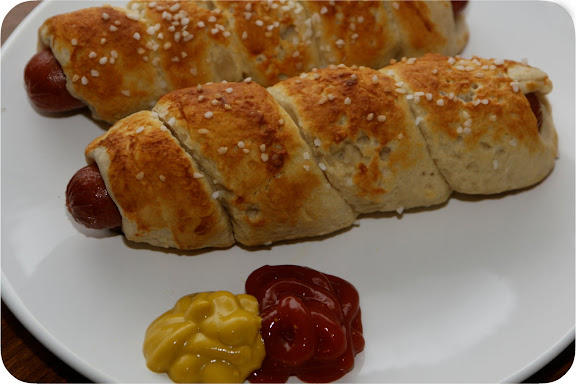
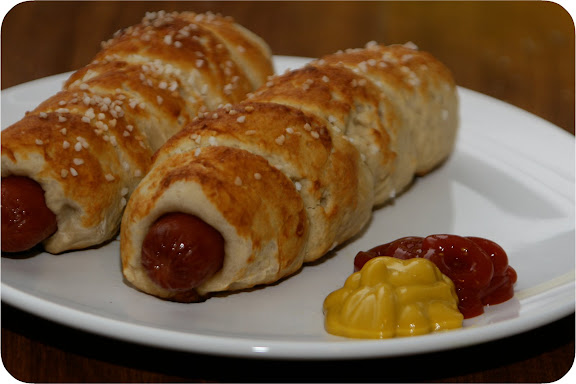
pretzel shop dogs do not come on a white platter
unfortunately, i did not douse them in 2 lbs of butter and they just didn't have the same taste as the pretzel shop dogs. they weren't bad, but the dough was much thicker and and the hot dog got a litle lost. i still enjoyed this unhealthy, non-nutricious dinner. i'd like to try again because i've been wanting to make my own dough anyway. and when i do it, i'm going to go hog wild and add the butter. it's just not worth it without.
this fancy food post is brought to you by the end of may and my desire to post to summery foods and better pictures...so i have to get up all the wintery/dated stuff before it's too late.
this fancy food post is brought to you by the end of may and my desire to post to summery foods and better pictures...so i have to get up all the wintery/dated stuff before it's too late.
Sunday, May 24, 2009
fruity and refreshing strawberry fro-yo
i don't think i can have ice cream everyday. i've made that decision following a few really excellent recipes that came out of the KA attachment...and that this seems really counterproductive to my goals with the 3o day shred. so my solution to this predicament was to test out a few "healthier" options...things i could tell myself were ok to eat after my workout with jillian.


out came frozen yogurt! it's healthier than ice cream and this particular version has fresh fruit. it's also another recipe from david lebovitz, who i'm guessing is a go-to guy for all things ice cream, among other foods.
strawberry frozen yogurt (david lebovitz)
1 pound strawberries, rinsed and hulled
2/3 c sugar
1 c plain, whole milk yogurt
1 tsp lemon juice
1. slice strawberries into small pieces
2.toss in a bowl with sugar until the sugar begins to dissolve
3. cover with plastic wrap and let stand at room temperature for 2 hours, stirring every so often.
4. transfer strawberries and their juice to a blender or food processor
5. add yogurt and lemon juice and pulse machine until the mixture is almost smooth
(if you wish, press mixture through a mesh strainer to remove seeds.)
6. chill for 1 hour, then freeze in your ice cream maker according to the manufacturer's instructions
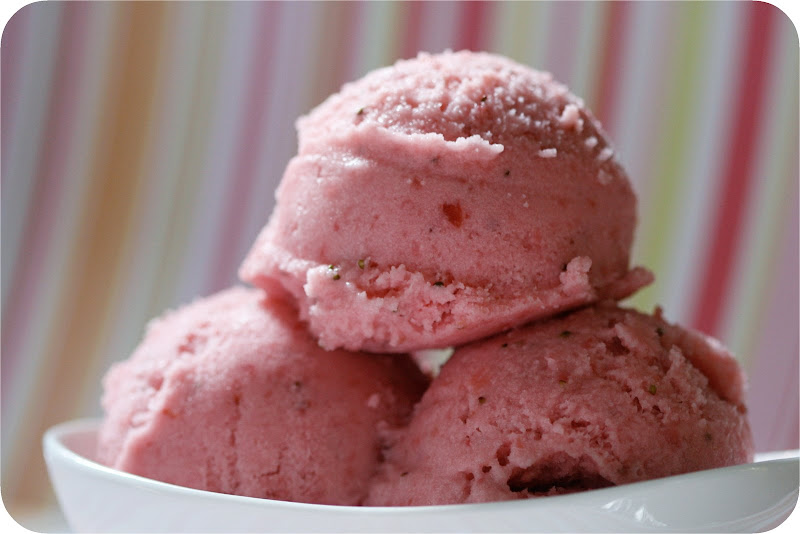
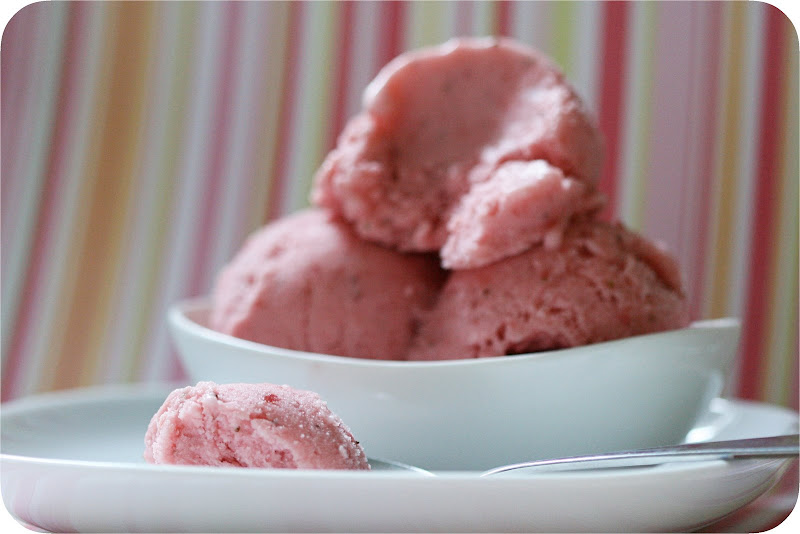
real strawberries + plain yogurt = frozen goodness
and oh my, was it ever delicious. it isn't like store bought frozen yogurt, where you've really got to convince yourself it tastes "just as good" as ice cream. i was surprised by how pink and "strawberry-y" this was. you know when you eat a strawberry candy and the flavor is so strong it seems (is?) fake...well this was similar in a fantastic way. perhaps candy makers have figured out the strawberry flavor. after every bite i had to tell myself, no, no, it was just strawberries, sugar and yogurt...no flavorings, no colorings.
i omitted from the recipe above david lebovitz's suggestion to add a bit of vodka, but i think i'll try this next time. it's not for flavor, but to keep the mixture from freezing solid. this wasn't as soft and creamy days 2 and 3 partly due to my keeping it in a bowl with saran wrap (i have since purchased freezer containers) and partly because it had completely froze and letting it melt a bit only resulted in a somewhat crystallized texture. this was completely my fault and i do not blame the original recipe.
Friday, May 22, 2009
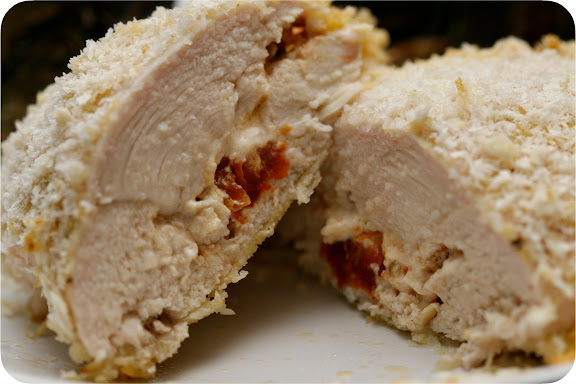
it's not easy to make chicken look appetizing in pictures
if you're looking for something quick and easy to make with those recently featured roasted baby artichokes, try this simple chicken recipe. as i had said before, sometimes i have no plans made up for dinner and have to pick around the fridge and pantry until i find compatible ingredients. i'm not much of a casserole person and i don't like using leftovers to make a new dish, so it's hard for me to throw a bunch of things together and eat it for dinner...but i keep a few staples on hand for this reason. things like sun-dried tomatoes in oil, frozen chicken breasts, and panko are always at my disposal and this time, i just happened to have the end of a sleeve of goat cheese, too.
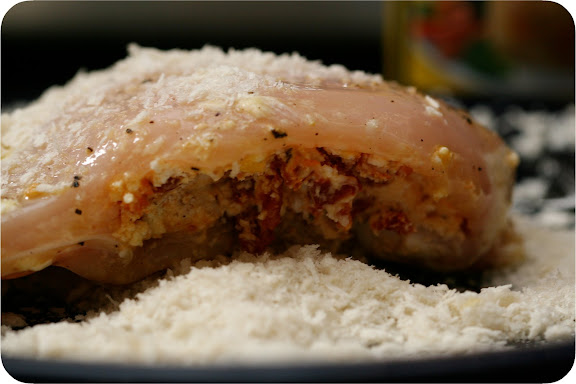
it's been a while since i posted raw meat. 'twas time.
goat cheese and sun-dried tomato stuffed chicken breasts
2 chicken breasts
2 tbsp or so goat cheese
1 tbsp chopped sun-dried tomato
1 egg, beaten
1/2 c panko
salt and pepper
1. mix goat cheese, sun-dried tomatoes and a bit of salt and pepper
2. pound chicken slightly to even out and make a slice in the side, careful not to break through
3. stuff half the goat cheese mixture inside each breast
4. add salt and pepper to beaten egg and dip chicken in to coat
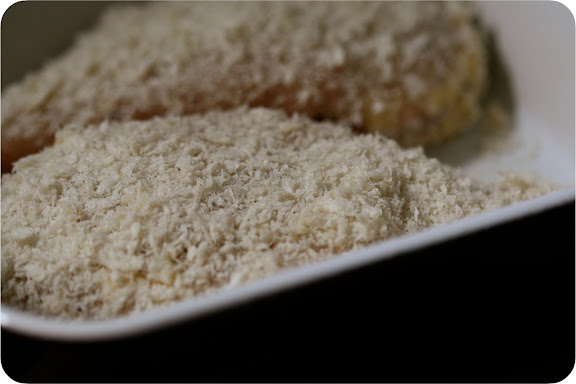
5. cover all sides with panko
6. bake at 375F for about 35 minutes, or until chicken is no longer pink
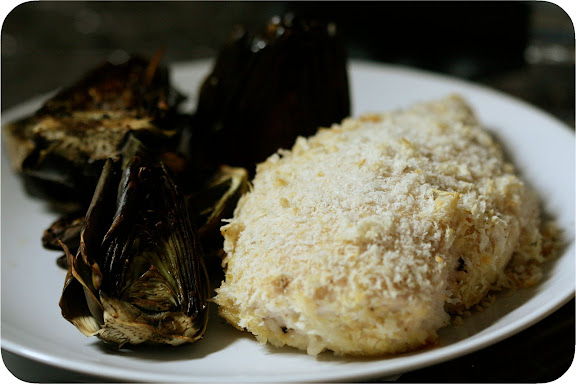
could have browned a bit more, but i was starving
simple, easy, and tasty. the flavors really seep into the meat and it's always nice to cut into stuffed chicken and see the goodness. a great throw-together dish when you just can't think of anything more complex.
Tuesday, May 19, 2009


eric carle's very hungry caterpillar joins 100 cupcake bites for a birthday party!
after bringing my first round of cupcake bites into work a few months ago, one of my coworkers loved them so much she decided to have them at her son's 2nd birthday party. after telling her how easy they were to make, she decided she wanted me to to do them for her. of course i agreed and we started brainstorming about the party and how we could work them in.
her son's favorite book is eric carle's brown bear, brown bear, what do you see? (with bill martin jr.), so she wanted to incorporate that into the theme. i did her invitations (brown bear, brown bear, i see owen's 2nd birthday party!) but didn't figure a bunch of chocolate/chocolate cupcake bites would be all that interesting to a bunch of mini-people...so we broadened the scope and used the colorful book the very hungry caterpillar as inspiration for the smash cake and cupcake bites.


so i made up 2 boxes of cake (technicality alert: husband actually made one of the cakes) and got to work. for the smash cake, i added the batter two small ramekins and i wanted a pure white background on which to decorate, i used a whipped white frosting. everything is easier when it's smaller, and making a layer cake is no exception. ramekin cakes have been the easiest yet for me to stack and frost. i crumb coated and froze until chilled and firm, then added the real frosting layer before setting out on the caterpillar design.
i had no real plan...just looked up a picture, mixed some blue and green frosting and added it to a grass-tipped piping bag. i freehanded the body and used a red candy melt for the head. i finished him with eyes made of yellow candies dipped in green frosting and drew on some feet and antennae with melted chocolate from a squeeze bottle. so adorable!
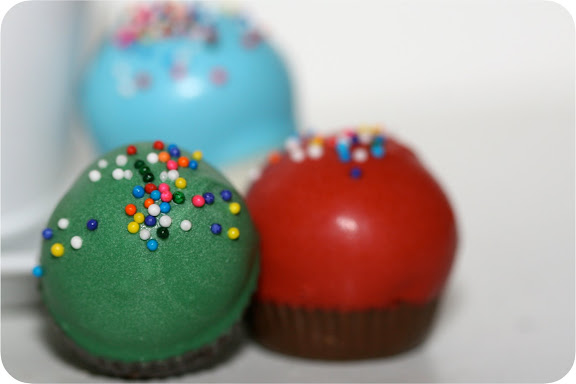
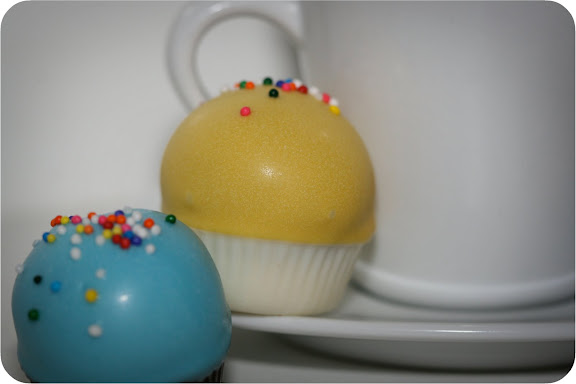
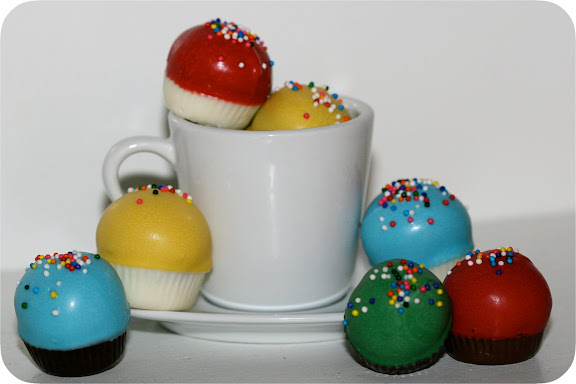
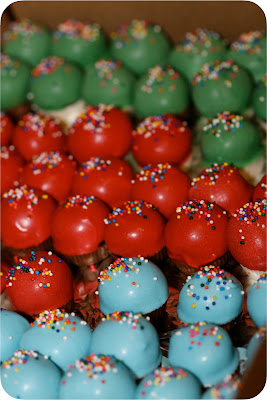
but the job was not complete. oh no, not at all. i had 100 cupcake bites to work on! thankfully i have a very helpful live-in sous chef (husband) who happily (i'm sure) mixed up the cake and cream cheese frosting, formed the balls, and filled all of the molds for me. rightfully, he can take credit for making half of this project. and as with the last set of cupcake bites, i carefully hand dipped each cupcake into melted colored candy to evenly coat the top. basic, kid-pleasing sprinkles for each one and yay, done!
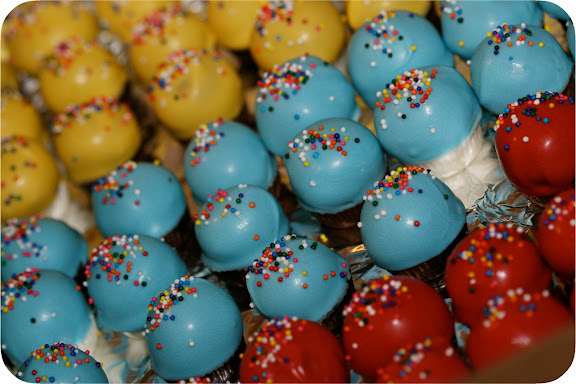
white & chocolate bases with red, yellow, green and blue tops as far as the eye can see.
so i took 100+ cupcake bites and a smash cake into work and let me tell you. i don't know if i could do this baking for events thing as afull time endeavor. i was so scared the cake would topple and was nervous about the rain melting my cupcake bites...it was stressful. i would definately make this many again but i'll need to have a stiff drink before delivery to calm my nerves.
all was better when i heard that everything was a hit at the party. adults and kids alike devoured bite after bite. i'm not sure the mini cake was smashed, but i'm hoping everyone could recognize the familiar character. happy belated 2nd birthday, owen!
all was better when i heard that everything was a hit at the party. adults and kids alike devoured bite after bite. i'm not sure the mini cake was smashed, but i'm hoping everyone could recognize the familiar character. happy belated 2nd birthday, owen!
Saturday, May 16, 2009
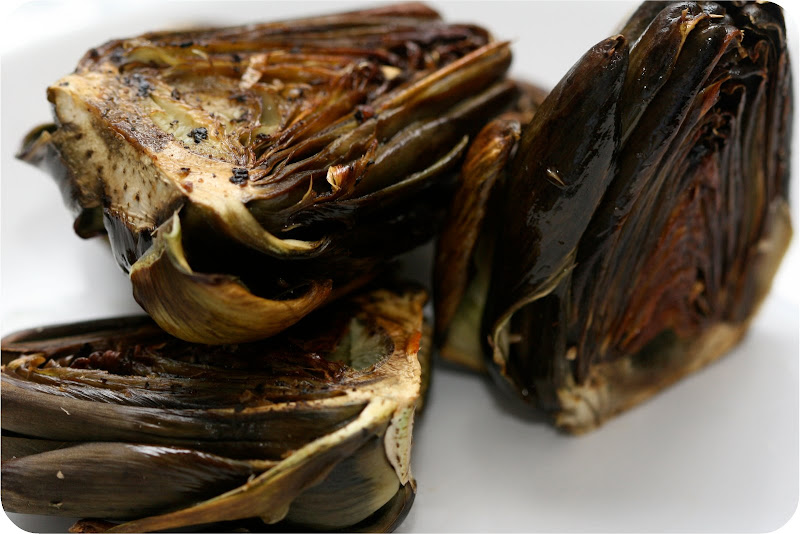
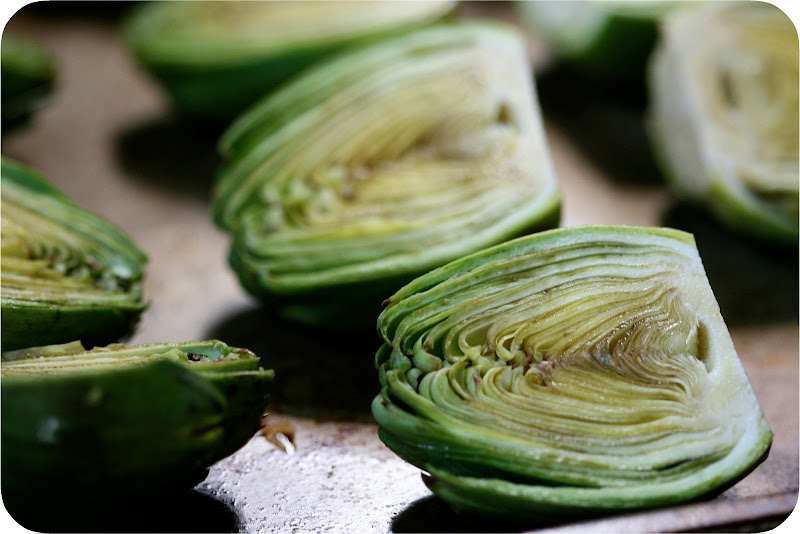
little mini roasted artichokes
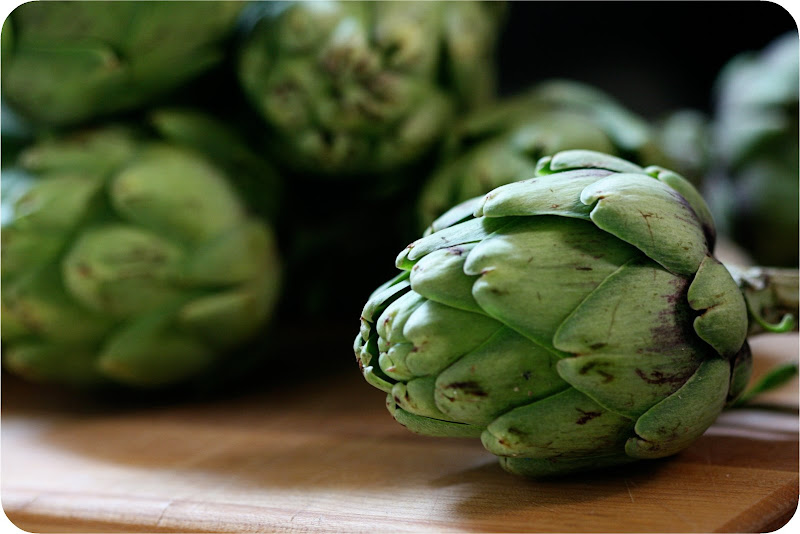
while recently wandering the produce section of the grocery store, looking for inspiration beyond salad fixings, i came across a package of baby artichokes. you know me and miniature things...i couldn't resist. i had no specific plans for them, so i waited until i had no ideas for dinner that week to make some magic happen.
i thought about boiling or even microwaving them, but decided to try out something new - roasting them. of course i'm not new to roasting...but i hadn't really heard of roasted artichoke before. i'm sure it's been done, but not by me, so i made it up as i went along. as with most roasted vegetables, the recipe is more a guide.
because these were small, i didn't trim them much. normally i'd snip the sharp points of leaves, but this time i only cut the base off and removed the outermost, tougher petals.
6 small artichokes
3 tbsp olive oil
salt and pepper
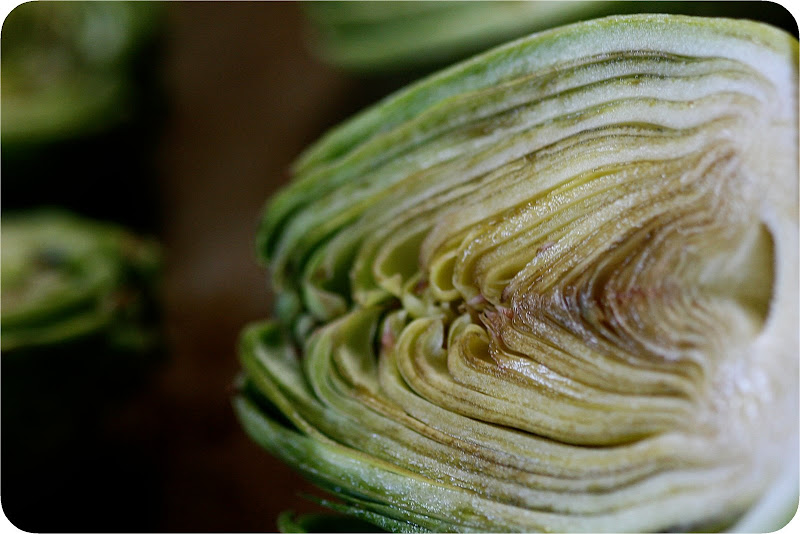
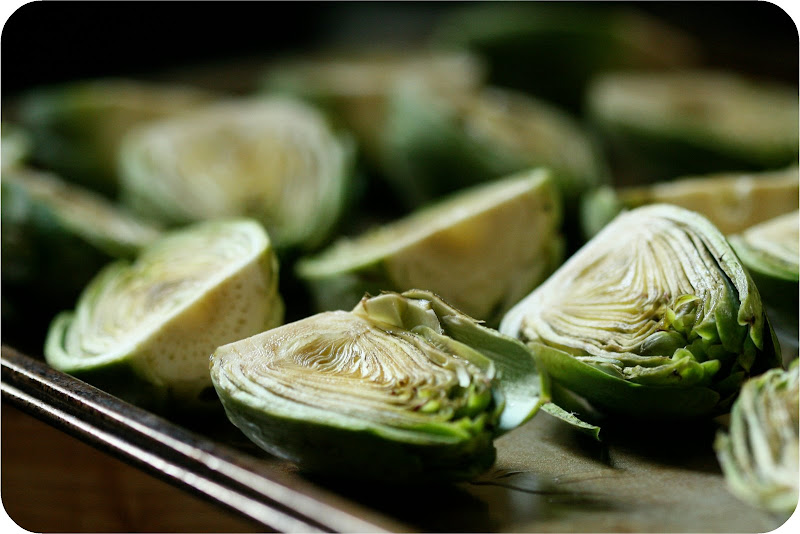
1. trim the base and outer leaves off each artichoke and slice in half
2. lay halves face up on a baking sheet
3. brush liberally with oil and season generously with salt & pepper
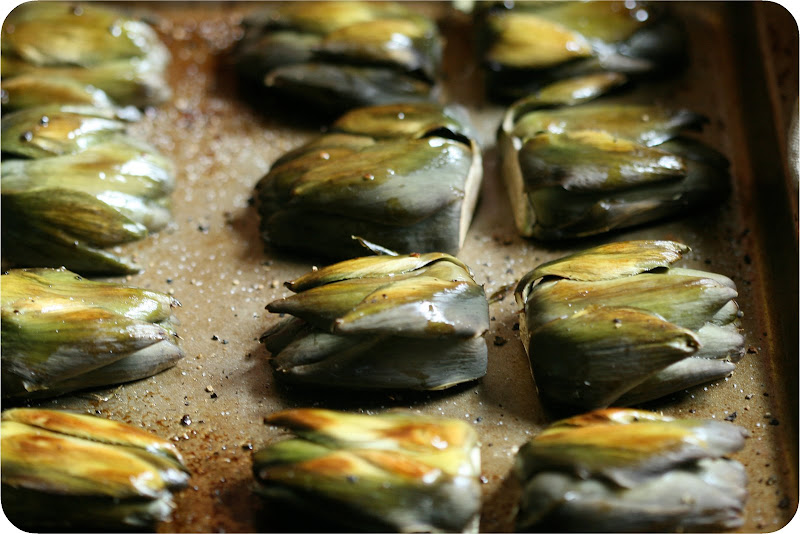
4. roast at 375-400F for about 10 minutes
5. turn halves upside down (leaves up) and return to oven until deep in color
6. to eat, hold the top petals and bite out the heart and softer inside leaves
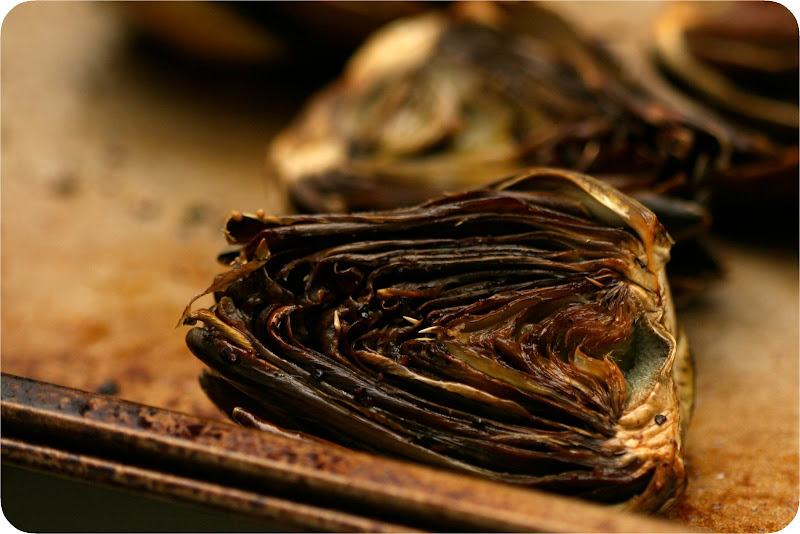
these didn't take very long to crisp up and i didn't really time them in the oven so much as watch for the right color. i bet they'd be fabulous with parmesan cheese (mmm, and/or a little butter). i served them warm and husband and i devoured all 6 at one meal. a very good, different take on artichokes.
Monday, May 11, 2009
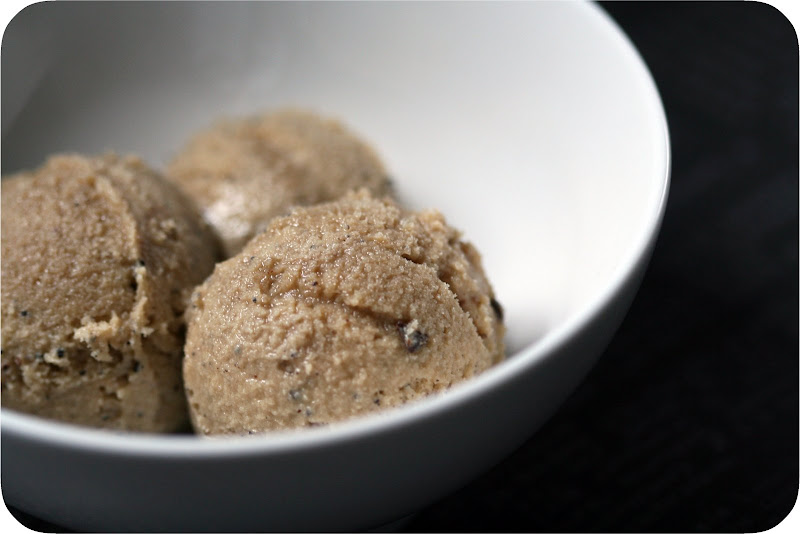
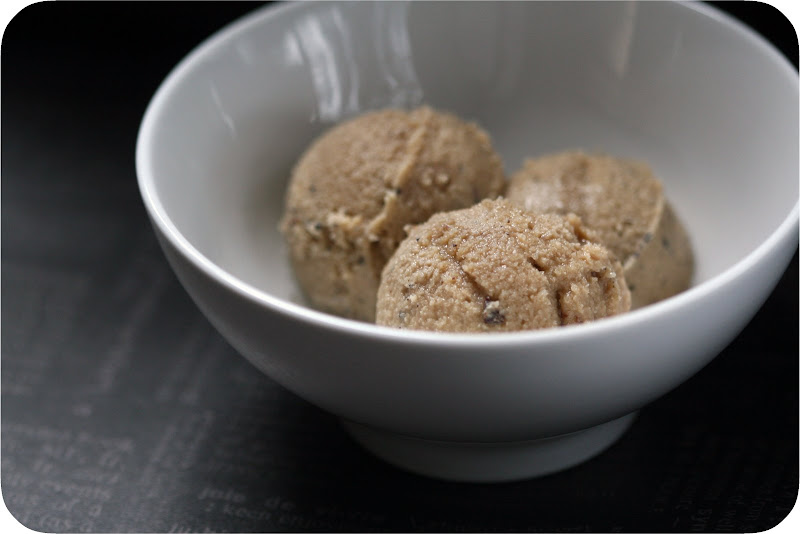
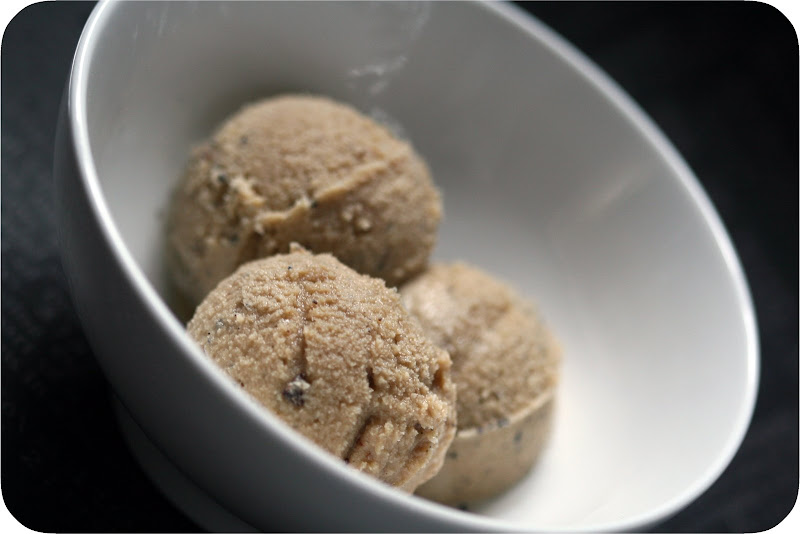
vietnamese coffee ice cream with chocolate chunks
well that didn't take long! just one day into owning the kitchen aid ice cream attachment and i had to make something. i had been eying david lebovitz recipes because i hear he knows whats up when it comes to homemade ice cream. when i found one without an egg/custard like base in a coffee flavor, it was decided.
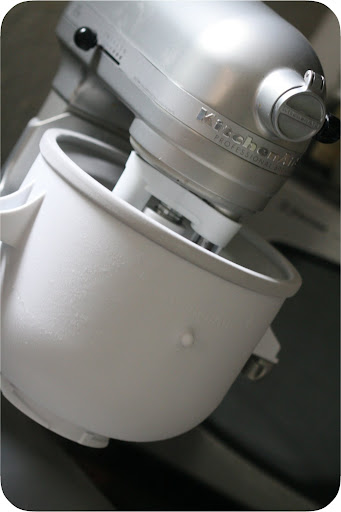
the shiny, frozen new toy
the basic recipe is just like a vietnamese coffee, with thick, syrupy condensed milk and strong coffee flavor. for fun, and because who can resist chocolate?, i added chunks of dark chocolate to the batter.
vietnamese coffee ice cream (david lebovitz "perfect scoop")
vietnamese coffee ice cream (david lebovitz "perfect scoop")
1 c sweetened condensed milk
1 1/2 c water
1/2 c + 1 tbsp dark roast ground coffee, divided
1/3 c whole milk
1. brew a strong coffee with 1 1/2 cup of water and 1/2 cup of ground coffee - use 1 cup brewed (i used a french press)
2. whisk together condensed milk, brewed coffee, milk and ground coffee
3. chill the mixture thoroughly
4. freeze in your ice cream machine according to the manufacturer’s instructions
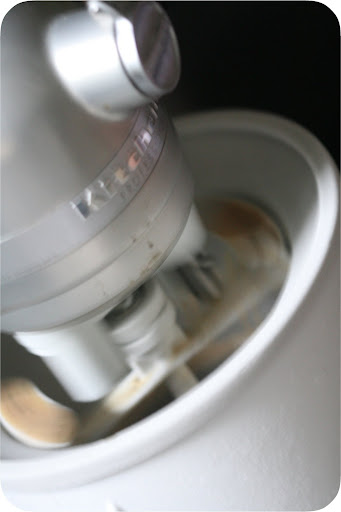

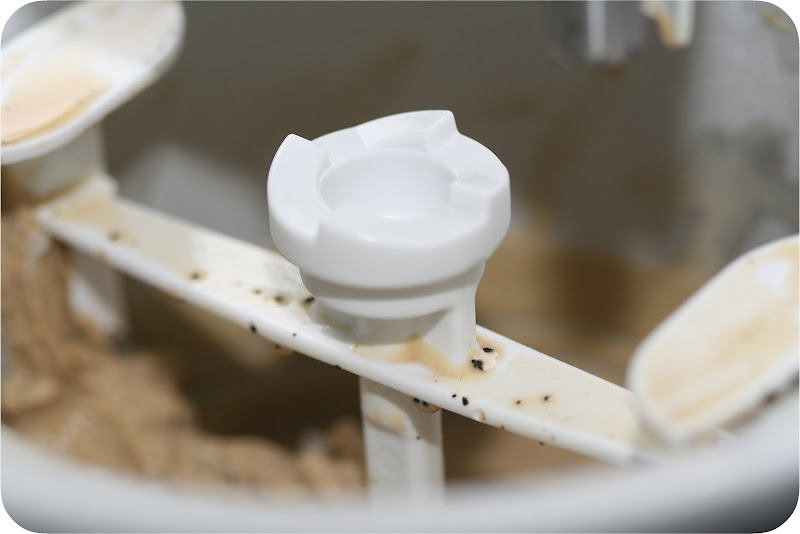
using the attachment was easy. the instructions show you how to adapt the same freezer bowl for many of the models and i got it set up in no time. after i turned it to stir (STIR, no higher. ok?) i poured in the liquid batter. 10 minutes went by and just the outsides touching the bowl were frozen. 10 more minutes and there was a thicker consistency, but more like a shake than ice cream. 8 minutes later i added the chocolate chunks. after a full 3o minutes at the mixer, i removed the batter-turned-soft serve and put it back into the freezer in a separate bowl to freeze firm.
first batch of ice cream from the birthday gift
i made this to take to a bbq we were attending and unfortunately the frozen mixture was no match for my lap during the ride over. i put it back in the freezer at out hosts' home, but even after 2 hours, it was still only somewhat firm. no matter, we used a tiny scoop and served up spoonfuls to guests. people seemed to enjoy it, even a bit melty.
the next day, having reserved a bit for photos, i got to taste the frozen specimen. delicious! very strong coffee flavor, but sweet just like a vietnamese coffee drink is. i love the crunchy bits of ground coffee (which i know some people would omit due to texture) and of course, coffee+chocolate=heaven. this is a quick, easy recipe and i encourage anyone with an ice cream maker to try it out. i imagine i will make it again this summer as coffee ice cream is one of my favorite flavors. but, oh, there are so many to try...and i've already made another frozen treat. can't wait to show you!
Saturday, May 9, 2009
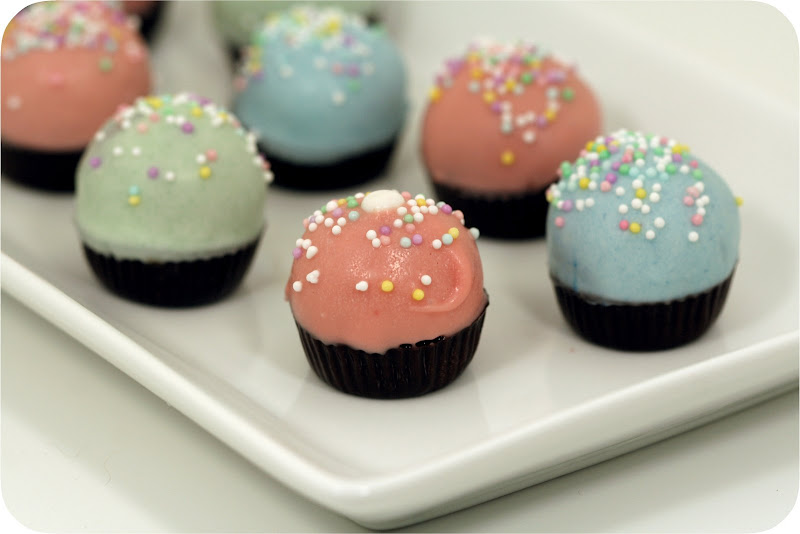
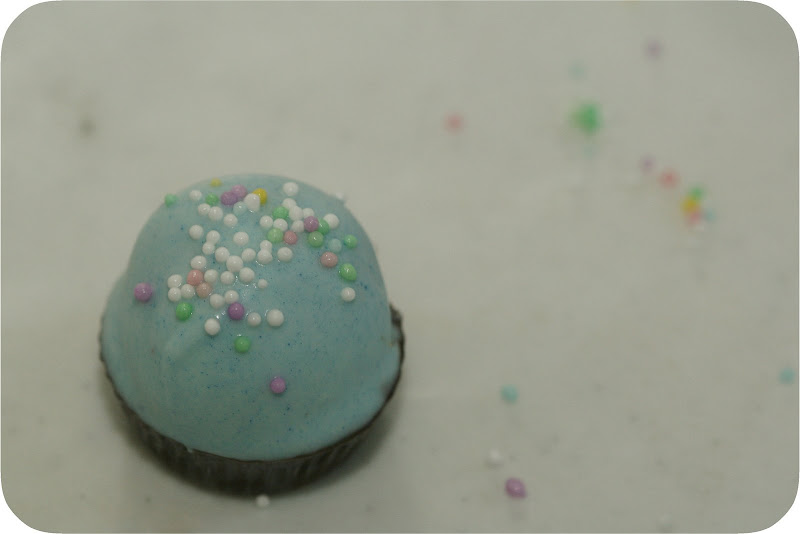
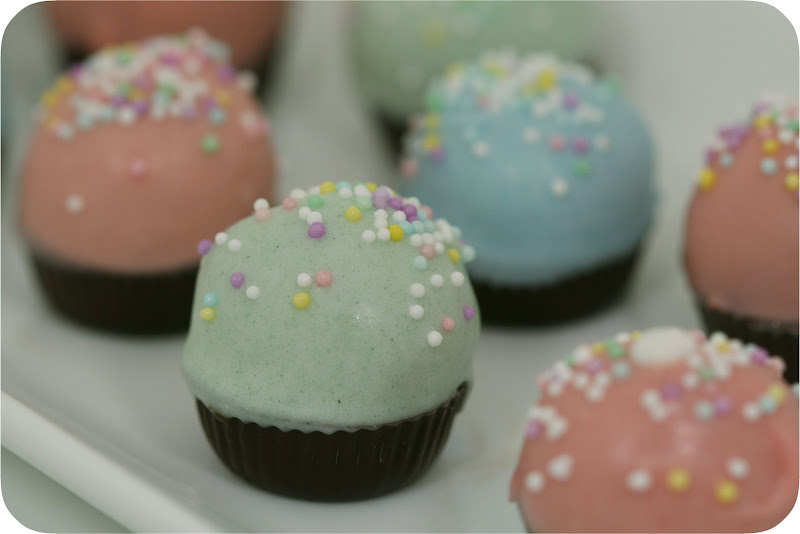
cupcake bites
to clear one thing up: i did not make these for my birthday. i don't want anyone thinking husband sat in the kitchen watching me work on my own birthday treats...oh no, these are from before easter, actually! i told you, i've got posts to catch up on.
of course you've seen these on bakerella. if you haven't, then you live under a rock. ok, possibly not, but if you frequent food blogs, you must have seen what that girl can do with cake balls. i've made and posted about them here before, but this was my first attempt at the cupcake bite, a miniature "cupcake" coated with chocolate and candy melts.
of course you've seen these on bakerella. if you haven't, then you live under a rock. ok, possibly not, but if you frequent food blogs, you must have seen what that girl can do with cake balls. i've made and posted about them here before, but this was my first attempt at the cupcake bite, a miniature "cupcake" coated with chocolate and candy melts.
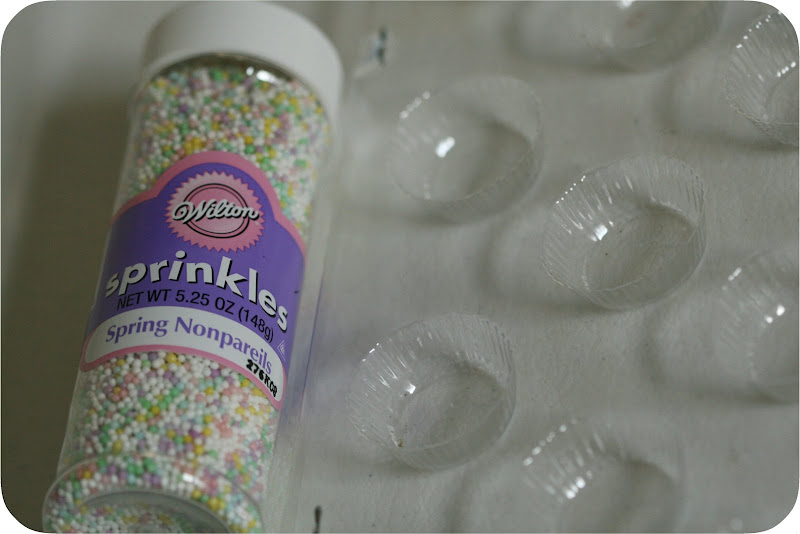
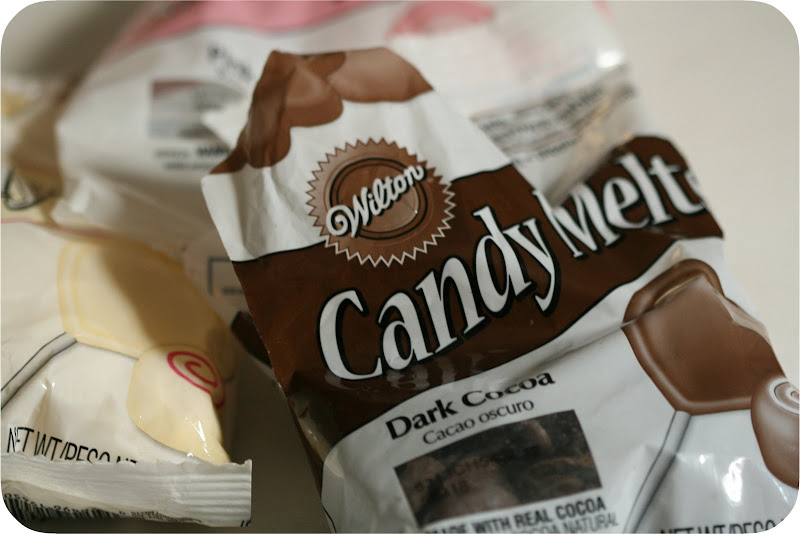
necessary supplies.
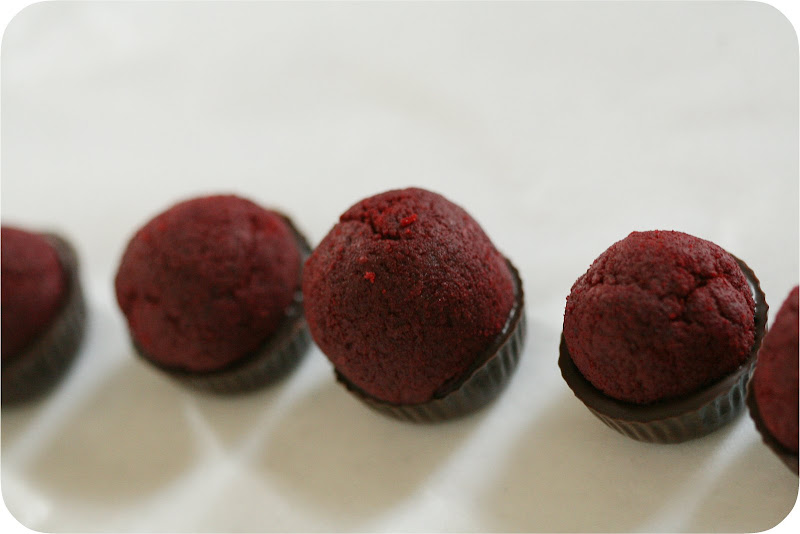
you start by making a batch of cake balls. simply, that's a baked boxed caked crumbled with 1/2 to 3/4 can of frosting. your choice, but cream cheese frosting seems to work best. (i used a "buttercream" with these ones and i wouldn't recommend it - they leaked a little oil from the "butter" in the frosting.) once incorporated, you roll the mixture into small balls, pop them on a cookie sheet and throw them in the fridge or freezer until firm.
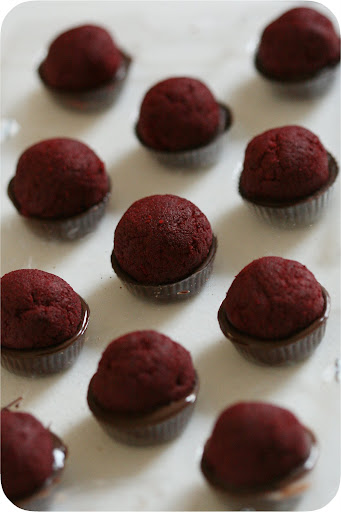
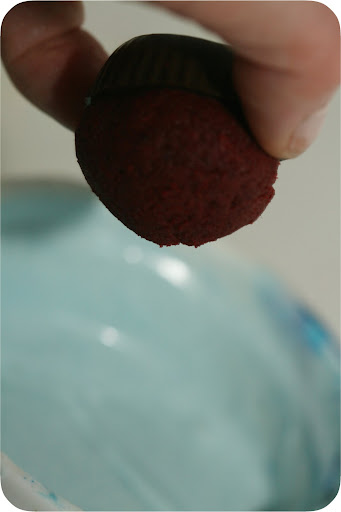
then, melt some chocolate of candy wafers in a plastic squeeze bottle. into a peanut butter cup mold, fill each spot about 1/2 full and place a ball into each one. let them harden and carefully extract them from the mold. then, dip them into melted wafers just to the edge of the molded chocolate bottom. flip them upright and allow the candy coating to smooth out (thanks, gravity!) if you'd like, sprinkle with jimmies or nonpareils like a cupcake.
then, melt some chocolate of candy wafers in a plastic squeeze bottle. into a peanut butter cup mold, fill each spot about 1/2 full and place a ball into each one. let them harden and carefully extract them from the mold. then, dip them into melted wafers just to the edge of the molded chocolate bottom. flip them upright and allow the candy coating to smooth out (thanks, gravity!) if you'd like, sprinkle with jimmies or nonpareils like a cupcake.
start to finish
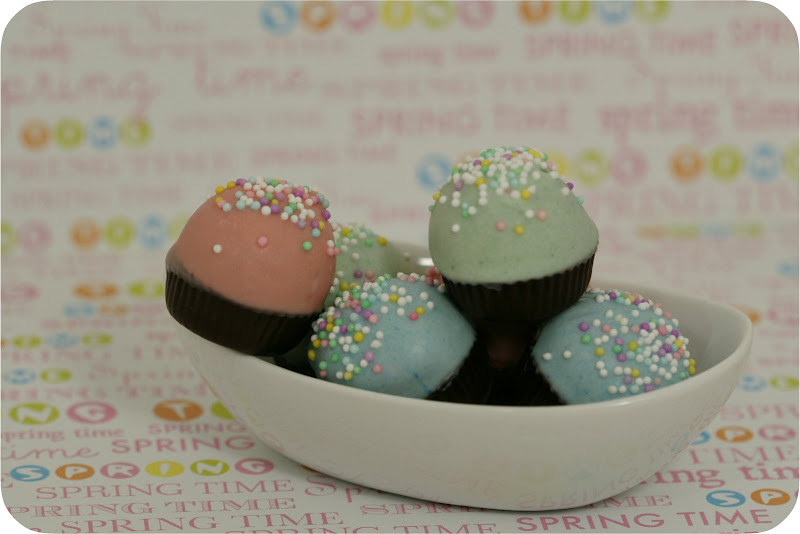
these are quite simple, but labor intensive. not hard, no, but be prepared to spend some time if you're making a whole box of cake's worth. it's between 45 and 55 balls! avoid touching them as much as possible, as the hardened outside will melt if you over handle them. you can find all of the supplies at craft stores the whole thing costs next to nothing to do.
and yeah, they are good. there's a perfect ratio of cake to frosting to reach to keep them from being mushy and they are best, in my opinion, fresh out of the fridge. you can't help but eat one, two, three and oops that was a piece of cake right there. i suggest making them to take somewhere, or you will find yourself consuming a box of cake and a can of frosting quite quickly (because c'mon, even if you didn't use the whole can in the mixture, you have since put it on cookies, waffles, a spoon, etc. and suddenly it's gone..right?). that did not happen here, because i purposely made them to take to work, as i do with many things. don't worry, husband sampled plenty and there was even enough for him to take to his own graduate student cohorts. i hear they enjoyed them, too. :)
Thursday, May 7, 2009

yep, it's my birthday today! i've already opened something excellent from husband - a kitchen aid ice cream attachment! summer 2009 is going to be filled with homemade frozen treats and i can't wait!
but the peacock card design isn't for me, actually. i drew it for my bffrose and fellow taurus, tsquared, who celebrated his birthday this past weekend. it's so fitting for him and i'm quite please with how it turned out. i printed it on a sheet of stock with an opal iridescent border and stuck the it to a piece of pretty turquoise paper for signatures and well wishes from the coworkers. it's been awhile since i've done any hand "drawing" and man alive do i love my tablet. i've got to get back on that thing!
Tuesday, May 5, 2009

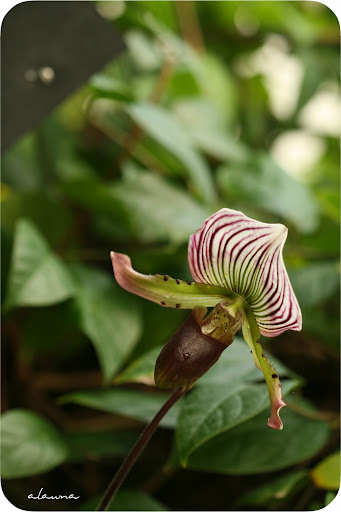
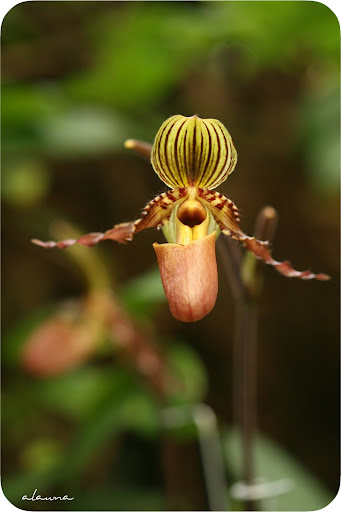
oops. i've been busy and out of town and have neglected my blog. but i've got so many things ready to post, it's unbelievable. plus, i spoiled you in april with 11 posts instead of the normal 7 or 8. but i'm ready to get back on track. starting with, um, this here post of fancy pictures i took. i'm taking liberty with the "alauna makes" title and deem these photos "made" by me.
i took these at the local conservatory in the orchid room. it was a great day for natural light and i like how everything turned out. i did some minor photshop tweaking on them and altered the very last one more significantly. i also tagged them because while they're not fantastic, i wouldn't want to see them used elsewhere without credit. that's not been my style because well, i'm not a photographer and i really can't imagine pictures from this blog ending up anywhere else. but these, maybe.


so yeah. pictures! stay tuned for a variety of adorable and interesting things. promise! andplusalso, happy cinco de mayo, in which margaritas are had by many a folk without the slightest clue as to why. and can you blame them? uh, well, yeah...but margaritas for all!
Subscribe to:
Posts (Atom)
