Thursday, February 25, 2010
i edited my favorite photos into black and white and filled some old frames to display them in the entryway. we've purchased some glassware to decorate the mantle, which now also holds an old mirror that looks so much better there than where we used to use it. obviously, i did the curtains and pin up prints for one of the bathrooms. our guest bath is vintage style too, but mostly because it had royal blue floral wall paper and a shabby chic white shower curtain when we moved it - so i've been finding hobnail milk glass to accent the small but adorable space.
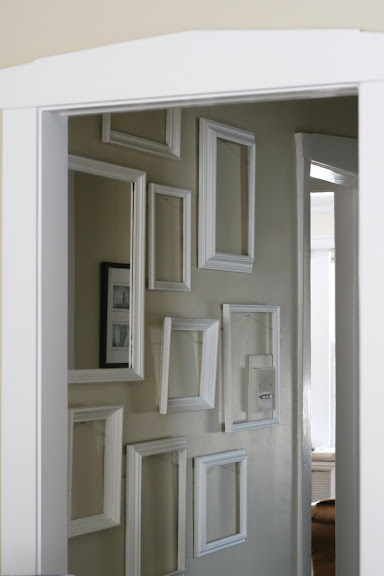
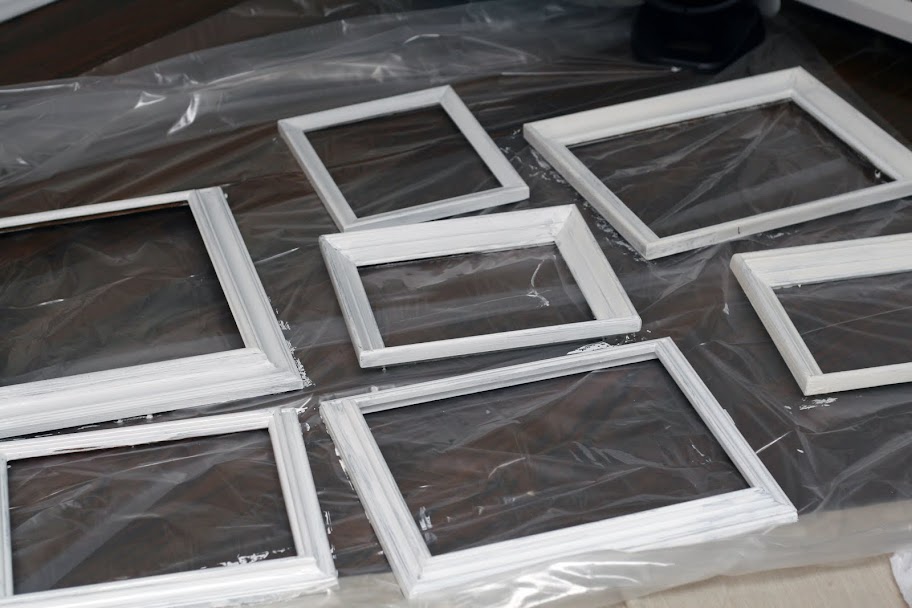
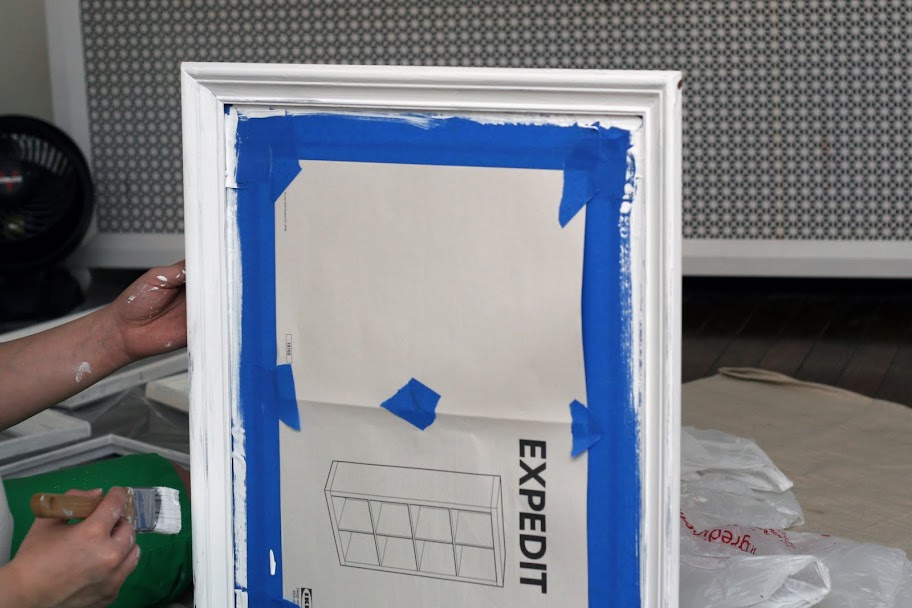
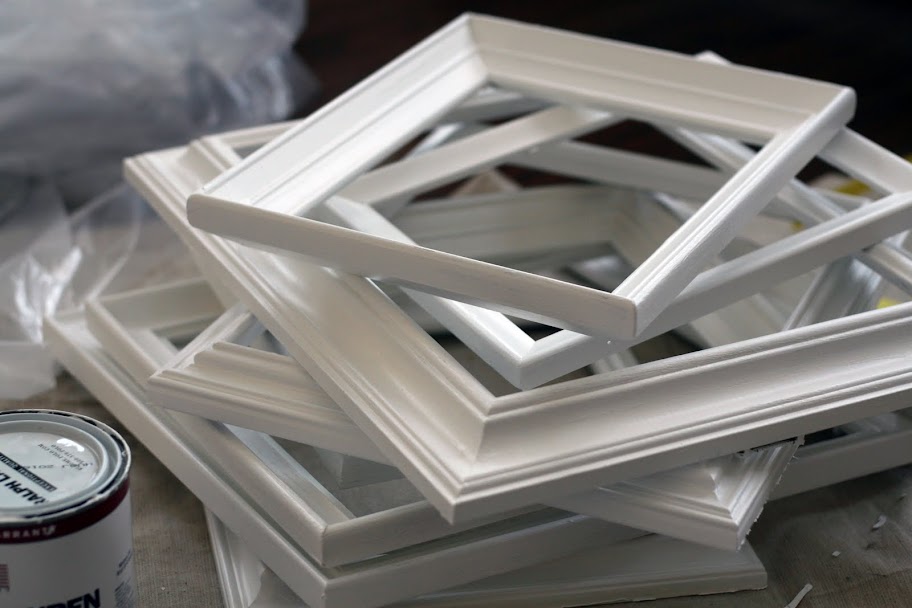
my latest project has been this affordable and fun frame wall.
we hung them in a small hallway where the mirror really brings in some light and the whole arrangement fits perfectly. in a last minute decision, we chose to include the door buzzer within the "art" because ew can't very well take it down.
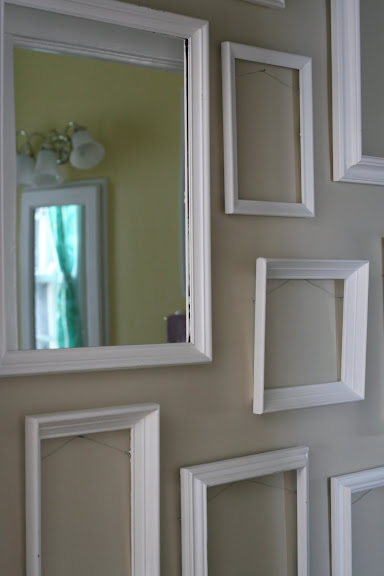
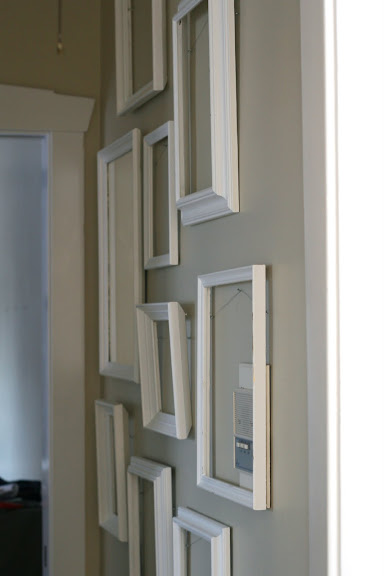
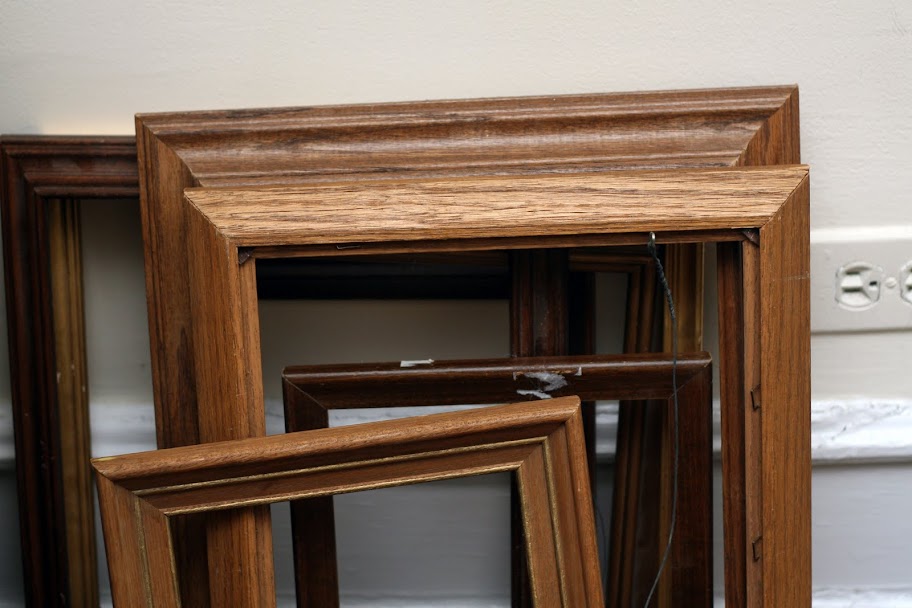
i love this. it was cheap, easy, and i think it looks fantastic. a perfect way to re-purpose old frames you might have - the more variety and wear and tear, the better it looks.
Tuesday, February 23, 2010
our last valentine's day as a couple without children was spent at home, relaxing and cooking. we decided to do dinner in, similar to last year but without the multi-course meal. i can't stand for that long and can't fit that much food in my already stretched to capacity belly. (as a recap, i am 35 weeks pregnant)
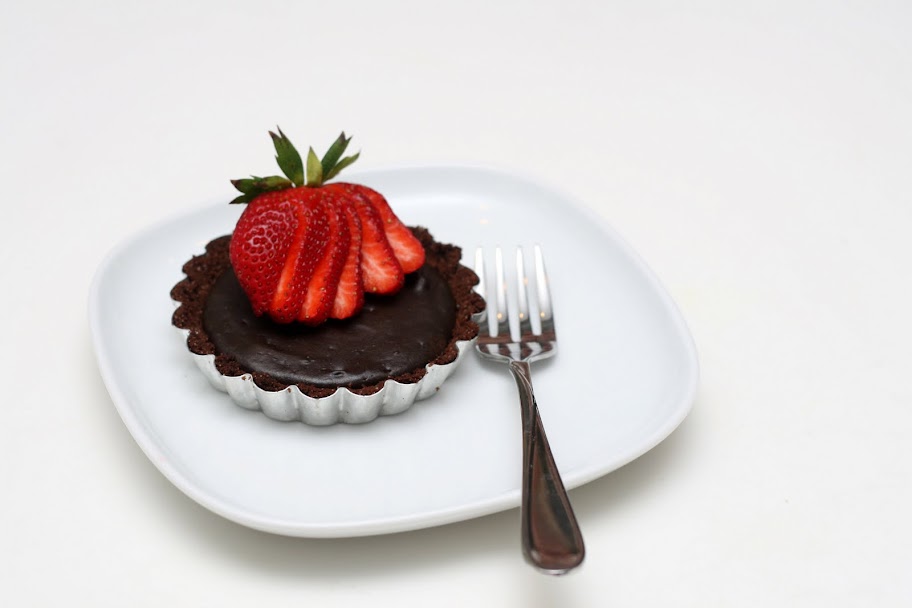
the dinner post is coming after the dessert post because these little tarts are too cute not to share right now. (and already they are late, since valentine's day was over a week ago) i knew i wanted something chocolate and i really wanted to use my tart pans for the first time. i figured little fudgey cheesecakes with chocolate crusts and berries on top fit the festive theme.


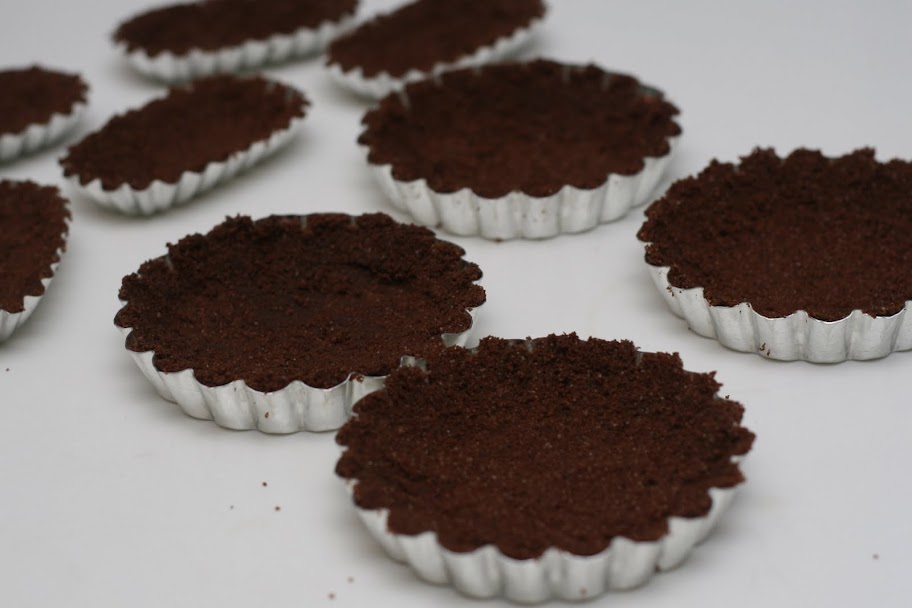
chocolate graham crust (for 8-10 mini tart pans)
1 c chocolate grahams, pulsed to crumbs in a food processor
1/8 c melted butter (give or take)
1 tbsp sugar
1. mix together - should stick together slightly and hold shaped when pressed (adjust graham and butter ratios to reach this consistency)
2. scoop into tart pans and press around bottom and up sides
3. bake at 350F for about 5 minutes, cool

for the filling, i found a basic cheesecake recipe on allrecipes.com and adjusted to fit my smaller servings. i used about 1/3 of the original recipe and skipped the sour cream topping.
chocolate cheesecake filling (adapted from mary walker on all recipes)
1 8 oz package cream cheese, softened
1/4 c sugar
1 egg
1 tbsp strong brewed coffee
1/2 tsp vanilla extract
1/4 c baking cocoa
1/3 c semisweet chocolate chips
1. beat cream cheese and sugar until smooth
2. add eggs; beat on low speed just until combined
3. stir in coffee and vanilla then beat in cocoa just until blended
4. stir in chocolate chips
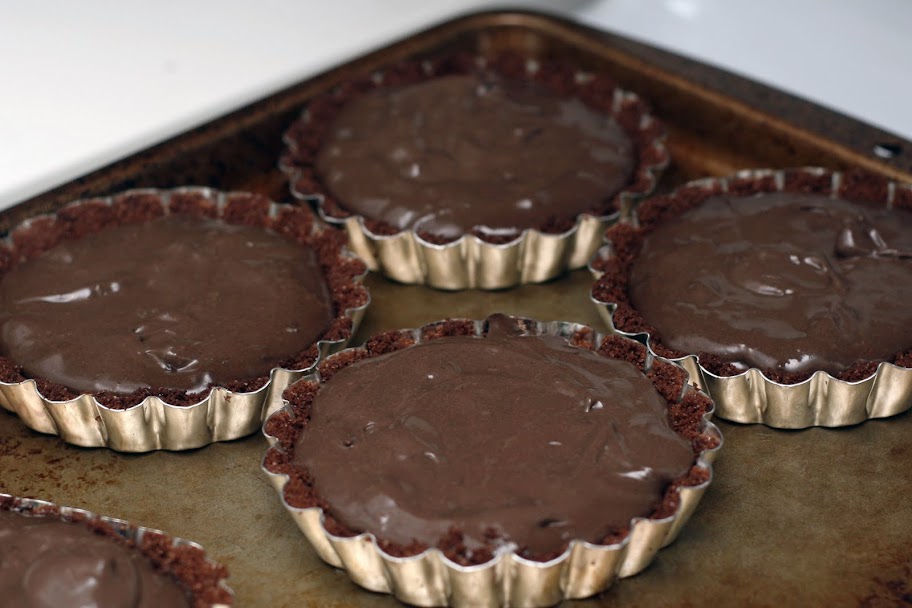
5. using a cookie scoop or spoon, drop filling into prepared tart pans
6. place on a baking sheet and bake at 375F for 12-15 minutes or until center is almost set
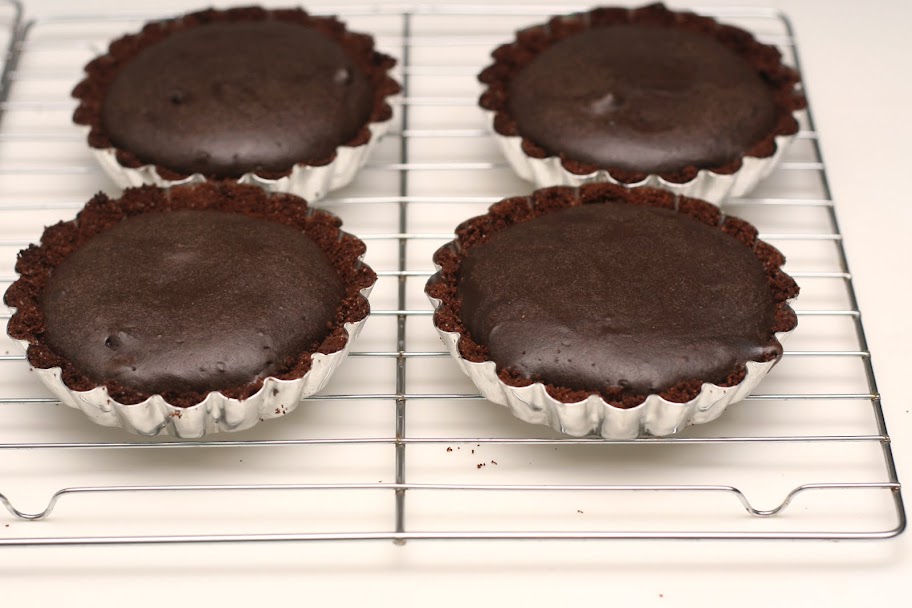
7. cool on a wire rack, then transfer to the refrigerator to chill
8. best served with berries
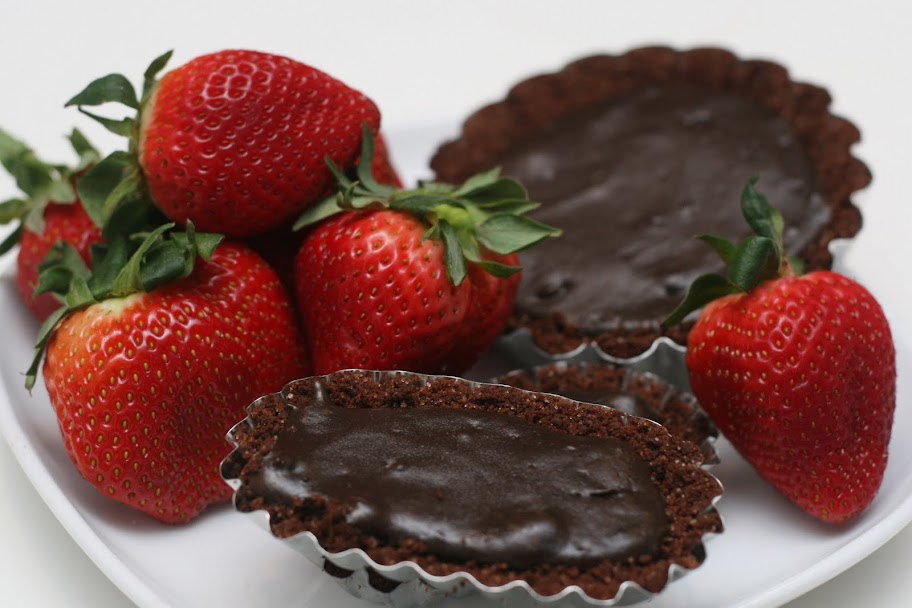
as a note, they were best after being in the fridge overnight (day 2), but by day 3 they had hit their max. i can't imagine anyone making it longer than that ;)
Thursday, February 18, 2010
i was fresh off a cook's illustrated pancake recipe that is divine, so my expectations were high. when i came across a "simply perfect pancake" recipe from king arthur flour that listed malt powder as an ingredient, i was more than intrigued. apparently the malt replaces the sugar which makes for fluffy, diner-like pancakes.
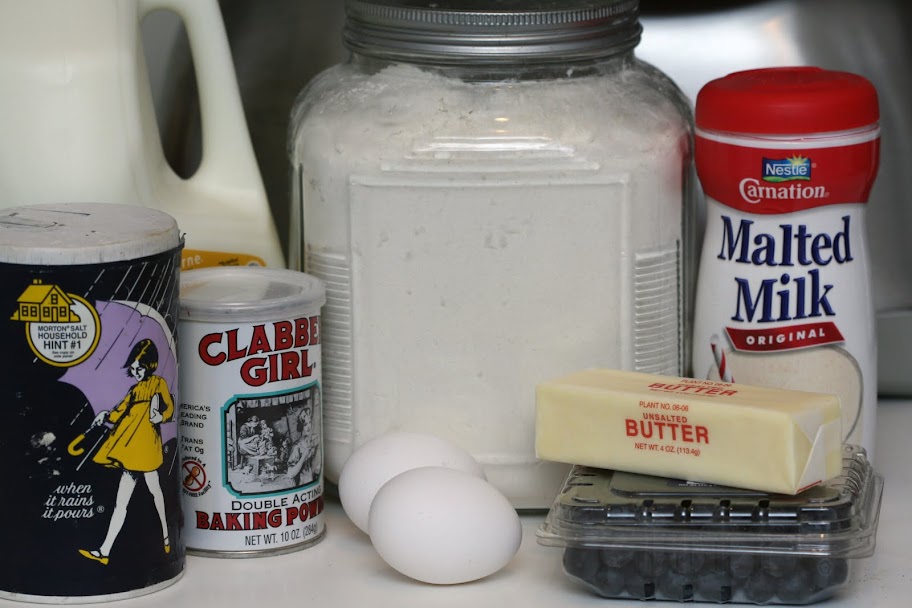
blueberry malt pancakes (adapted from perfect pancakes by king arthur flour)
2 large eggs
1 1/4 c milk
3 tbsp melted butter or vegetable oil
1 1/2 c flour
3/4 tsp salt
2 tsp baking powder
1/4 c malted milk powder
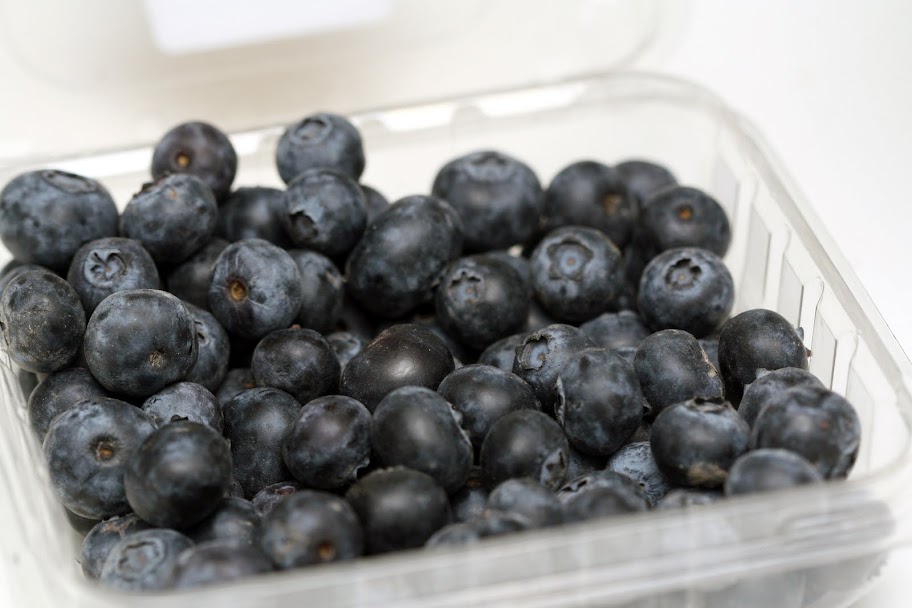
1 pint blueberries
1. beat eggs and milk until foamy
2. stir in butter or vegetable oil
3. whisk dry ingredients and gently combine with egg and milk mixture
4. let batter rest while griddle or non-stick pan* heats up
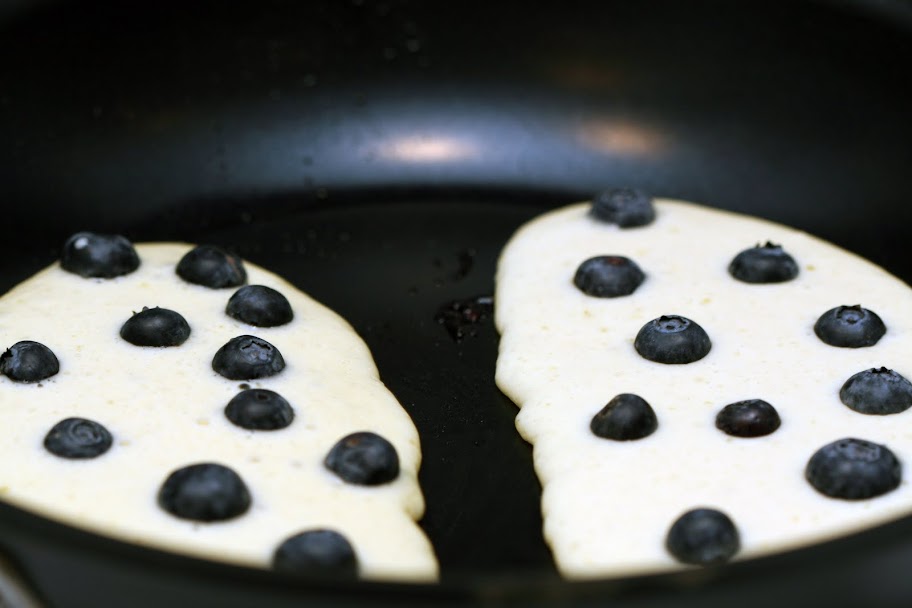
5. pour 1/4-1/3 cupfuls of batter onto hot surface, then drop in a few blueberries to each
6. cook until bubbles form, then flip and cook the other side until brown
7. always serve with butter and syrup, side of sausages optional
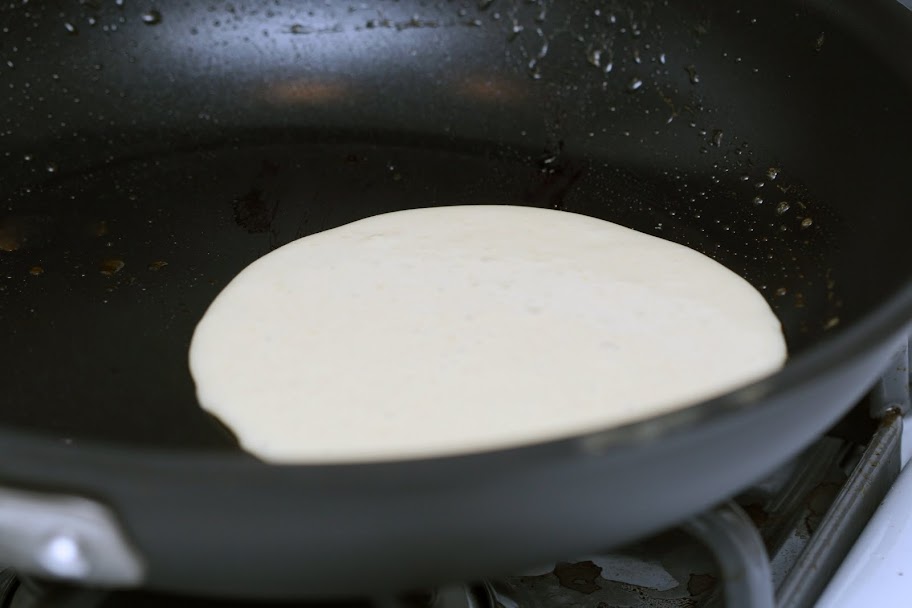

*just a shout out to my new non-stick pan, the cuisinart green gourmet 10" eco-friendly skillet. and no, this was not free, no one gave me anything to write this little review (but if cuisinart reads this, i'm open for testing!). this is a fabulous pan - things glide right out with no greasing and it's good for the earth. i got the 10" because it's perfect for omelets and small jobs, but honestly it was too small for circular pancakes. i have other non-stick options but i love this pan so much i was ok with crescent shapes. i want to keep it nice, so i have not put it in the dishwasher, instead i promptly hand wash after each use, plus NO metal utensils near the surface.
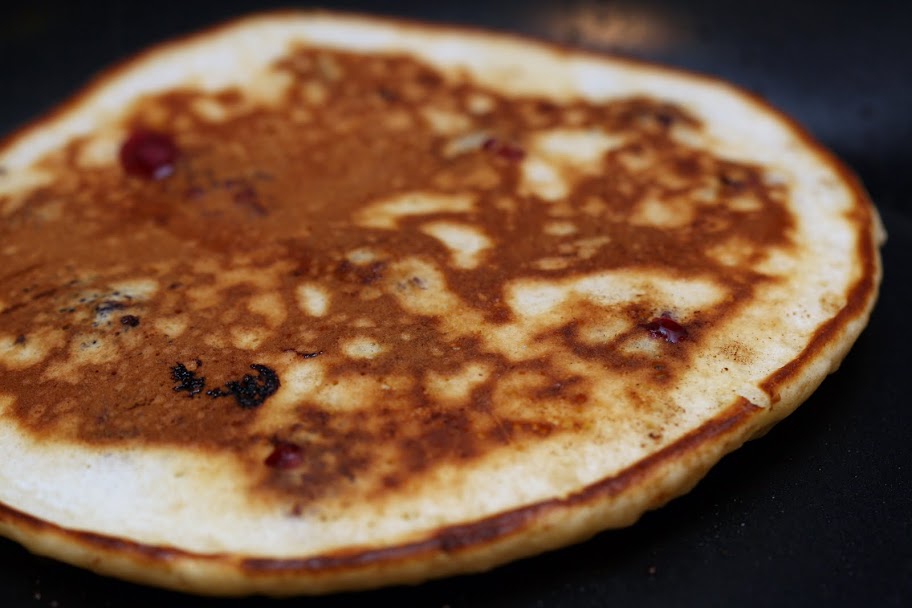
back to the pancakes. yum! fluffy and diner-like, indeed. and you can't go wrong when adding blueberries. they were super easy to prepare (almost as easy as a box mix) and if you're from the midwest, you already have malt powder in your pantry. i will definitely keep this recipe in my pancake arsenal. (we ate them so quick i didn't even get a good "stack" shot)
Wednesday, February 17, 2010
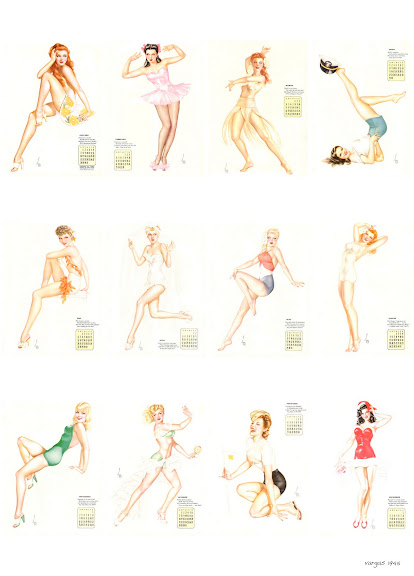
i've had some requests to show the vintage pin up girls i framed in my bathroom. please note that these are NOT my designs. i have found them from sources around the web and you can, too. to give credit where credit is due, they are from esquire calendars designed by alberto vargas. (some nudity will be found when searching his work) i came across them in my friend's dining room, where she has an original calendar, all 12 months, hanging on her wall. i am very jealous.


here are three ladies that now hang in my bathroom. i love them! june and july from 1946 and january 1947.
my favorite calendar as a whole is the 1945 one. i have it in 19x27, which is just large enough for the small space. i put the images together into one large poster and had it printed at kinkos.

Monday, February 15, 2010

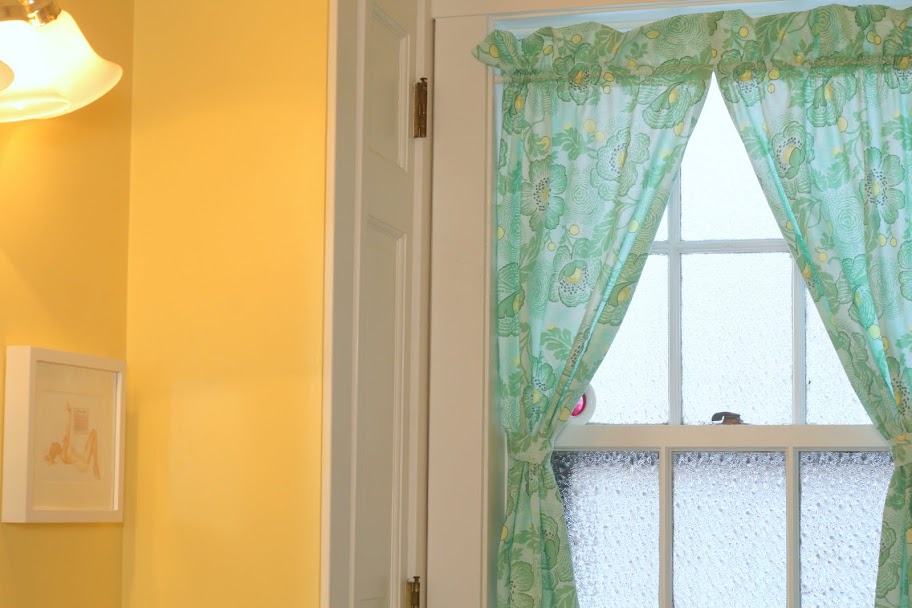
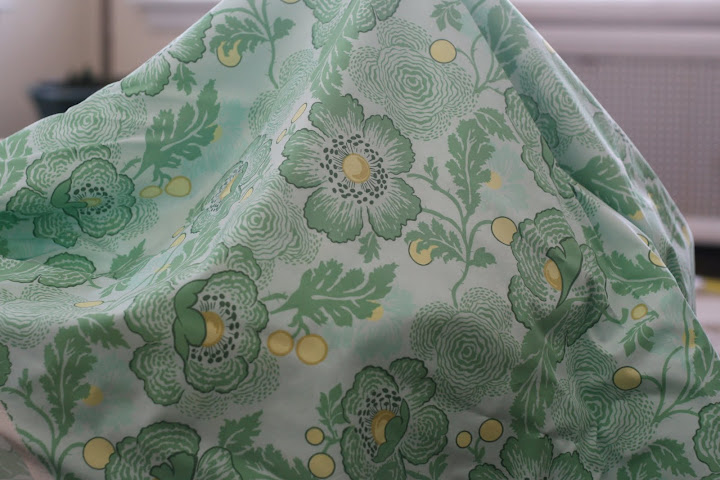
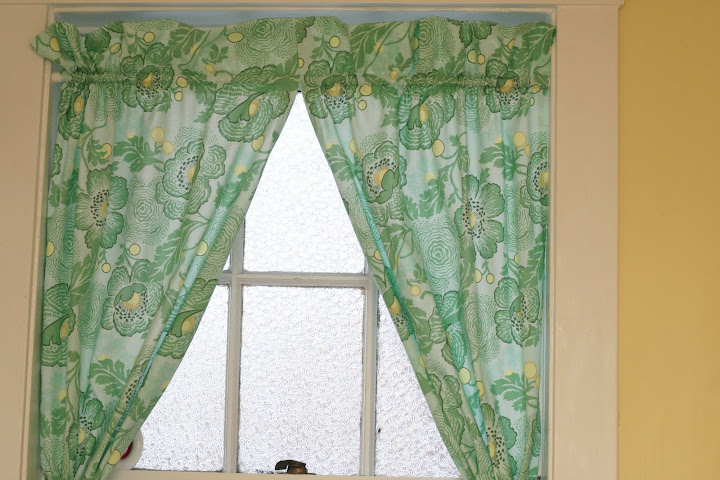
i knew i'd want to make my own out of some floral fabric, so i found some from amy butler and set out to make something simple for the window.

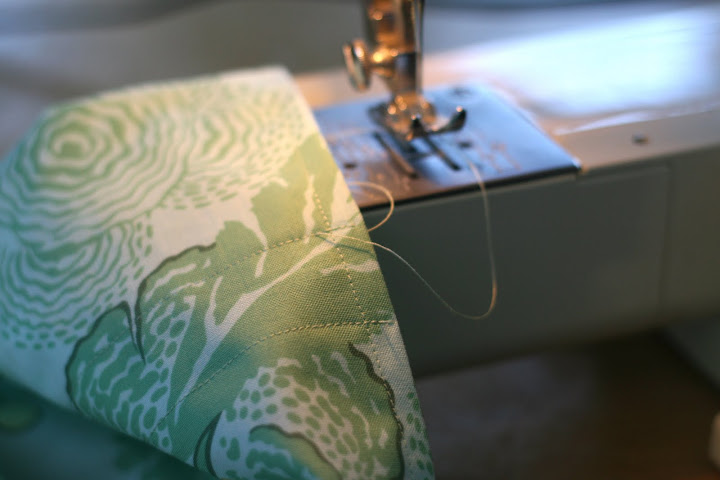
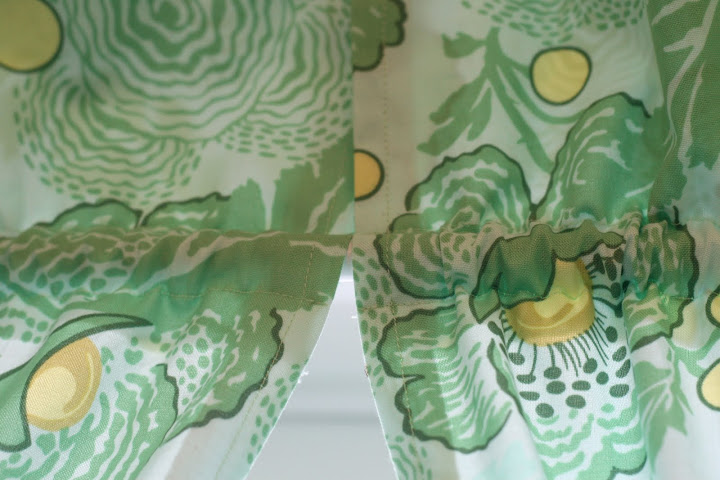
i bought 2 yards online from hawthorne threads and cut the piece in half vertically. i sewed the selvages and cut sides with a simple straight stitch, top to bottom, on each piece. to make a rod pocket, i sewed a large fold at the top, then made another seam about an inch above that, just large enough to allow the rod to fit. i measured for the hem and stitched the final bottom edges to finish. i used the scraps from the hem cut to create tie backs (tubes sewn, turned, and pressed).
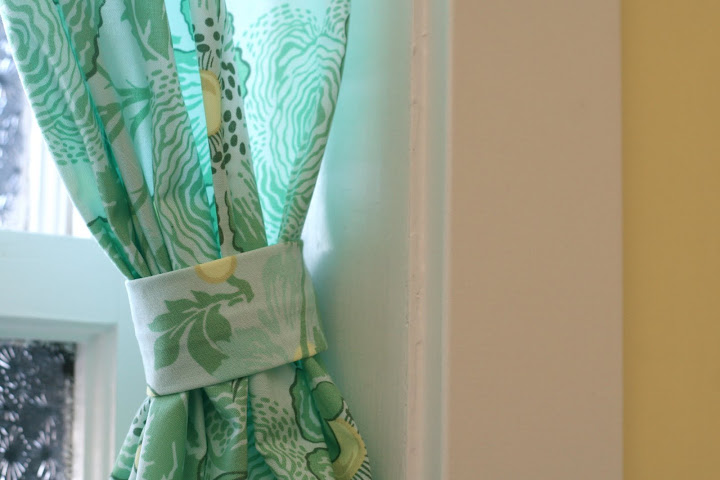
the project took about an hour and probably would have been faster had i made any plans in advance. instead, i just started cutting and sewing until i got what i wanted. having a degree in clothing design makes you confident enough to sew a rectangle without a pattern, i guess ;)
Thursday, February 11, 2010

these photos are blegh. i'm sorry.
the other day, a craving for a warm, pasta based dish hit. not lasagna this time, but shells or rolls, or something. my search led to me to this, and i promptly added the items i didn't already have to my grocery list.


1 tbsp olive oil
1 c finely chopped yellow onion
1 lb sweet italian sausage (i found this without casings)
1 tbsp minced garlic
1 egg
15 oz ricotta cheese (small tub)
10 oz chopped frozen spinach, thawed, squeezed dry, chopped further
1 c grated parmesan cheese
1 tsp dried basil
1/4 c unseasoned bread crumbs
1/2 tsp salt
1/2 tsp ground black pepper
3 14.5 oz cans tomatoes (herbs, celery/onions, plain, whatever), including the liquid, tomatoes broken up
9x13 and 9x9 pans (1 each)
1. cook pasta shells according to directions, then drain, rinse in cold water, and cool.
2. heat olive oil in a large skillet over medium high heat
3. add onions and cook until softened, about 5 minutes
4. add sausage, breaking up into smaller bits and cook until cooked through
5. add garlic and cook until fragrant, about 30 seconds, then remove pan from heat
6. beat egg in a large bowl, then mix in ricotta, chopped spinach, 1/2 c parmesan, basil, bread crumbs, salt, and pepper
7. add slightly cooled sausage mixture
8. cover bottom of 9x13 and 9x9 pans with a thin layer of tomatoes and liquid
9. fill each cooked pasta shell with some of the ricotta, spinach, sausage mixture, then arrange shells into dishes
10. spread remaining tomatoes and liquid over shells
11. cover pans with foil and bake at 375F for 30 minutes
12. remove foil, cover with remaining 1/2 c parmesan and bake for 10 more minutes uncovered

i had 3-4 shells left without filling when all was said and done, but i like to generously fill the pasta. the original recipe calls for two large pans, but i arranged my shells neatly in rows and was able to fit everything in one large and one small pan.


because we are just two people who enjoy leftovers only once after a meal is served, i froze my small pan of shells (before baking). wrapped in foil, then cling wrap, this will stay for about 4 months. i've got a plan to freeze a number of upcoming dishes before the baby arrives so i have a little less to do around the house those first few weeks.

sorry about the pink/warm plate
Friday, February 5, 2010
how did this happen? oh, it happened while i was busy working on the nursery and a variety of projects for the house. i believe they call this "nesting". it leaves little time for blogging with pictures and stories of food and crafts. of course, right when i almost hit a stride!
i've got a few things ready for next week, though. i'm out of town at a baby shower this weekend, so check back on monday!
