Friday, April 17, 2009
highly technical and professional photo studio
i've been thinking about buying some sort of studio stuff to make my pictures look better. but i barely know how to use my camera off the auto setting, so i wasn't sure spending money on collapsible sets, flashes, soft boxes and whatever else was the best way to go about getting better pictures. so i changed my plans. step one: learn more about photography. i'm working on that part. it's a slow process. step two: make a homemade light box and see if it helps.
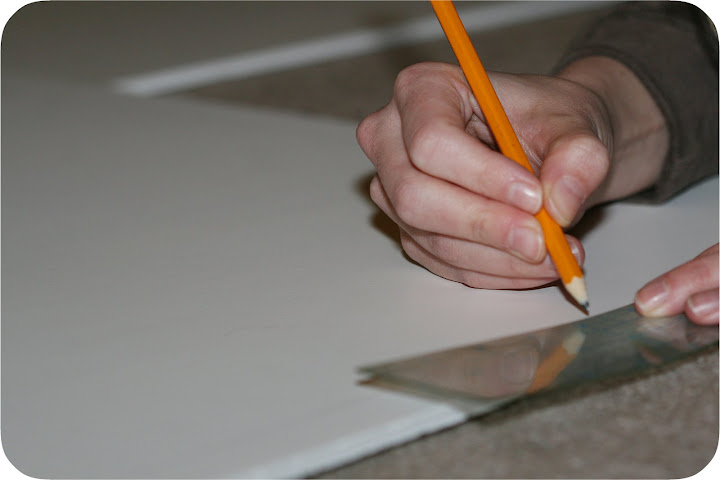
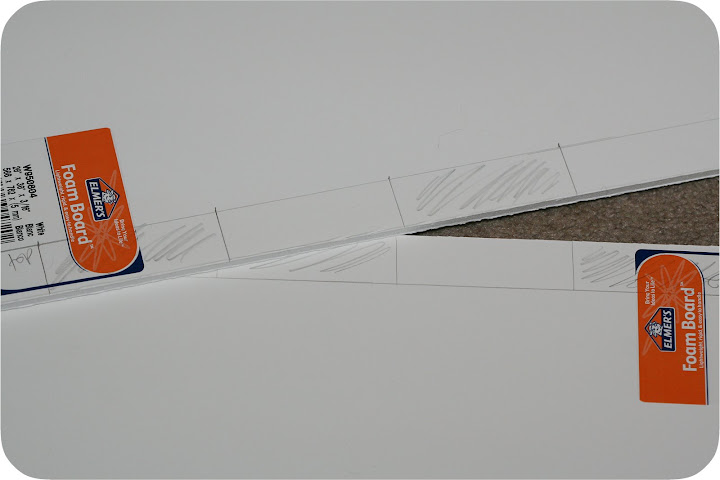
i searched around and found plenty of cardboard boxes with sheets, duct taped squares, and large pieces of white paper...and then i found this tutorial from drawings in motion for a simple, collapsible light box that seemed pretty inexpensive and easy to do.
making a light box
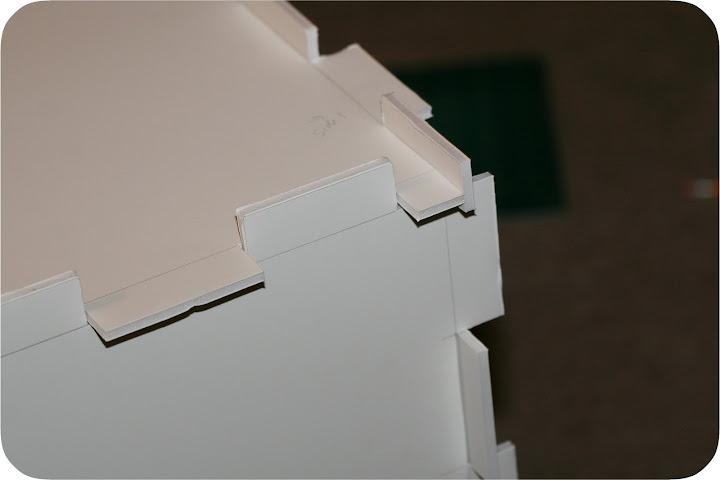
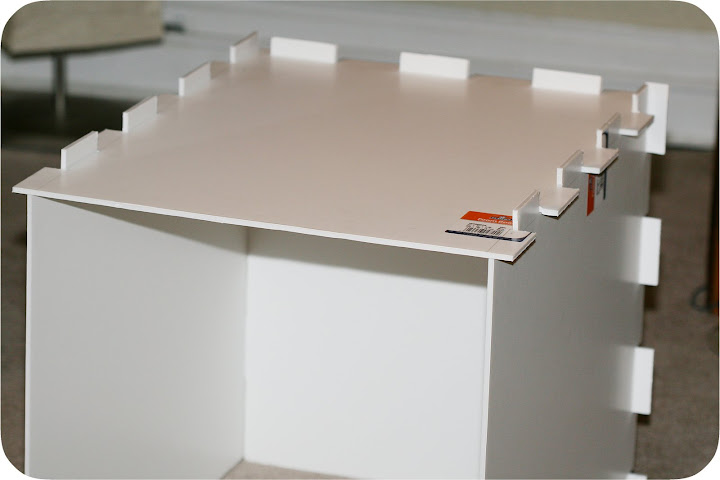
i was right...it wasn't that hard. i'm a visual person who needs actual objects and hands-on learning to understand concepts (this is my problem with photography from a booklet), so laying out the pieces and seeing them fit together helped. her instructions are easy to follow, so use them. my only change was to exclude the white tag/poster board backdrop. mine also cost a bit more - foam core was $2.99 each (5 pieces), and i went ahead and purchased daylight bulbs and basic lights from home depot. i think i spent around $25 total, but i already had things like exacto knives, ruler, and a cutting mat.
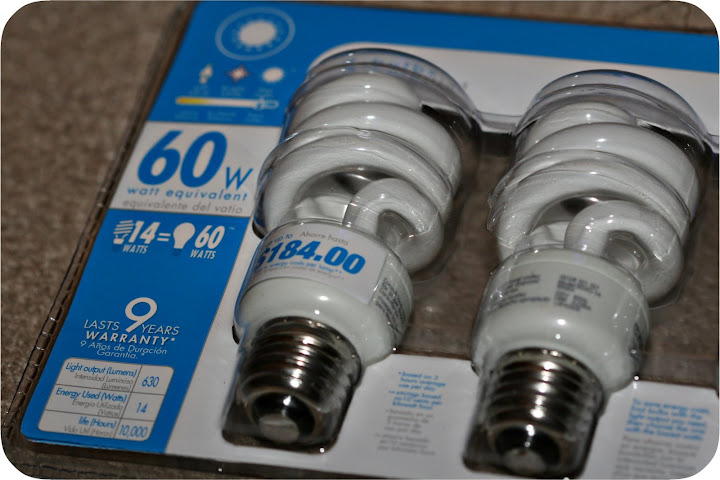
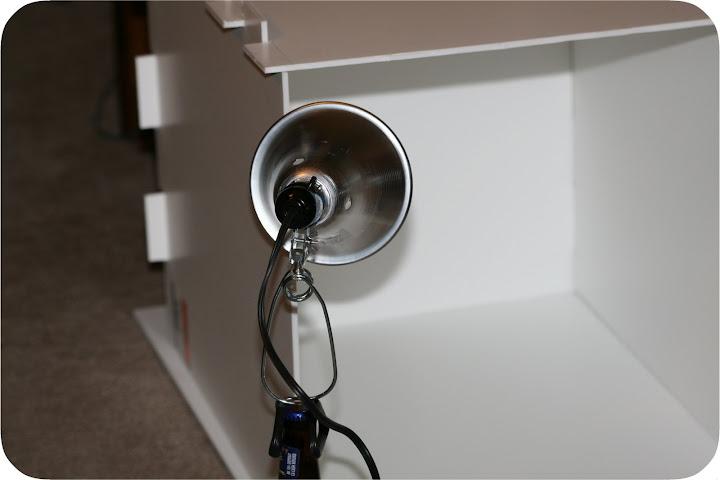
lights!
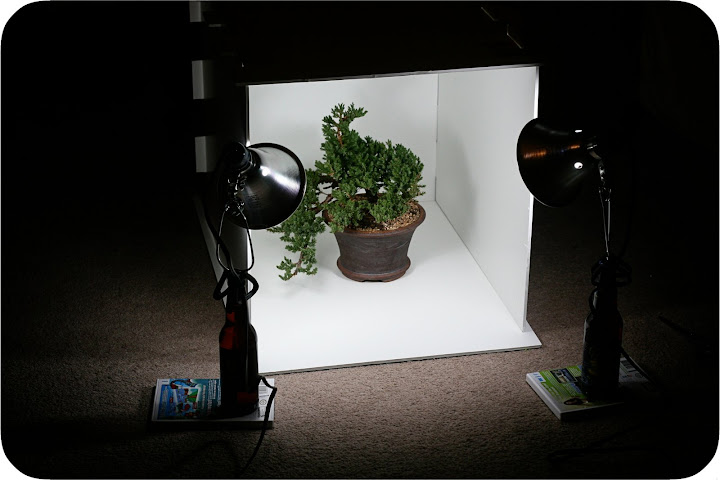
once the notches were cut, i put everything together and set up the lighting. while the lights do have clips, they were too heavy for the foam core, so i used glass beer bottles. those bottles were tipsy, so i set them on wii games. this is serious stuff. for whatever reason, i've been using this studio on the floor, so this is my standard set up. it allows you to manipulate the lights and change the angles without damaging the actual box. i might move up to a table one of these days and see if i makes it easier.
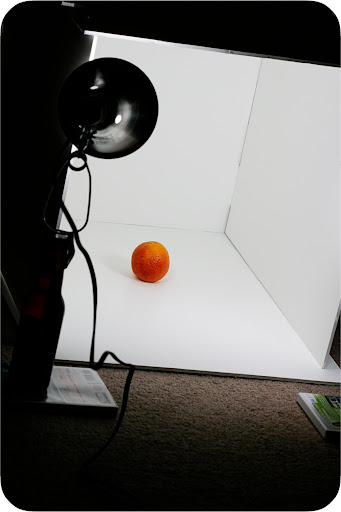
my first subject
for my first photo from the light box, i went to the kitchen to find a subject. hmm, i mentioned that i have a thing for blood oranges, right? yes, ok. so i got down on the floor and started snapping. and huh, that homemade light box thing makes quite the difference. no, i don't have it perfect. yes, i use photoshop to clean things up. but the sooc photos are much improved!
and the best thing is that i can put this together and take it apart whenever, so it doesn't clutter the table or floor like some of the more permanent boxes. plus, i can take pictures whenever i want no matter what the natural lighting conditions are. and trust me, even in prime daylight hours my kitchen gives me just barely enough.
in my next post, i'll show the photos from this first shoot. you can also see the results in my post about the scotty key chains - the close ups were taken in this lightbox.
Labels: crafts, paper/graphic design, photography
Subscribe to:
Post Comments (Atom)


2 comments:
I love that your light box is collapsable! Great photos!
Looks great!!
Post a Comment