
Saturday, October 24, 2009
homemade white bread
operation make bread has begun. first on my list was white bread. it's my favorite for sandwiches (like egg salad) and french toast, and it seems like one of the easier, no fail breads. plus, we don't ever buy plain white bread, so it's a treat to have in the house.
i used another recipe from the bread bible and was careful to read through the instructions start to finish. bread takes a while, lots of steps, and you don't want to be baking at 3 am because you didn't plan around rising times.
basic soft white sandwich loaf (the bread bible)
dough starter
2 1/4 c plus 2 1/2 tbsp unbleached all-purpose flour
1 3/4 c water, room temp
2 tbsp plus 1 tsp honey
3/4 tsp instant yeast
1. combine ingredients and whisk until very smooth, about 2 minutes
2. cover with plastic wrap and allow to sit for at least 1 hour and up to 24 hours
(beyond 1 hour, place in fridge - i did this overnight, resulting in a 2 day process)
dough
2 c plus 3 tbsp unbleached all-purpose flour
1/4 c dry milk
3/4 tsp instant yeast
9 tbsp unsalted butter, softened
2 1/4 tsp salt
1. mix flour, dry milk, and instant yeast
2. sprinkle over sponge and cover with plastic wrap
3. allow to rest from 1-4 hours at room temp (sponge will bubble through flour)
4. add butter and mixture to mixer with dough hook attachment
5. on low speed (#2 on kitchen aid), mix for 1 minute, until moistened
6. cover with plastic wrap and allow to rest for 2o minutes
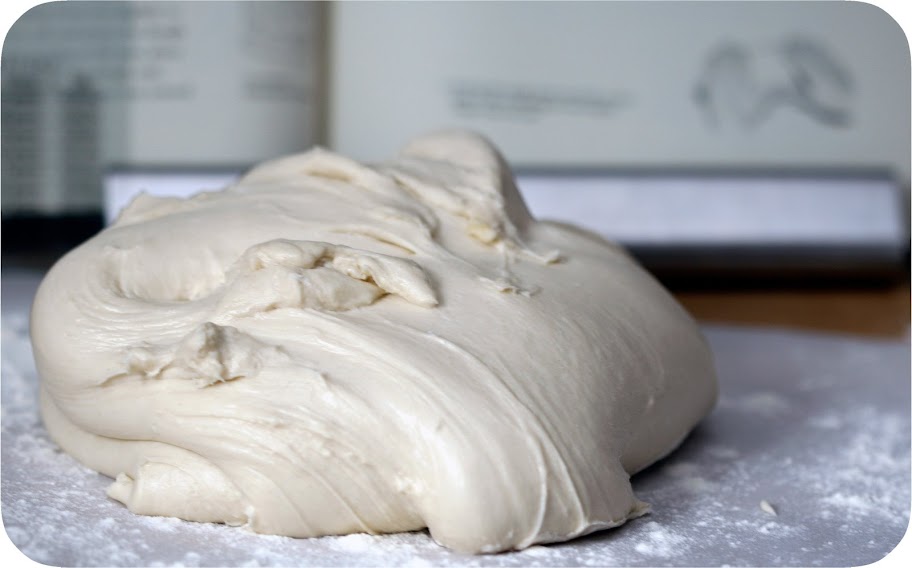
7. sprinkle with salt and knead dough on medium speed (#4 on ka) for 7-10 minutes
(dough should come away from bowl at the end and be shiny, smooth, and sticky)
8. turn dough onto a floured surface and cut it in half
9. shape the loaf:
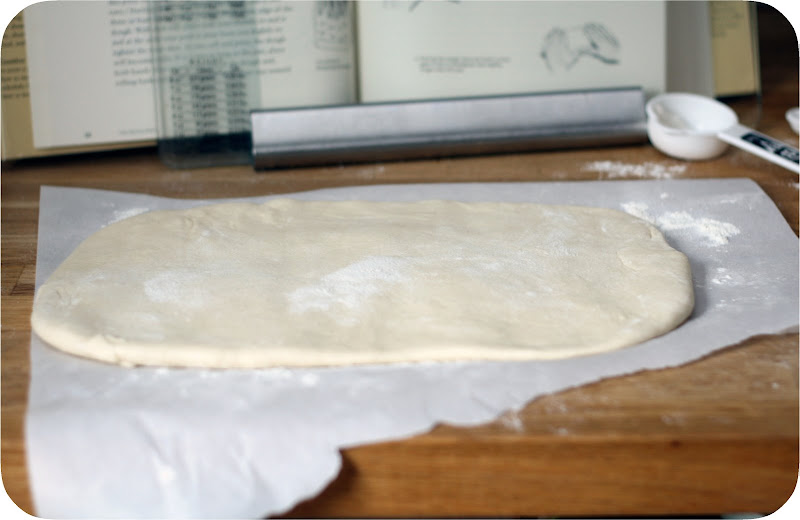


shaping the bread dough (steps 10-15)
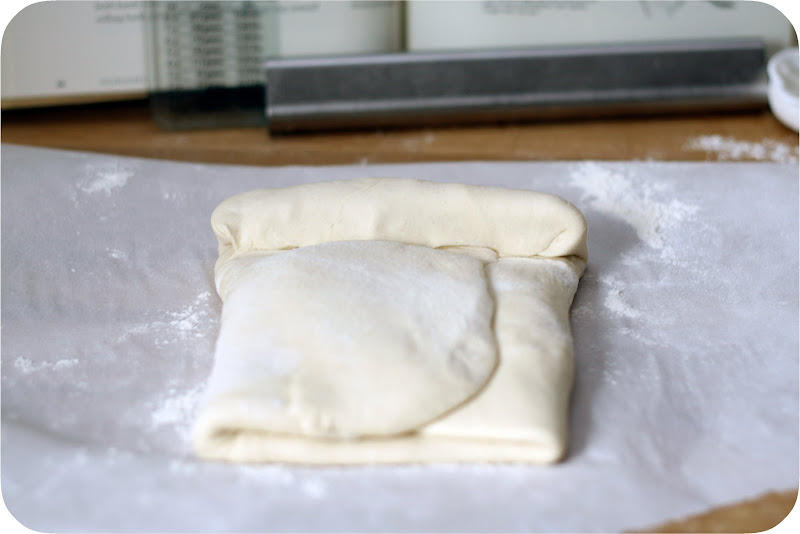
10. press or roll dough into a wide rectangle with the long side facing you
11. dimple dough to remove air bubbles
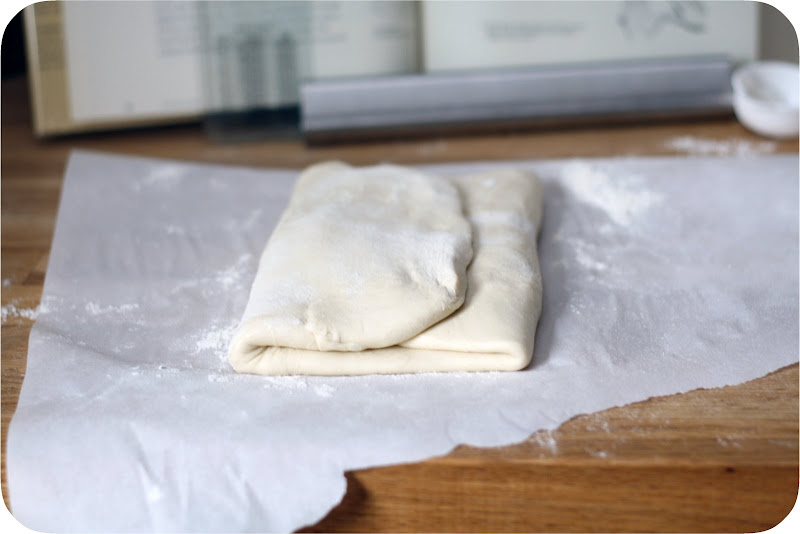
12. fold over right side just past center, then fold left side until just overlapping the right
13. press the center to seal the dough
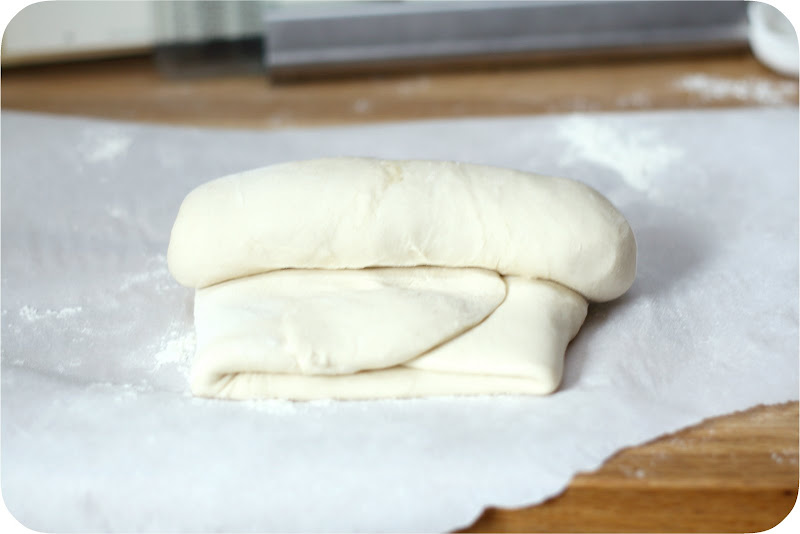
14. starting at the top edge, roll the dough over and press the seam, repeating to the bottom
15. roll the dough back and forth until it is just longer than the bread ban
(be careful not to break the tight skin on the surface)
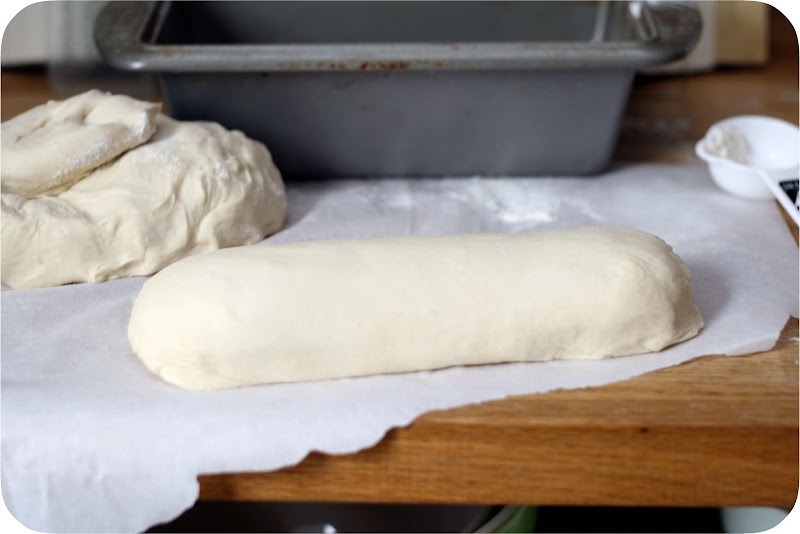
16. tuck the edges under and place in a greased loaf pan
17. cover with greased plastic wrap and allow to rise 1 1/2 to 2 hours
(repeat the shaping for the second loaf)
18. preheat the oven at 350F for 45 minutes before baking, with a sheet pan on a rack on the lowest level and a baking pan on the bottom of the oven
19. set the loaves on the hot baking sheet and add 1/2 c ice cubes to the baking pan on the bottom
20. bake at 350F for 50 minutes, until golden brown (rotate halfway through baking)
21. glaze the bread with melted butter, remove from pan, and cool for 1 hour before slicing
11. dimple dough to remove air bubbles
12. fold over right side just past center, then fold left side until just overlapping the right
13. press the center to seal the dough
14. starting at the top edge, roll the dough over and press the seam, repeating to the bottom
15. roll the dough back and forth until it is just longer than the bread ban
(be careful not to break the tight skin on the surface)
16. tuck the edges under and place in a greased loaf pan
17. cover with greased plastic wrap and allow to rise 1 1/2 to 2 hours
(repeat the shaping for the second loaf)
18. preheat the oven at 350F for 45 minutes before baking, with a sheet pan on a rack on the lowest level and a baking pan on the bottom of the oven
19. set the loaves on the hot baking sheet and add 1/2 c ice cubes to the baking pan on the bottom
20. bake at 350F for 50 minutes, until golden brown (rotate halfway through baking)
21. glaze the bread with melted butter, remove from pan, and cool for 1 hour before slicing
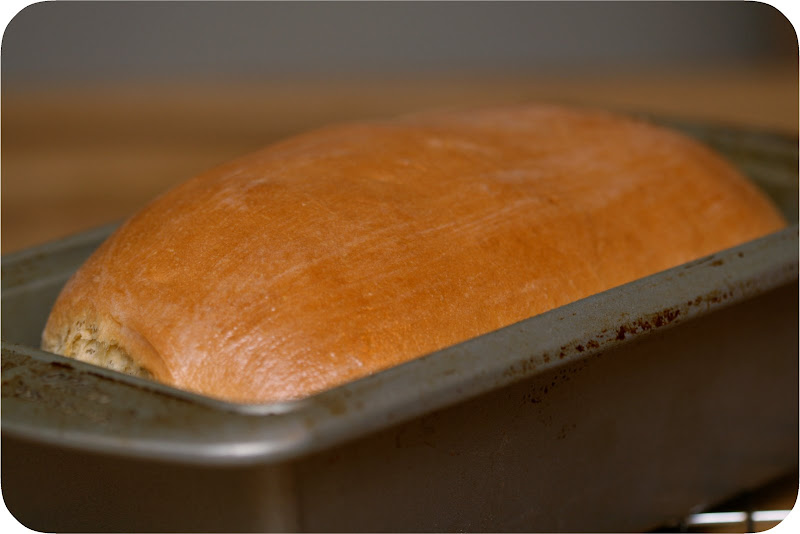
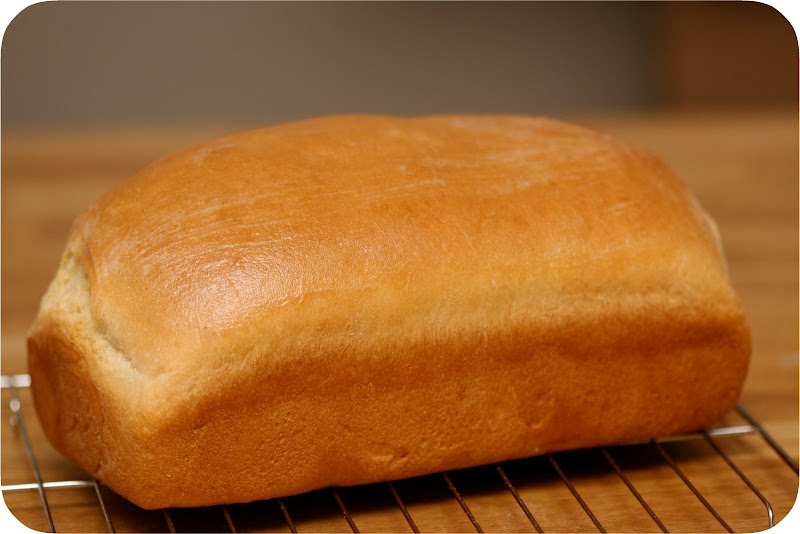
bread success! it wasn't hard, just time consuming (hours, not actual work), and it came out with a nice golden crust and a yummy, soft crumb. my first loaf (i have only one bread pan) didn't rise as it should have because it wasn't warm enough in my kitchen, so it came out a little squat and dense. with the time and heat from the baking of the first loaf, the second loaf was able to rise much more and came out domed over the top of the pan. both loaves were excellent, but the second one had a better consistency and looked nicer.
i plan to make this recipe again in the coming weeks and it will probably be my go-to basic bread. it makes great french toast and excellent garlic bread. husband devoured it!
i plan to make this recipe again in the coming weeks and it will probably be my go-to basic bread. it makes great french toast and excellent garlic bread. husband devoured it!
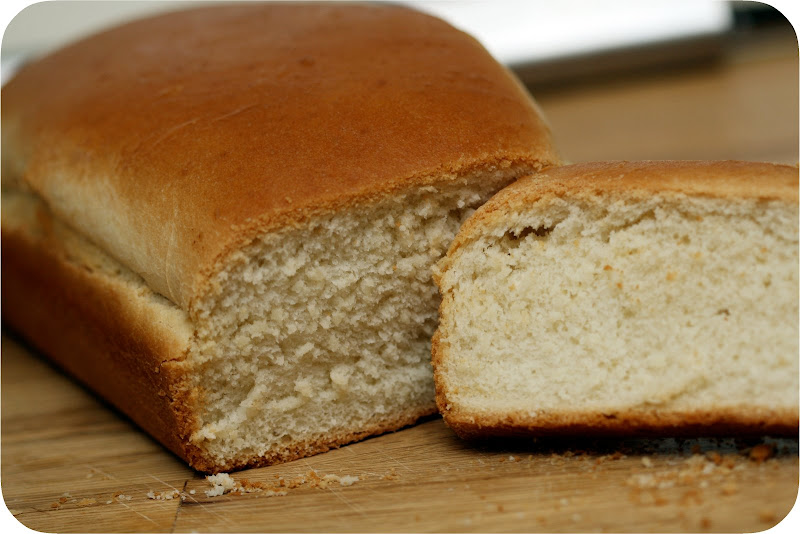
this is the less risen loaf - but you can see the inside
Subscribe to:
Post Comments (Atom)

3 comments:
Do you leave it to rise in the bowl? (I ask this as if I'll ever make bread, but I'm curious.)
That bread is BEAUTIFUL.
it rose both in the bowl and in the bread pan :)
Post a Comment