Showing posts with label sewing/fabric design. Show all posts
Showing posts with label sewing/fabric design. Show all posts
Wednesday, June 23, 2010
week three of creativity and i found it a bit harder due to travel. this week had a few less creative days paired with some pretty goods ones, so i definitely don't feel as great about it.
june 15/laid out invitations for print

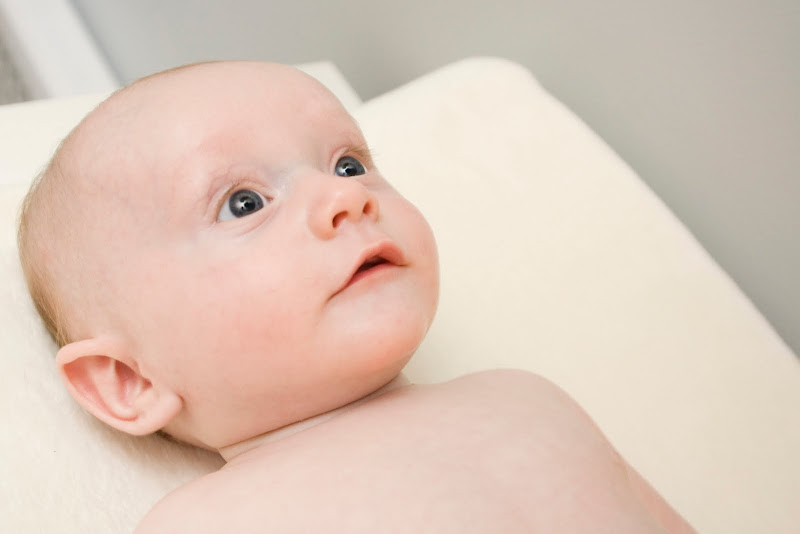
june 16/took photo of finn plus basic edit (catch lights in eyes!)
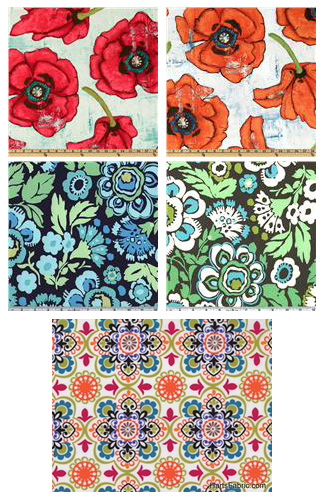
june 17/collected fabric samples for table runner
june 18/met with a creative friend? for real, this day i can't think of a specific thing because i was busy and then we drove 6 hours. i fail...
june 19/took photos of finn and his grandpa

june 20/took photos of finn and his grandma (also got some of him and his daddy)

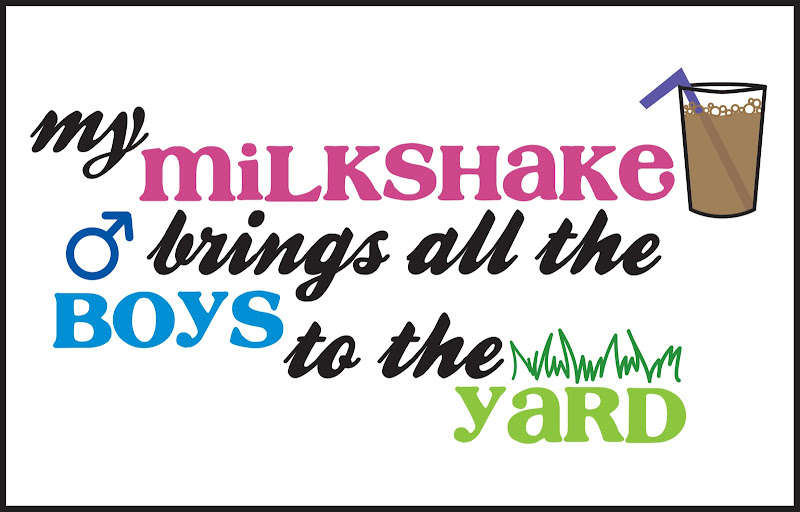
june 21/milkshake graphic print for fun
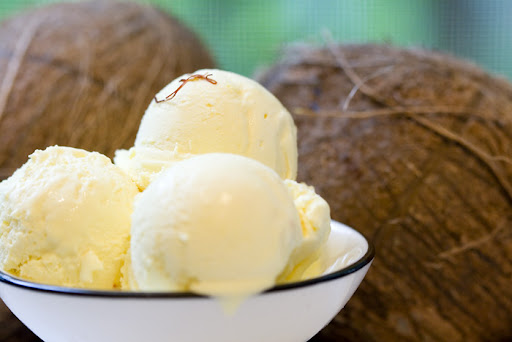
i vow to be better this week! andplusalso, i still owe you some ice cream/sorbet recipes and some sewing info. soon!
Monday, June 7, 2010
week one of my 30 days of creativity is complete! i had no trouble being creative. here's the roundup:
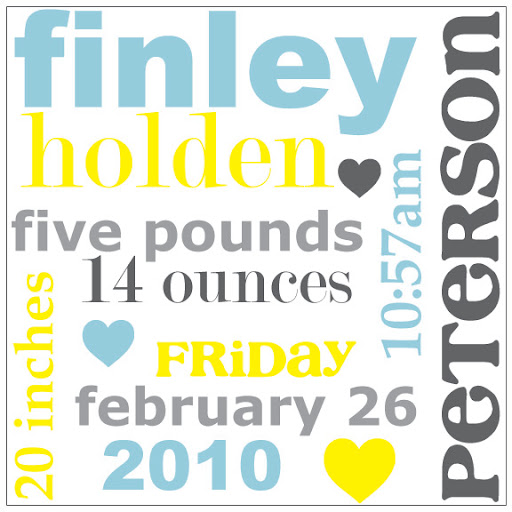
june 1/birth announcement poster for finn (outline added for white background)
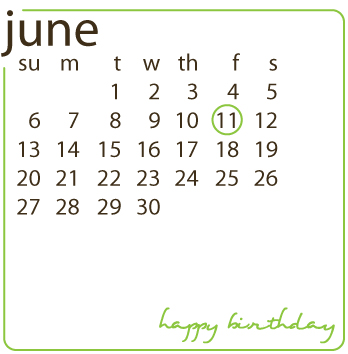
june 2/birthday card for someone special (maybe she's not reading...)
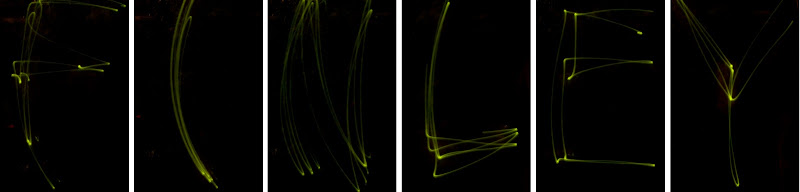
june 3/long exposure photos using finn's baby monitor
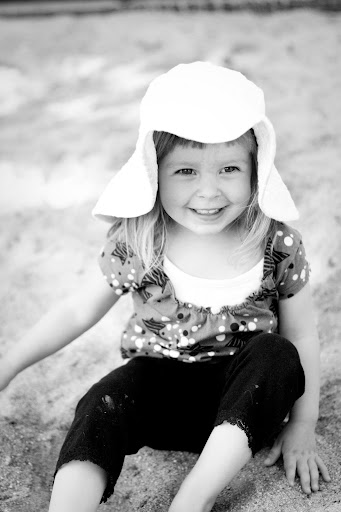
june 4/edited photos (black & white conversions of my friends little girls)

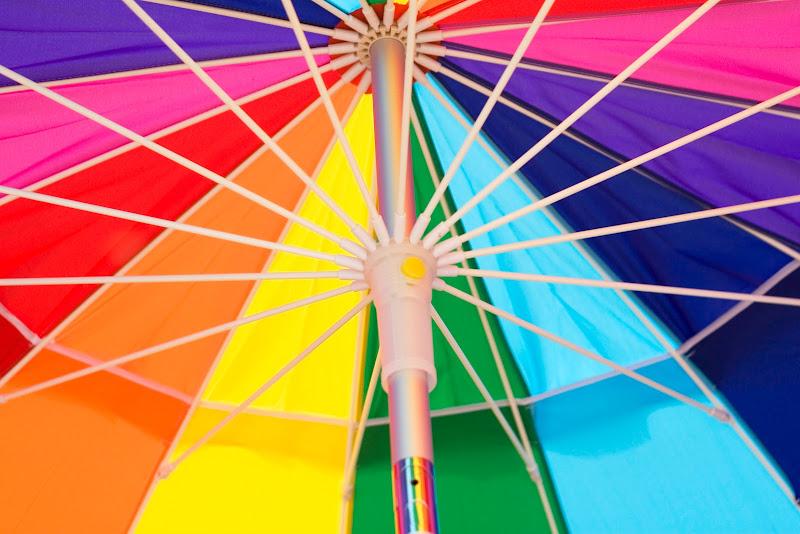
june 6/photo of my umbrella on the beach
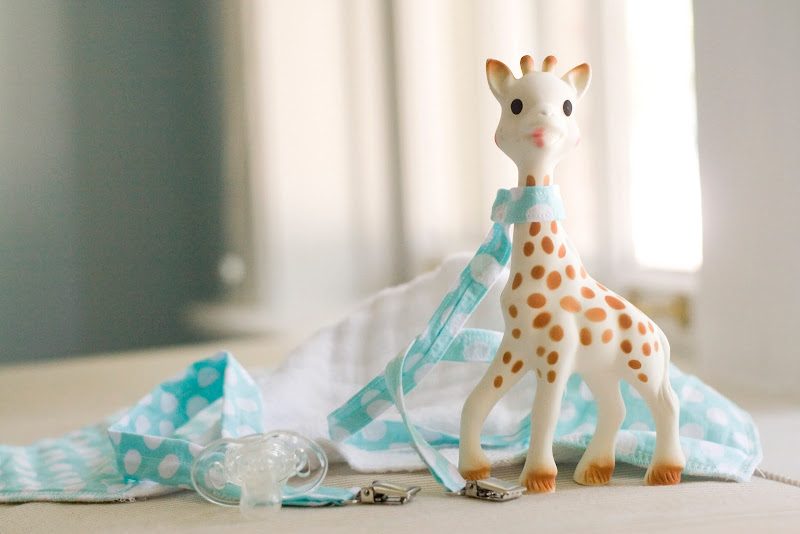
june 7/polka dot baby gear (paci leash, toy leash, burp cloth)
i'll blog about the goods in future posts, but i wanted to be sure to post this week's creative endeavors all in one.
Monday, February 15, 2010
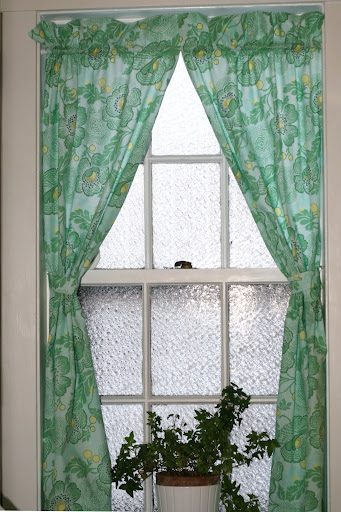
super simple curtains
our main bathroom in the condo is painted a buttery, slightly sunny yellow. since we didn't feel like repainting, i decided to design around the color. i put up these fantastic vintage vargas calendar prints of pin up ladies (which i fell in love with thanks to my friend amelia...you may remember we made button lollipops in the god awful heat of summer). i found a little white saucer with gold trim to match the gold fixtures in the space (also already there) to use as a hand soap dish. it's full on girly vintage (but the ladies are hot enough to keep it man friendly) and it needed some curtains.
i knew i'd want to make my own out of some floral fabric, so i found some from amy butler and set out to make something simple for the window.
i knew i'd want to make my own out of some floral fabric, so i found some from amy butler and set out to make something simple for the window.
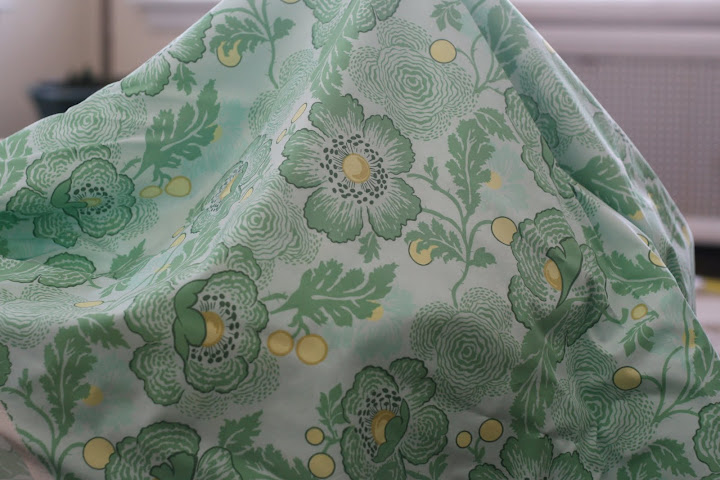
midwest modern 2 sky fresh poppies

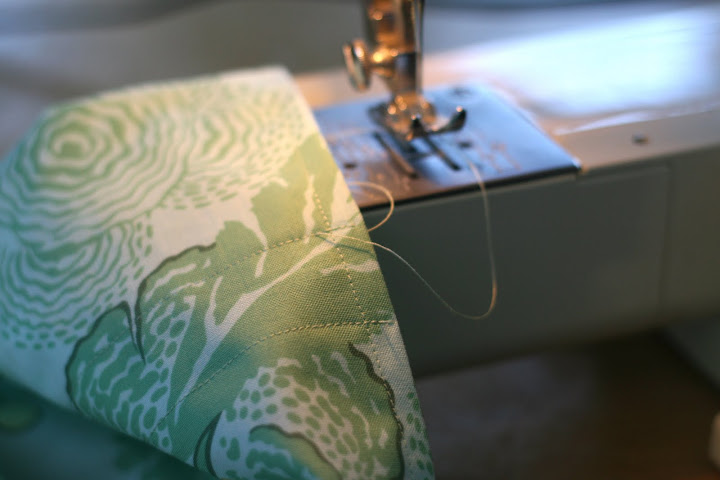
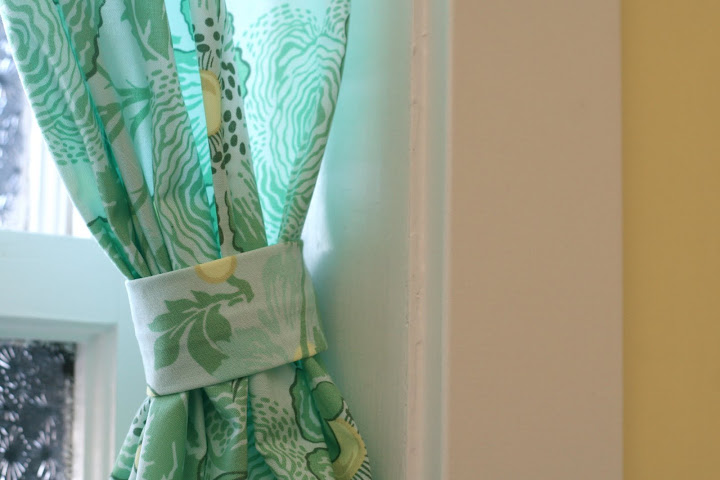
i bought 2 yards online from hawthorne threads and cut the piece in half vertically. i sewed the selvages and cut sides with a simple straight stitch, top to bottom, on each piece. to make a rod pocket, i sewed a large fold at the top, then made another seam about an inch above that, just large enough to allow the rod to fit. i measured for the hem and stitched the final bottom edges to finish. i used the scraps from the hem cut to create tie backs (tubes sewn, turned, and pressed).
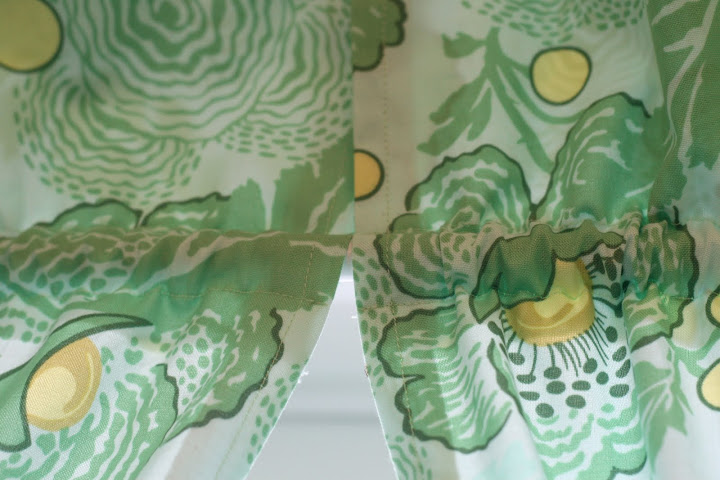
the project took about an hour and probably would have been faster had i made any plans in advance. instead, i just started cutting and sewing until i got what i wanted. having a degree in clothing design makes you confident enough to sew a rectangle without a pattern, i guess ;)
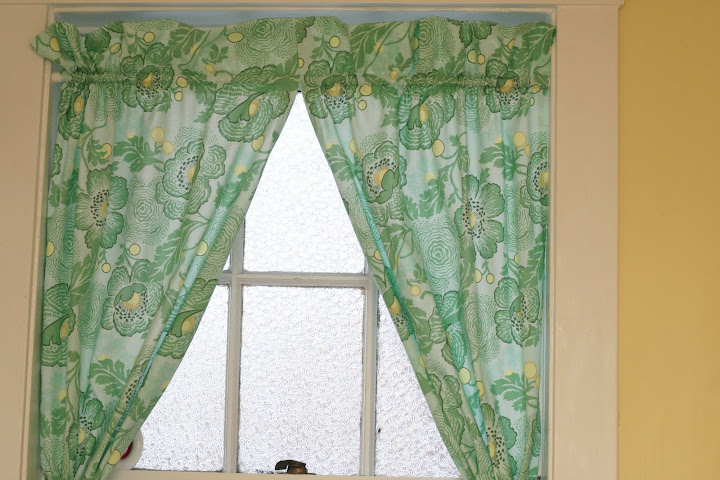
i really enjoy these curtains. i like the green and the pattern, which plays nicely with our light purple towels and vintage girls on the walls. they are just feminine enough for the small space. a cheap, easy way to dress up an boring wall and textured window.
Sunday, July 19, 2009
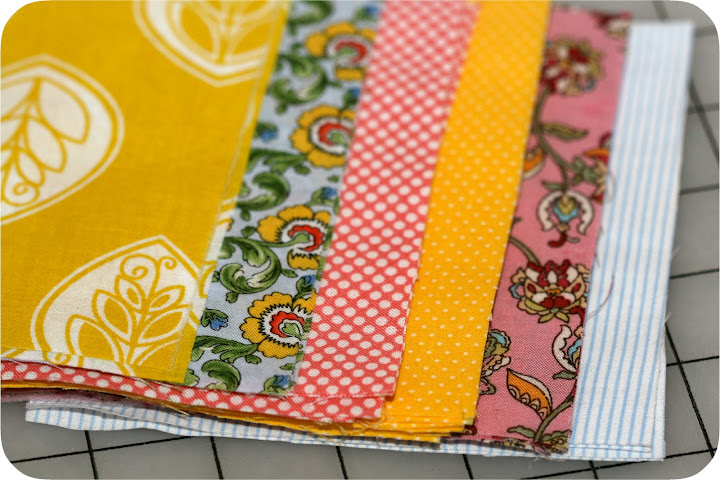
fabric!
i've mentioned here that i have a degree in clothing design. so, yes, i know how to sew, i can make my own clothes (i don't), i have experience with textiles of all sorts. i spent a good amount of my time in college and prior just thinking about fabric, clothes, and making stuff. but one thing i've never done? quilt. so i decided that i'd make one this summer.
i love lofty, worn-in, light-weight quilts. i love to cuddle up in them or lay them out at the park; it's a basic comfort that everyone should have...but i don't have any right now. my only remedy to this was to figure out how to put one together and then wash it 10 times to wear it in. i'll write a few posts so you can follow along and see how it goes...
i love lofty, worn-in, light-weight quilts. i love to cuddle up in them or lay them out at the park; it's a basic comfort that everyone should have...but i don't have any right now. my only remedy to this was to figure out how to put one together and then wash it 10 times to wear it in. i'll write a few posts so you can follow along and see how it goes...
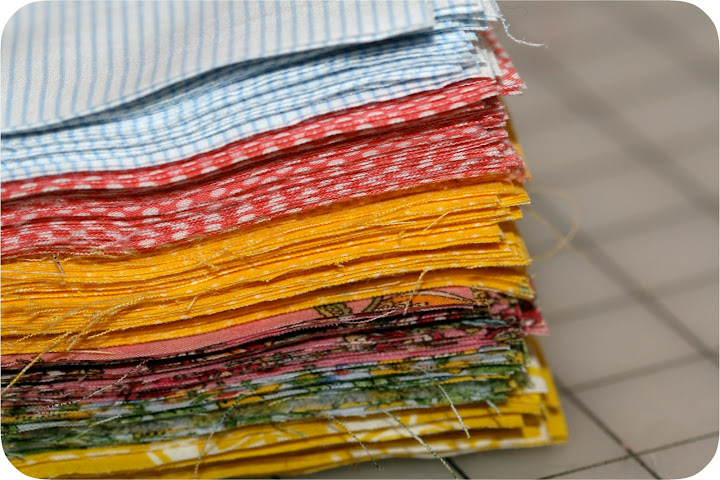
250+ squares cut
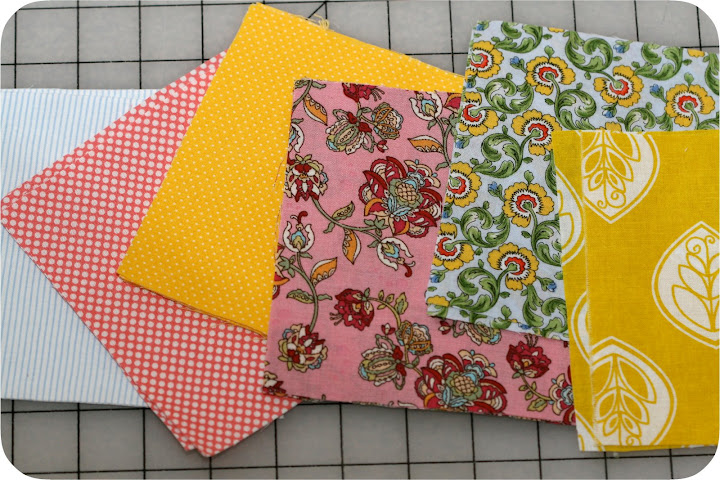
when i saw that joann's was having a quarter sale, it was the only push i needed to go pick out some simple fabrics and the rest of the quilting supplies i'd need. they don't have a great selection if you aren't into neon fabrics, so i picked as best i could and ended up with a pink floral, pink polka dots, blue floral, blue stripe, yellow floral, and yellow dots. because it's my very first quilt, i didn't feel like paying the big money for designer fabrics, but if this one tuns out...i'm in trouble.i'm not following a pattern, a book, or any instructions. i'm making it up as i go based on what i know about sewing and what i've briefly skimmed about quilting.
basic first steps:
1. wash all fabric to shrink and hopefully bleed out
2. iron, iron, and iron (it's a lot of ironing)
3. trim quarters to get straight egdes
4. measure blocks and use a rotary blade to cut uniform squares
5. arrange squares randomly to create rows until desired size
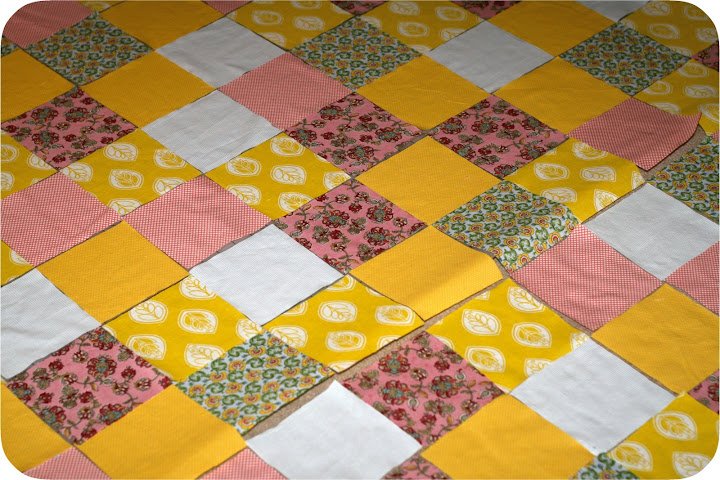
laid out across my floor
this is how far i am. ive got the prep and plans done - the quilt is arranged and i just need to get to sewing. my squares are 5.25 x 5.25" and i think i've got 11 across by 14 down, so it will be about 55 x 70" finished. just seeing it laid out got me excited. i can't wait to drag it outside on the lawn or wrap up on the couch with a good book.
stay tuned for part 2 when i start to sew square after square to complete to quilt top.
stay tuned for part 2 when i start to sew square after square to complete to quilt top.
Tuesday, April 21, 2009
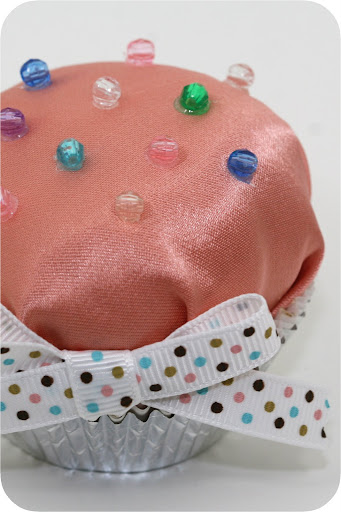
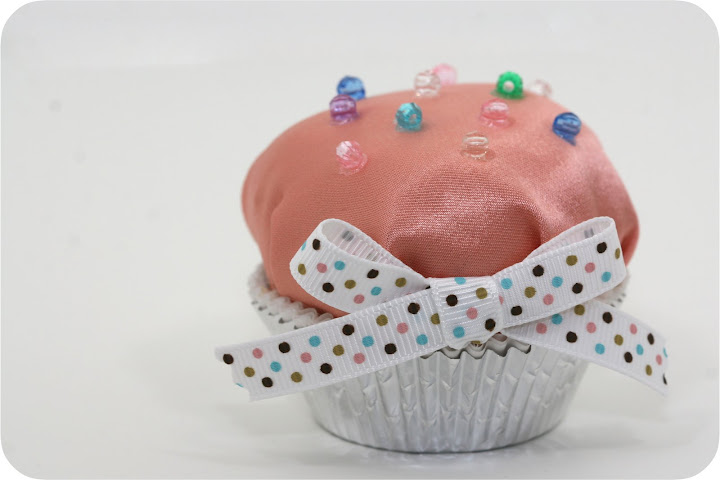
beaded satin "cupcake"
this was totally random and silly, but part of something better. stay tuned for my next post which promises to be a good one, i think.
wondering how i made this mini little cupcake? here's the instructions:
1. cut a circle disc from card stock that fits inside a cupcake liner
2. cut a small "x" into the center of the circle
3. cut a circle from fabric that is 2 inches larger than the paper disc
4. lay the fabric circle face down (this is your top) and put the paper circle on top of it
5. using hot glue, attach the fabric to the edge of the disc at 12, 3, 6, and 9 (like a clock!)
6. continue gluing between the halfway points until fabric is neatly tucked and secure (1.5, 4.5, 7.5, 10.5 then halfway between those dots...you with me?)
7. gently push stuffing into the cupcake "frosting" through the "x" cut out until full
8. glue 3 or 4 paper liners together, then glue inside the silver (or outer) liner
9. glue a small amount of stuffing to the inside of the liners
wondering how i made this mini little cupcake? here's the instructions:
1. cut a circle disc from card stock that fits inside a cupcake liner
2. cut a small "x" into the center of the circle
3. cut a circle from fabric that is 2 inches larger than the paper disc
4. lay the fabric circle face down (this is your top) and put the paper circle on top of it
5. using hot glue, attach the fabric to the edge of the disc at 12, 3, 6, and 9 (like a clock!)
6. continue gluing between the halfway points until fabric is neatly tucked and secure (1.5, 4.5, 7.5, 10.5 then halfway between those dots...you with me?)
7. gently push stuffing into the cupcake "frosting" through the "x" cut out until full
8. glue 3 or 4 paper liners together, then glue inside the silver (or outer) liner
9. glue a small amount of stuffing to the inside of the liners
11. top with beads or sequins and add a decorative bow if you feel like it
it's pretty easy and i managed to get this mini cupcake after only two trial and error versions. i don't know what you'd use it for...but i know what mine's doing. check back for details!!
Thursday, April 2, 2009
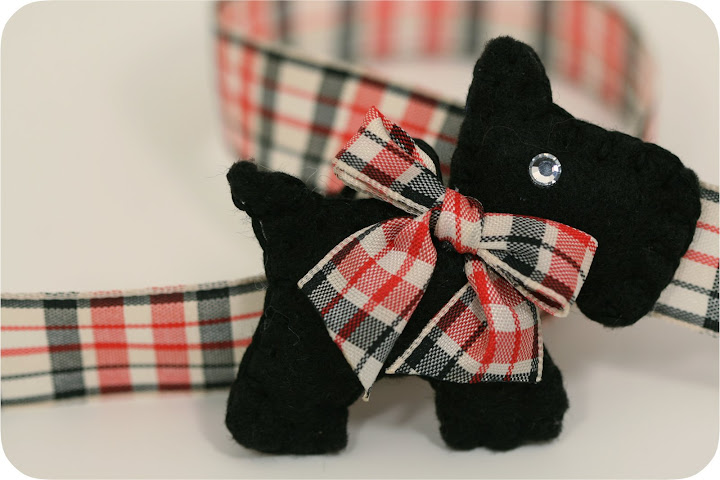
hand sewn scotty key chains
as part of my small gift to my cheer team members, i usually do something with pictures. this year i found some plain silver frames and had 5x7 team photos printed to go in them. but i wanted to do a little something extra, so i searched for scotty themed ideas. i came across this adorable softie scotty dog and decided to use her pattern to create something for the team.
i didn't have the time to sew the 3d style scotty toy (plus i can't imagine why my team would want that), but she mentioned that the pattern works flat, as well. hmm...a tiny flat scotty...how to use? a keychain!
i didn't have the time to sew the 3d style scotty toy (plus i can't imagine why my team would want that), but she mentioned that the pattern works flat, as well. hmm...a tiny flat scotty...how to use? a keychain!
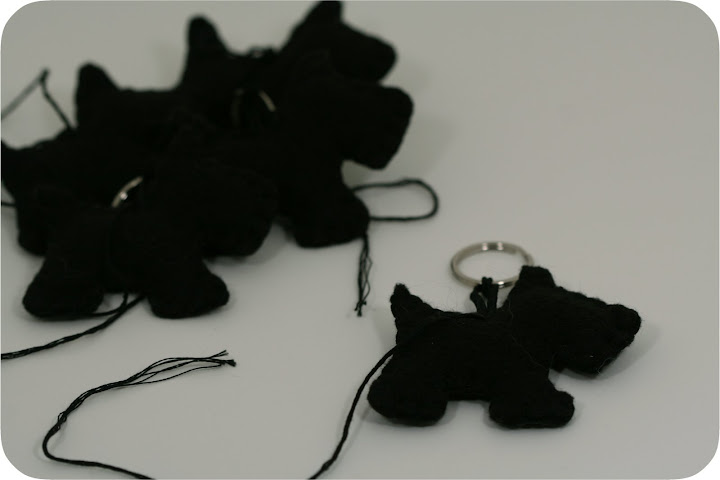
scotties sewn, ready for bows and rhinestones
out i went in search of the supplies. black felt was easy...cording and key chains were easy, too. but black embroidery floss? you'd think that was some crazy request! because i needed fabric and the walmarts was the closest store that carried felt (::shakes fist at michael's::), i decided to call ahead and ask about the floss. yes, she said, we have all sorts of thread. that should have been my first clue, but i went anyway. i searched high and low and they had none. at walmart? isn't that where grandmas go for their tea towel supplies? (this is said with dear love, as husband's grandma hand embroiders tea towels and i love them!). i did some foot stomping and decided i had to make the trip out to joann's. of course they had it and i should have just driven the extra distance in the first place. (::shakes fist at walmarts::)
of course i already had the plaid ribbon and the rhinestones. you may have recognized them from my post way back when about scotty hair bows. or you may have never been here before and have no idea what i'm talking about.
of course i already had the plaid ribbon and the rhinestones. you may have recognized them from my post way back when about scotty hair bows. or you may have never been here before and have no idea what i'm talking about.
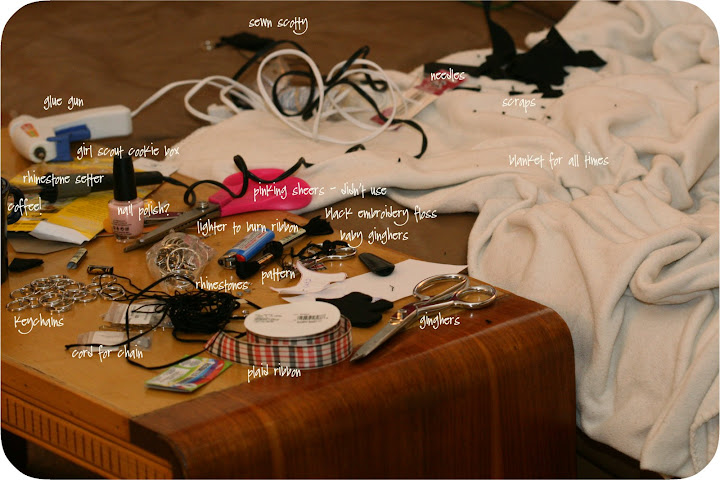
work zone: click this to enlarge it
i set out to sew my scotties on a sunday afternoon. i knew i wouldn't finish them at one time, but i made a good effort to get as many as i could done. the above is the living room scene for the week that followed. i cut each set of bodies out and sewed from the nape of the neck to the tail using a blanket stitch. i left the back open for stuffing and adding the cord and keychain. they were tiny and certainly took patience to stuff. i sewed the cording on securely, which closed up the back nice and tight, and completed the scotty body. i handed-tied bows, burned the ends to keep them fom fraying (cheer bow necessity), and hot glued them to the neck. the final touch was the heat-fixed rhinestone eye - cute to the la! (for the boy scotties, i just did a little plaid collar and no rhinestone.)
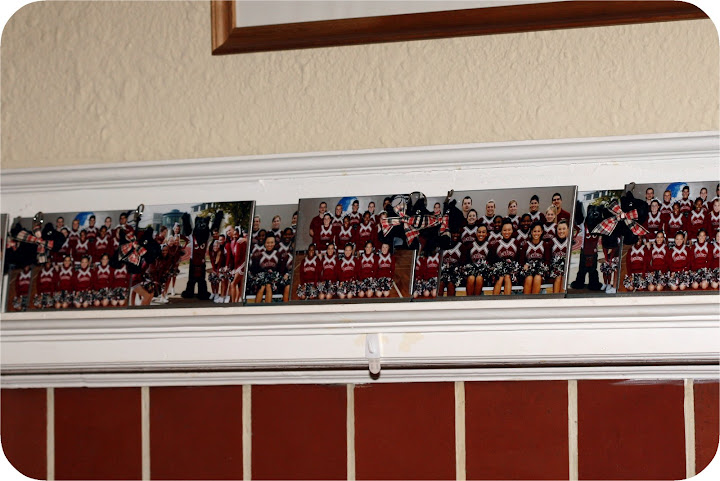
hanging on the picture frames ready for gifting
these came out so cute. the team seemed to enjoy them and some were surprised they were homemade. i think they'll hold up to a decent amount of wear and tear and hello, no one else on campus will have them.
i would still like to make the 3d scotty plush toy. i imagine while the sewing would take longer, it would be easier to work with something that's a little bigger. i don't really have a use for a scotty softie, though, so i'm not sure how soon i'll be trying my hand at it.
i would still like to make the 3d scotty plush toy. i imagine while the sewing would take longer, it would be easier to work with something that's a little bigger. i don't really have a use for a scotty softie, though, so i'm not sure how soon i'll be trying my hand at it.
Monday, February 18, 2008

scottie hair bows
i coach a college cheerleading team and made these bows awhile back for our homecoming game. 10 points to you if you can figure out the school. hint, not very many teams have our mascot(s).
anyway, i love these simple little bows and so did my team. i'm really big on swarovski heat back rhinestones (i am a clothing design graduate with an emphasis on specialty wear - cheer and dance costumes specifically, thus my love for sparkly adornments) and this plaid ribbon is just so cute!

paired with their regular hair bows, this was the perfect size

a cheer legal clip
Subscribe to:
Posts (Atom)
