Wednesday, June 30, 2010
i finished my 30 days of consecutive creativity (with only 1 missed day. but i was with one of my most creative friends that day, so it evens out.) it was fairly easy to be creative at home, but we traveled multiple times and hosted a number of guests during june, so pairing my creativity with housework, baby care, photography (which wasn't always creative) and entertaining and i'll admit there were difficult days. here's the final run down:
june 22/last day of ballet for the summer

june 23/read all my brand new patterns and got thuper excited to sew

june 24/post storm photo (missed the rainbow by thismuch)

june 25/made chicken, veggies, and a mix of noodles into stir fry (no photo here. but no fail, as i had to get creative with my ingredients and then we ate it.)
june 26/floral "macro" (50 mm 1.8 as i didn't have my 100mm macro along)

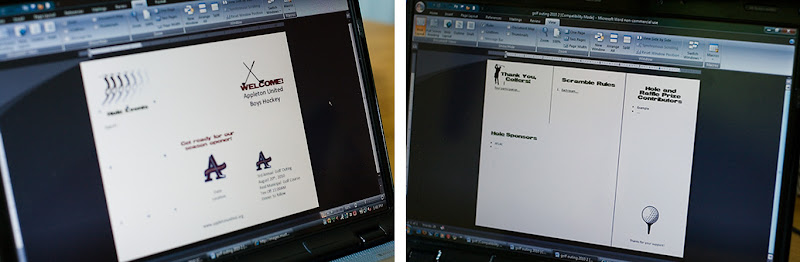
june 27/trifold brochure help for my aunt ("designed" in word[!])
june 28/worked on yarn hanging lamp

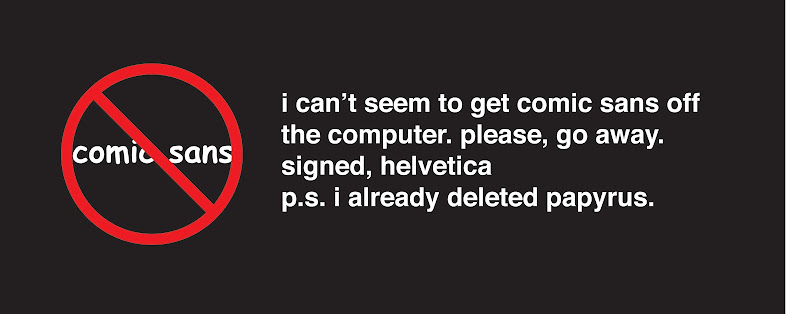
june 29/i hate comic sans
june 30/30days survival badge

Wednesday, June 16, 2010
i am only slightly late here...but my weeks of creativity in june continue to go well. and yes, i promise to blog separately about the ice creams and crafts and such that can be replicated by others. it's just that finding time to be creative is hard on it's own when you have a 15 week old, a house to keep semi-livable, and a busy summer and getting in these creativity recaps is time consuming!
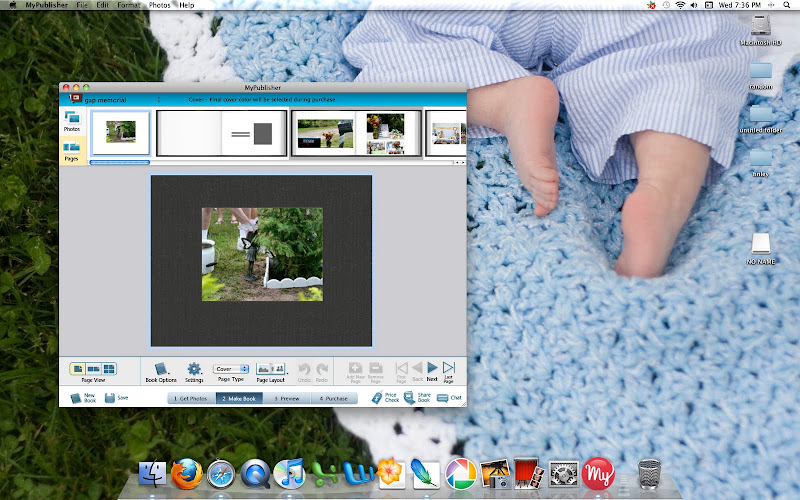
june 8/working on a photobook (lol, screen shot of my desktop)
june 9/edited a photo i took (bw conversion)

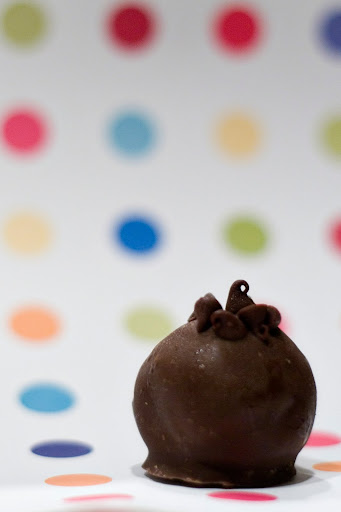
june 10/made oreo and chocolate chip cookie dough truffle balls
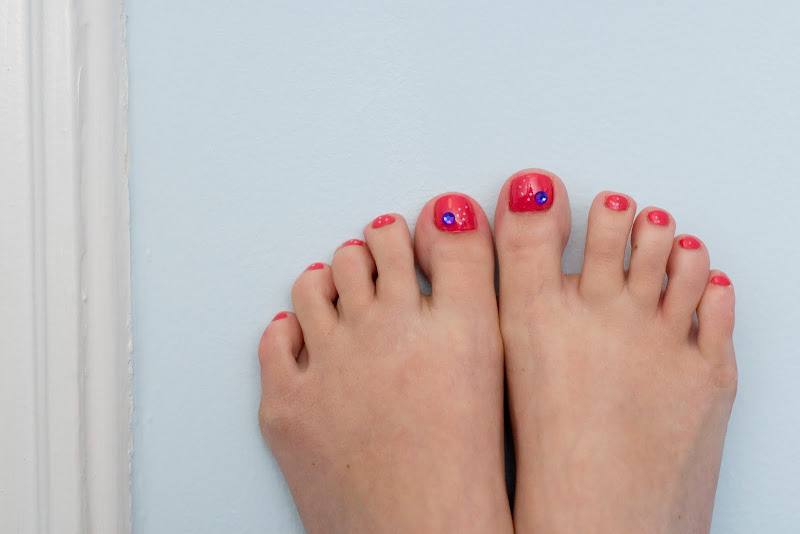
june 11/painted toes and creatively added (heat backed...) rhinestones and white dots
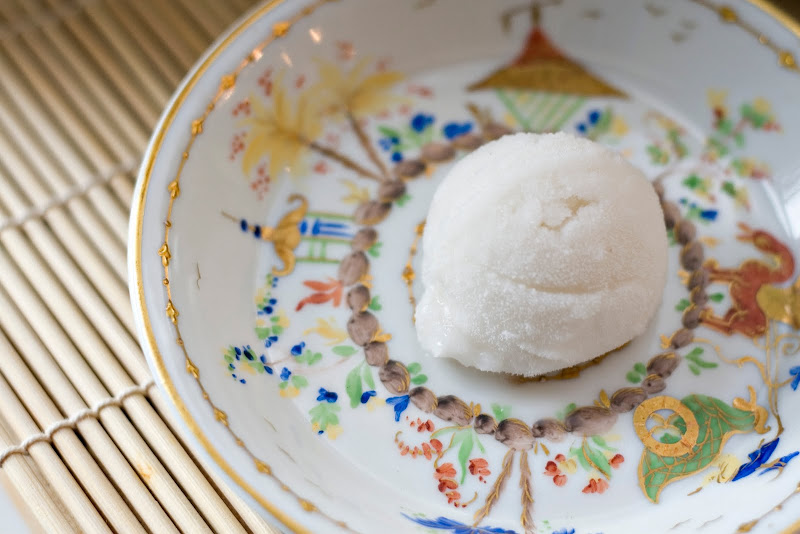
june 12/coconut cachaca sorbet
june 13/revised invitations for an anniversary party
&
june 14/finished anniversary invites
(they're ready for print, so i added in the off-white background for visual effect for the .jpg file - the lace holes will match in real life)

Monday, June 7, 2010
week one of my 30 days of creativity is complete! i had no trouble being creative. here's the roundup:
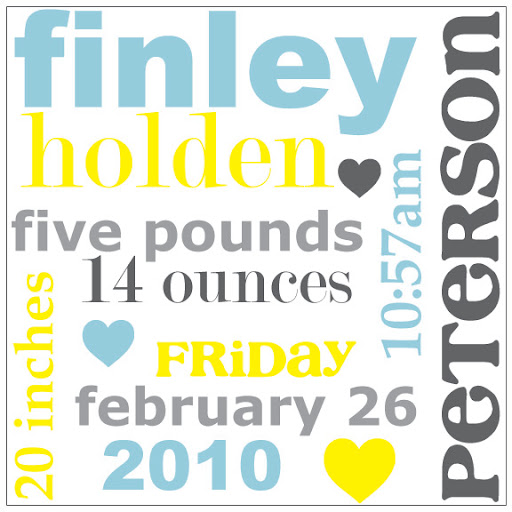
june 1/birth announcement poster for finn (outline added for white background)
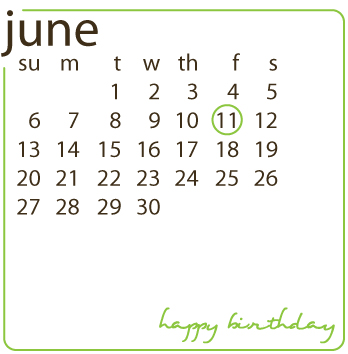
june 2/birthday card for someone special (maybe she's not reading...)
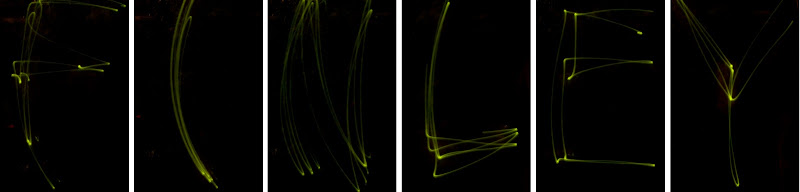
june 3/long exposure photos using finn's baby monitor
june 4/edited photos (black & white conversions of my friends little girls)



june 6/photo of my umbrella on the beach

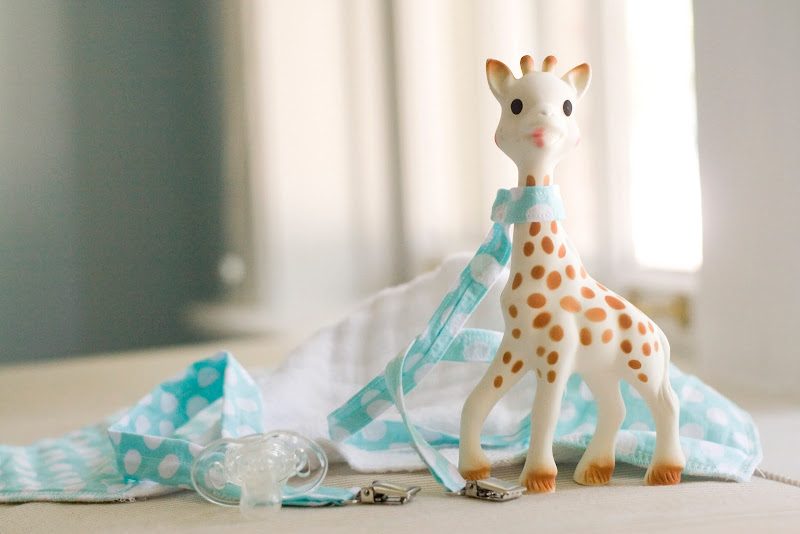
june 7/polka dot baby gear (paci leash, toy leash, burp cloth)
i'll blog about the goods in future posts, but i wanted to be sure to post this week's creative endeavors all in one.
Monday, May 31, 2010
oh hai. i have been busy :) my baby just turned 3 months and i've had requests (demands?) to get my butt in gear and resume blogging. so i will do my best but i make no promises. before i continue, i'm sure you want to see finn, right?

and since we're talking about finn, i'm going to share a diy mobile i made for above his crib. if you haven't seen, this is what it looks like:

the mobile is based off of a beautiful piece i found at fawn & forest. but i was on a budget for decor items and couldn't spend quite that much on a mobile. this was an experiment and i did it without measuring or planning ahead. as a warning, keep away from baby as there is a risk of tangling from the craft line (i have mine securely hung quite far above the crib).

materials:
colored cardstock (about 5 sheets)
circle punch
paperboard disc (i spray painted mine yellow)
clear craft line
needle
this mobile has 7 strands with 9 circle discs on each strand
1. make circles out of cardstock using punch, 63 in total (more for mistakes)
2. punch a needle hole through the center of each disc
3. cut 7 long strands of craft line and tie a small knot at one end of each
4. thread a disc along the craft line (the knot keeps it in place)
5. about 2 inches up, tie another knot, thread another disc
6. repeat process of knot + disc 9 times per strand
7. repeat threading process for all 7 strands
8. punch 7 holes into edge of paperboard disc, evenly spaced around the perimeter
9. thread each strand through a hole from the bottom and tie a knot in each at the top
10. punch 4 holes into paperboard disc at 12, 3, 6, and 9 (as on a clock)
11. cut 2 long strands of craft line of equal length and tie a knot at the end of each
12. from the bottom, thread a strand up from hole "12" and down into "6", tie a knot to secure
13. repeat from "3" to "9" (these strands should fold in half and cross over at the peak)
14. cut a strand of craft line, tie at the cross point of the two crossed hanging strands
15. hang (i used a 3m command hook to hang from the ceiling)
confused? here's a simple diagram:

as you can see, this is an inexpensive alternative. it took a while to complete because punching 60+ discs (thanks husband!) and needles holes and tying a ton of knots does require some time. but it looks great hanging in the nursery and finley loves to watch it as the air from the ceiling fan blows the discs gently.
Thursday, February 25, 2010
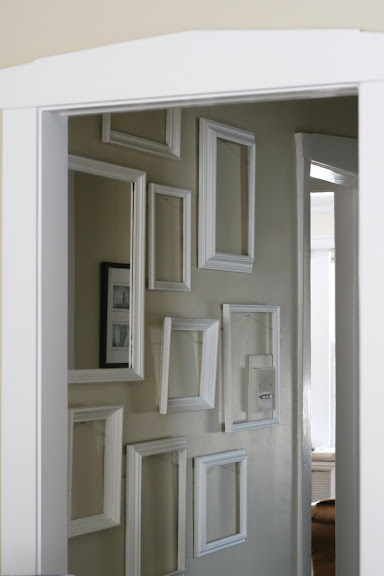
i edited my favorite photos into black and white and filled some old frames to display them in the entryway. we've purchased some glassware to decorate the mantle, which now also holds an old mirror that looks so much better there than where we used to use it. obviously, i did the curtains and pin up prints for one of the bathrooms. our guest bath is vintage style too, but mostly because it had royal blue floral wall paper and a shabby chic white shower curtain when we moved it - so i've been finding hobnail milk glass to accent the small but adorable space.
my latest project has been this affordable and fun frame wall.
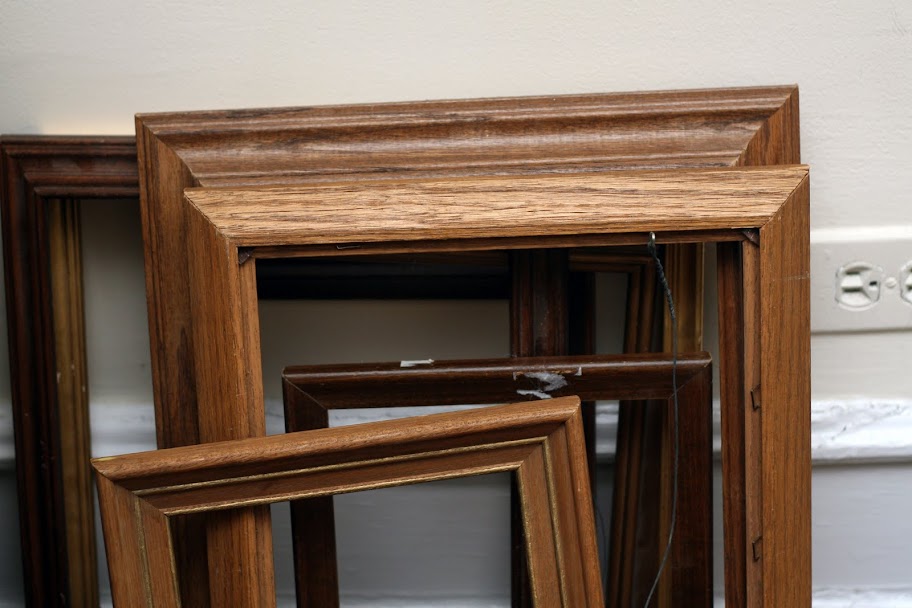
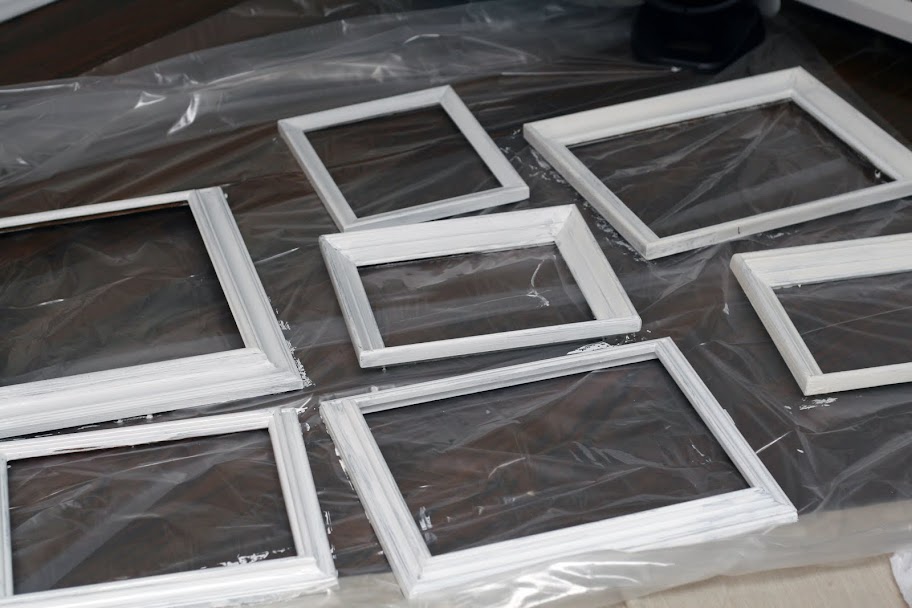
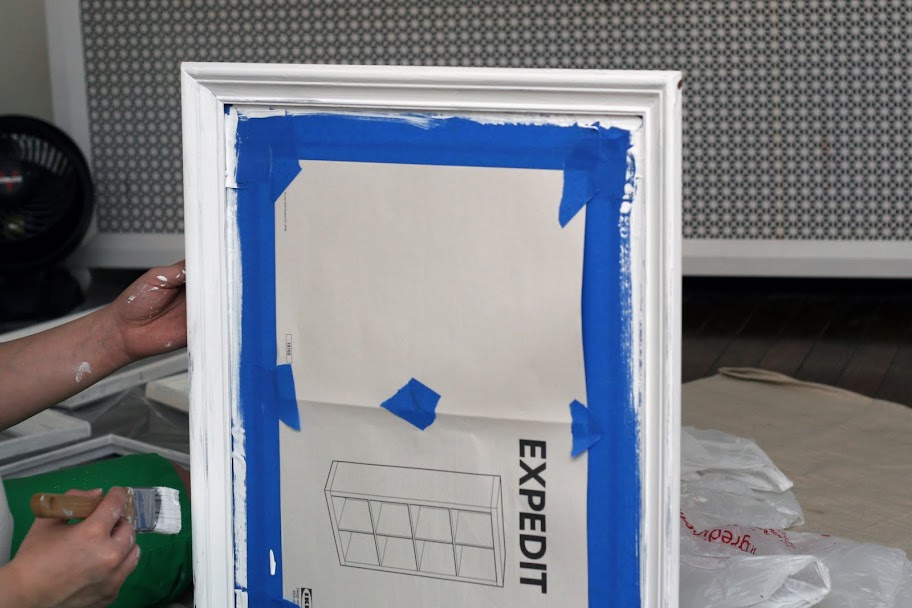
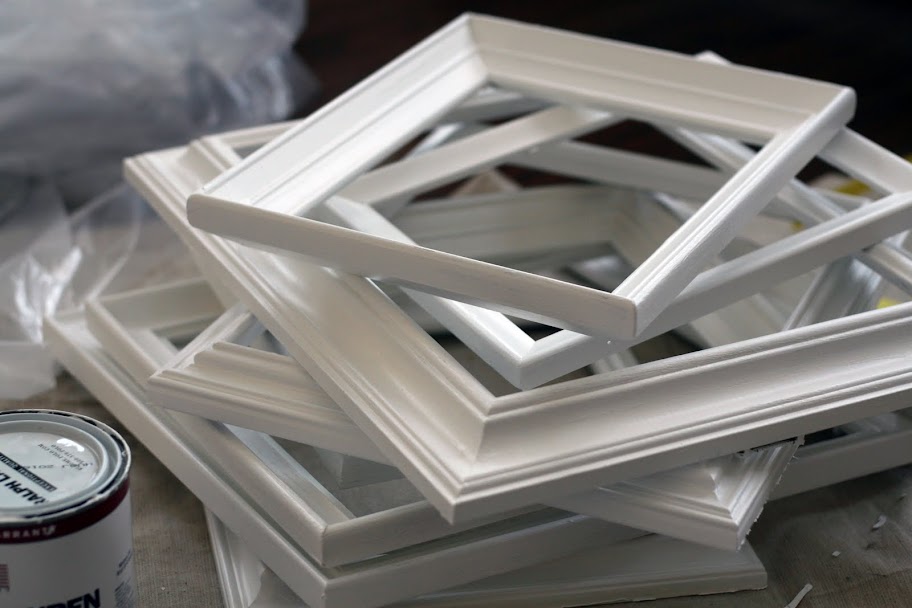
we hung them in a small hallway where the mirror really brings in some light and the whole arrangement fits perfectly. in a last minute decision, we chose to include the door buzzer within the "art" because ew can't very well take it down.
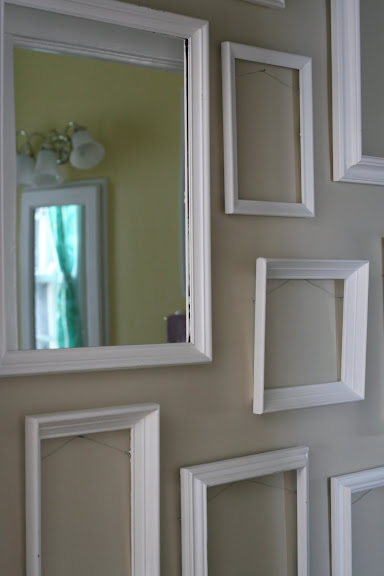
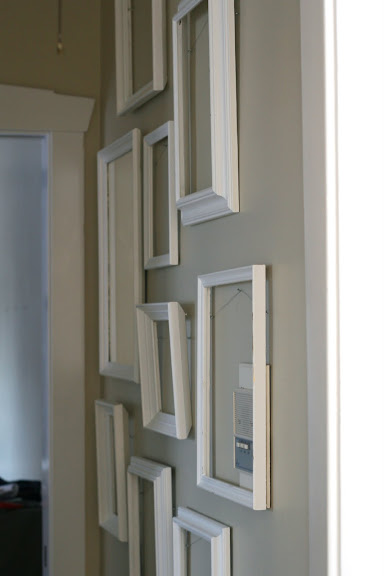
i love this. it was cheap, easy, and i think it looks fantastic. a perfect way to re-purpose old frames you might have - the more variety and wear and tear, the better it looks.
Monday, February 15, 2010
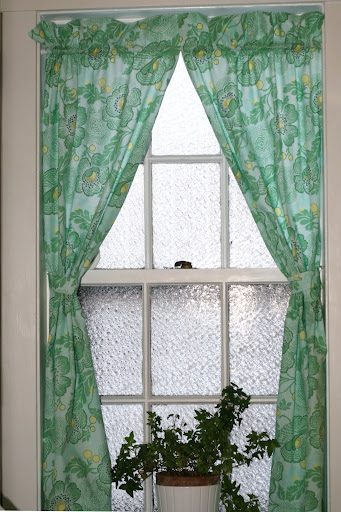
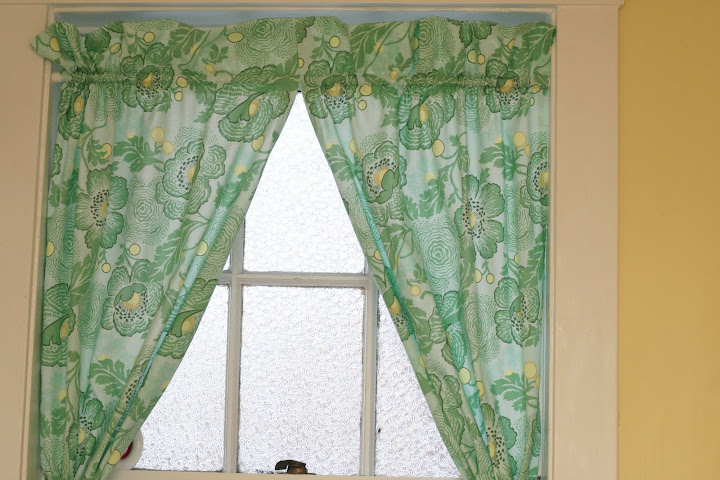
i knew i'd want to make my own out of some floral fabric, so i found some from amy butler and set out to make something simple for the window.
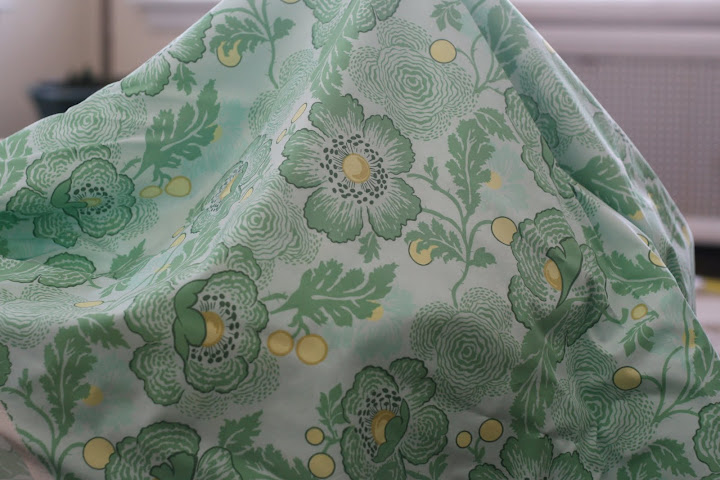

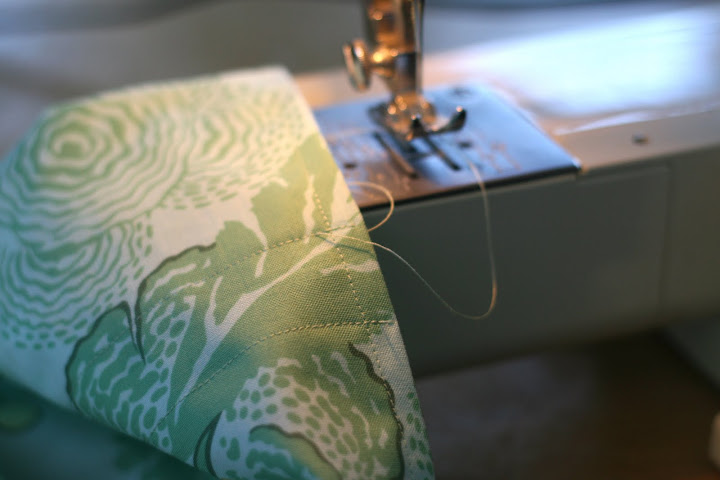
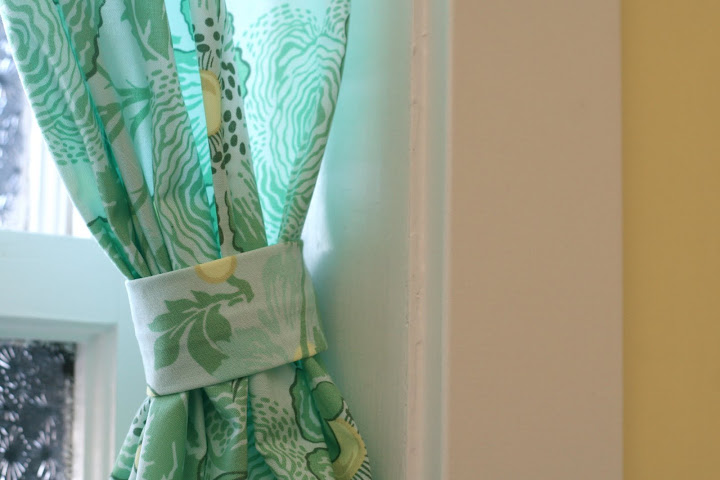
i bought 2 yards online from hawthorne threads and cut the piece in half vertically. i sewed the selvages and cut sides with a simple straight stitch, top to bottom, on each piece. to make a rod pocket, i sewed a large fold at the top, then made another seam about an inch above that, just large enough to allow the rod to fit. i measured for the hem and stitched the final bottom edges to finish. i used the scraps from the hem cut to create tie backs (tubes sewn, turned, and pressed).
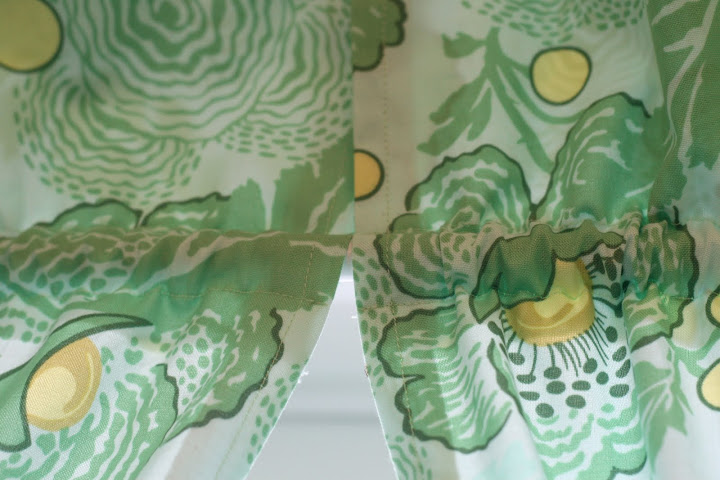
the project took about an hour and probably would have been faster had i made any plans in advance. instead, i just started cutting and sewing until i got what i wanted. having a degree in clothing design makes you confident enough to sew a rectangle without a pattern, i guess ;)
Monday, January 11, 2010
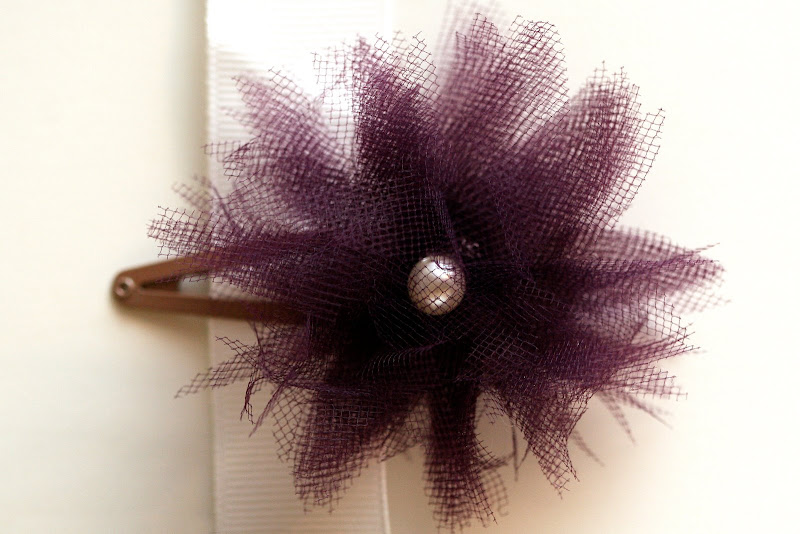
while browsing a few stores recently, my friend kristin and i spotted some adorable flower pouf headbands and hair clips. upon checking the price tag, something like $12 for adult version and $8 for the childrens', we decided it was a no go. i told her i'd make some for a fraction of the price. i know you can find these at teen stores for less, but why not just try your hand at it?
supplies:
pack of clips (i found 12 for $2 at walmart)
tulle (1/4 yd for about $1 at joann's)
needle and embroidery thread
hot glue or super glue
flower shapes (free hand or use my templates - after directions)
(sorry i don't have pictures to demonstrate)
1. fold tulle repeatedly in half until it is about 3 inches wide (like making paper dolls)
2. cut to create a stack of 3x3" squares, connected at folds
3. pin in place and cut out a flower shape through all layers of tulle
4. knot thread and sew a few stitches through center of flower, connecting layers
5. bunch flower tips in hand and randomly sew through layers (near center stitches) to create a more 3d shape
6. tie off thread and cut
7. place paper or card stock between hair clip and add a dab of glue to hinged end
8. affix flower to clip at underside stitches, arranging petals to create a uniform pouf
9. allow to dry, then remove paper from clip (tearing off any pieces glued to metal)
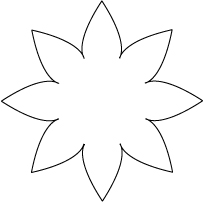
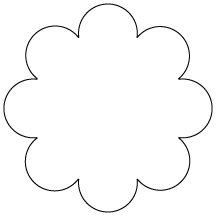
the directions make it sound confusing, but i promise i made four of these in about 30 minutes once i figured out the first one. i free handed my flowers as i cut, so each one i made was individual, but using the template takes any guess work out of the process.
in the first photo, you can see i added a small pearl to the center of the flower. you could try other beads of findings in the center, especially if you need to hide stitches (mine matched the purple and brown tulle i used). i imagine drawing a thin line in glitter on the edges of some of the petals would also be cute (though, your hair would be covered in sparkles). layering more tulle or a variety of colors could also change the look. imagine the possibilities!

Sunday, July 19, 2009
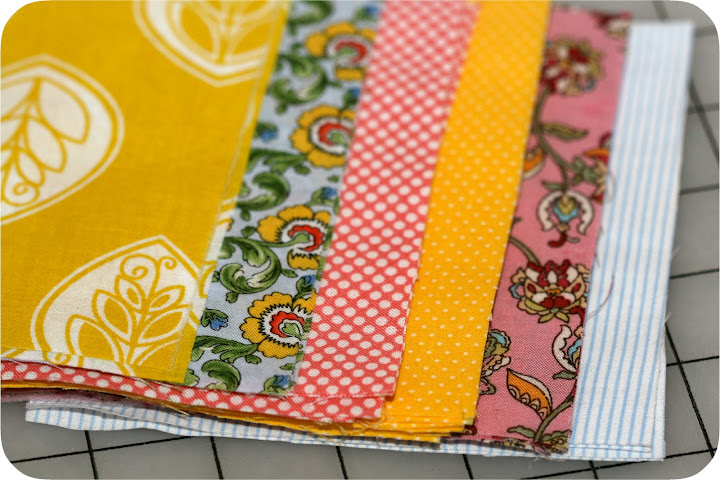
i love lofty, worn-in, light-weight quilts. i love to cuddle up in them or lay them out at the park; it's a basic comfort that everyone should have...but i don't have any right now. my only remedy to this was to figure out how to put one together and then wash it 10 times to wear it in. i'll write a few posts so you can follow along and see how it goes...
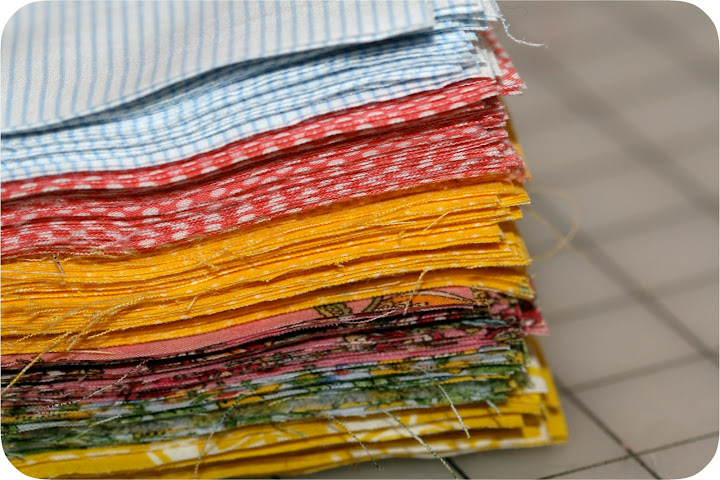
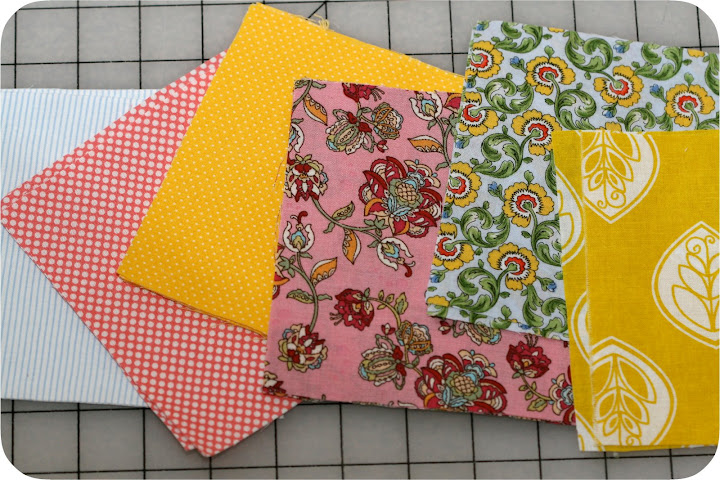
i'm not following a pattern, a book, or any instructions. i'm making it up as i go based on what i know about sewing and what i've briefly skimmed about quilting.
basic first steps:
1. wash all fabric to shrink and hopefully bleed out
2. iron, iron, and iron (it's a lot of ironing)
3. trim quarters to get straight egdes
4. measure blocks and use a rotary blade to cut uniform squares
5. arrange squares randomly to create rows until desired size
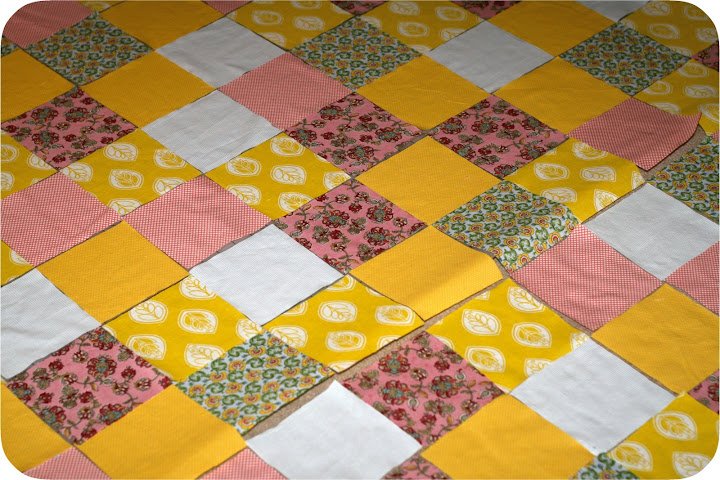
stay tuned for part 2 when i start to sew square after square to complete to quilt top.
Tuesday, April 21, 2009
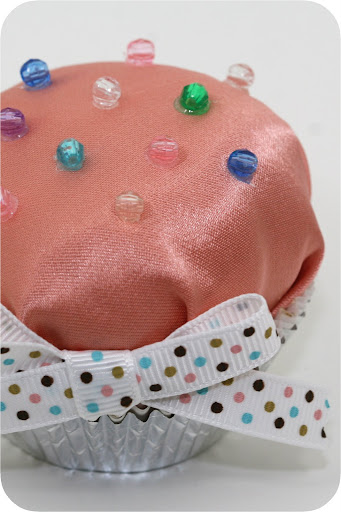
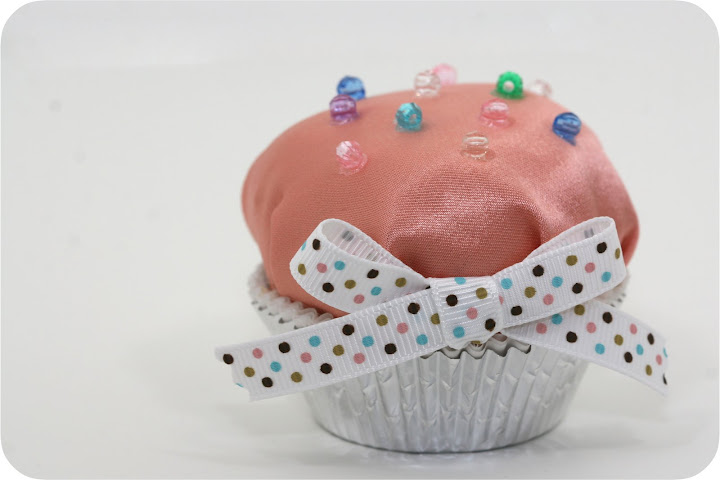
beaded satin "cupcake"
wondering how i made this mini little cupcake? here's the instructions:
1. cut a circle disc from card stock that fits inside a cupcake liner
2. cut a small "x" into the center of the circle
3. cut a circle from fabric that is 2 inches larger than the paper disc
4. lay the fabric circle face down (this is your top) and put the paper circle on top of it
5. using hot glue, attach the fabric to the edge of the disc at 12, 3, 6, and 9 (like a clock!)
6. continue gluing between the halfway points until fabric is neatly tucked and secure (1.5, 4.5, 7.5, 10.5 then halfway between those dots...you with me?)
7. gently push stuffing into the cupcake "frosting" through the "x" cut out until full
8. glue 3 or 4 paper liners together, then glue inside the silver (or outer) liner
9. glue a small amount of stuffing to the inside of the liners
11. top with beads or sequins and add a decorative bow if you feel like it
it's pretty easy and i managed to get this mini cupcake after only two trial and error versions. i don't know what you'd use it for...but i know what mine's doing. check back for details!!
