Wednesday, June 30, 2010
i finished my 30 days of consecutive creativity (with only 1 missed day. but i was with one of my most creative friends that day, so it evens out.) it was fairly easy to be creative at home, but we traveled multiple times and hosted a number of guests during june, so pairing my creativity with housework, baby care, photography (which wasn't always creative) and entertaining and i'll admit there were difficult days. here's the final run down:
june 22/last day of ballet for the summer

june 23/read all my brand new patterns and got thuper excited to sew

june 24/post storm photo (missed the rainbow by thismuch)

june 25/made chicken, veggies, and a mix of noodles into stir fry (no photo here. but no fail, as i had to get creative with my ingredients and then we ate it.)
june 26/floral "macro" (50 mm 1.8 as i didn't have my 100mm macro along)

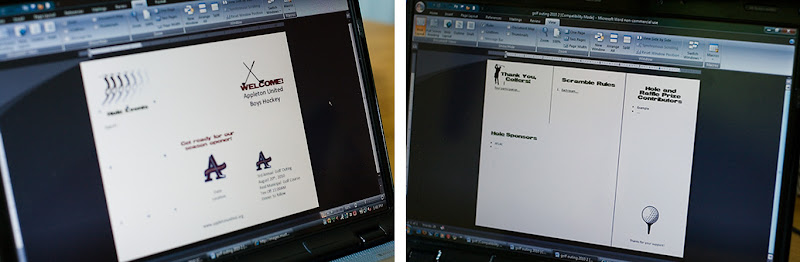
june 27/trifold brochure help for my aunt ("designed" in word[!])
june 28/worked on yarn hanging lamp

june 29/i hate comic sans
june 30/30days survival badge
Wednesday, June 23, 2010
week three of creativity and i found it a bit harder due to travel. this week had a few less creative days paired with some pretty goods ones, so i definitely don't feel as great about it.
june 15/laid out invitations for print

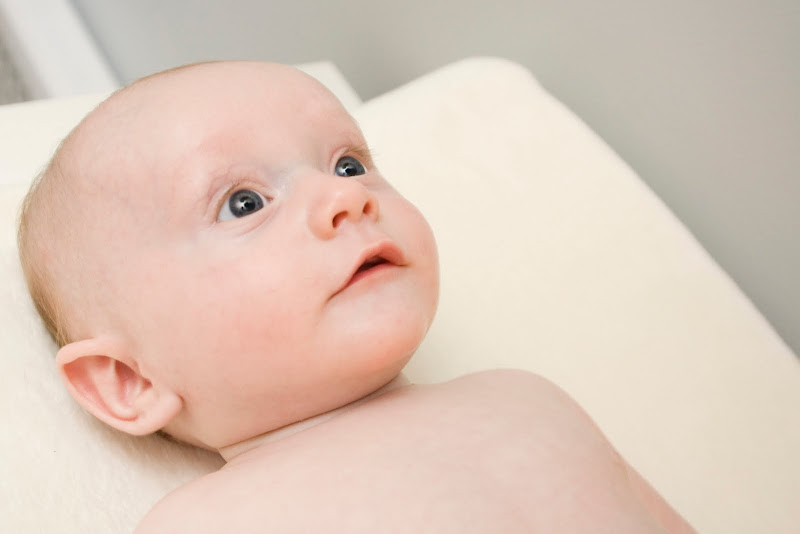
june 16/took photo of finn plus basic edit (catch lights in eyes!)
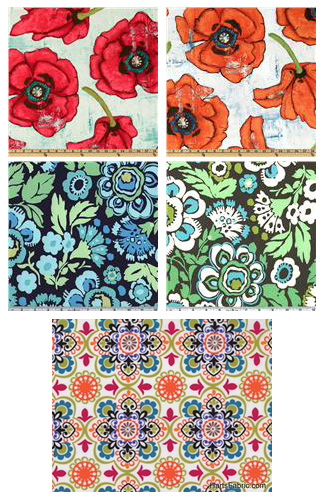
june 17/collected fabric samples for table runner
june 18/met with a creative friend? for real, this day i can't think of a specific thing because i was busy and then we drove 6 hours. i fail...
june 19/took photos of finn and his grandpa

june 20/took photos of finn and his grandma (also got some of him and his daddy)

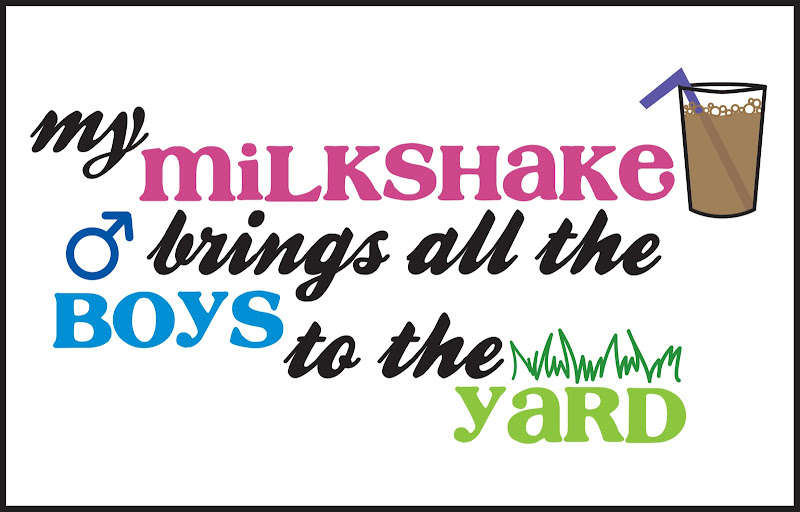
june 21/milkshake graphic print for fun
i vow to be better this week! andplusalso, i still owe you some ice cream/sorbet recipes and some sewing info. soon!
Wednesday, June 16, 2010
i am only slightly late here...but my weeks of creativity in june continue to go well. and yes, i promise to blog separately about the ice creams and crafts and such that can be replicated by others. it's just that finding time to be creative is hard on it's own when you have a 15 week old, a house to keep semi-livable, and a busy summer and getting in these creativity recaps is time consuming!
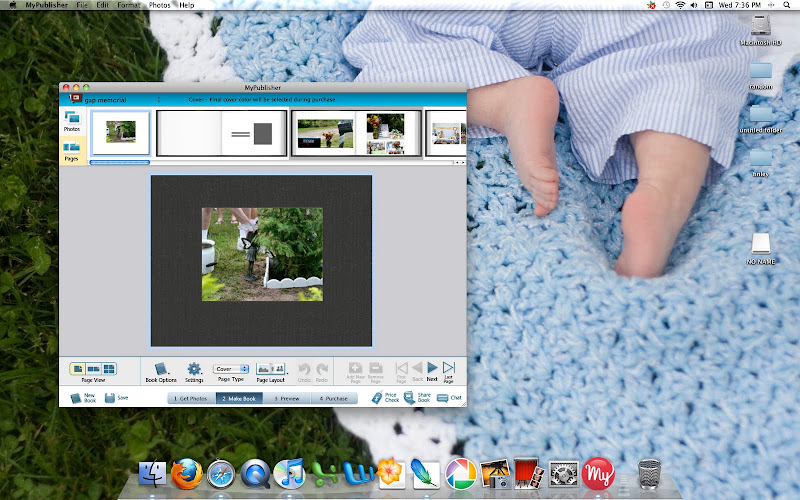
june 8/working on a photobook (lol, screen shot of my desktop)
june 9/edited a photo i took (bw conversion)

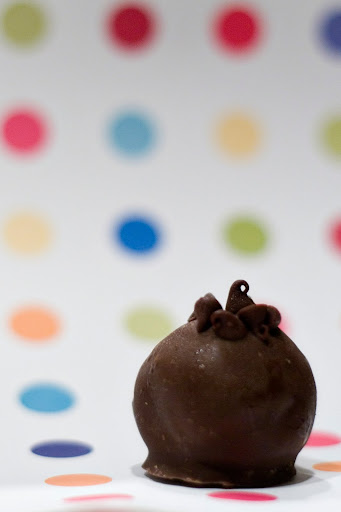
june 10/made oreo and chocolate chip cookie dough truffle balls
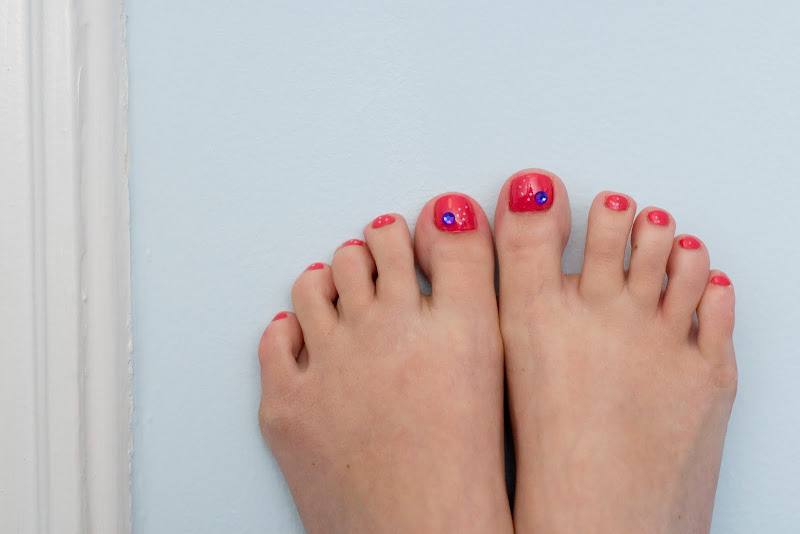
june 11/painted toes and creatively added (heat backed...) rhinestones and white dots
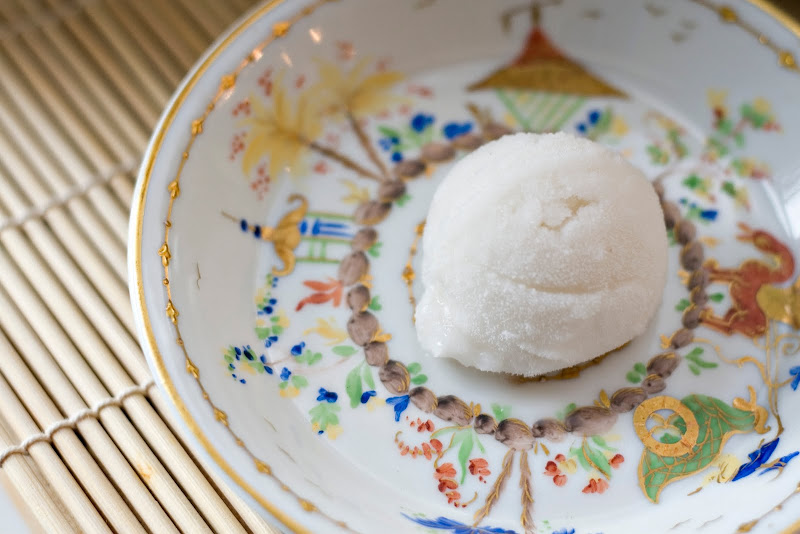
june 12/coconut cachaca sorbet
june 13/revised invitations for an anniversary party
&
june 14/finished anniversary invites
(they're ready for print, so i added in the off-white background for visual effect for the .jpg file - the lace holes will match in real life)

Monday, June 7, 2010
week one of my 30 days of creativity is complete! i had no trouble being creative. here's the roundup:
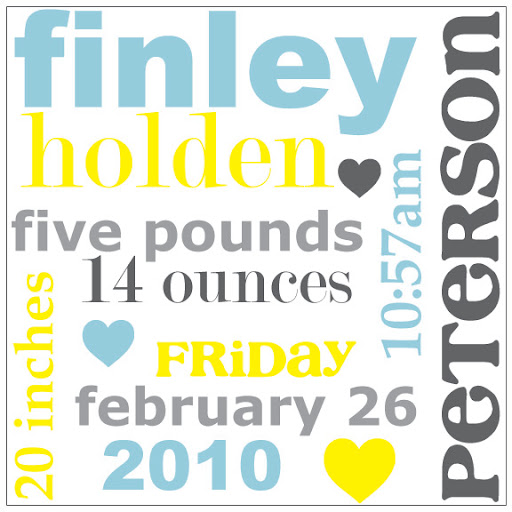
june 1/birth announcement poster for finn (outline added for white background)
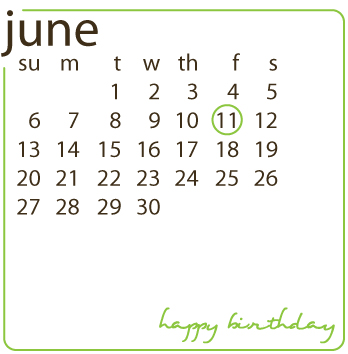
june 2/birthday card for someone special (maybe she's not reading...)
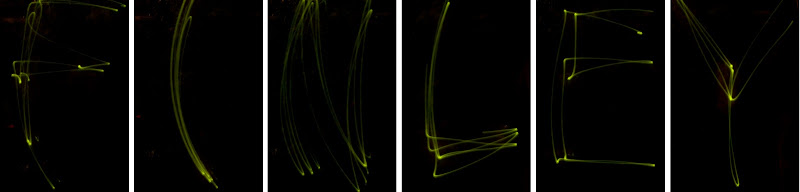
june 3/long exposure photos using finn's baby monitor
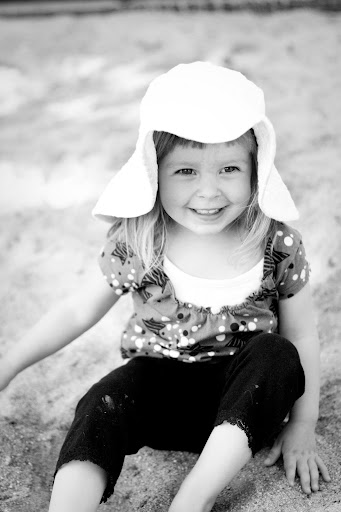
june 4/edited photos (black & white conversions of my friends little girls)


june 6/photo of my umbrella on the beach

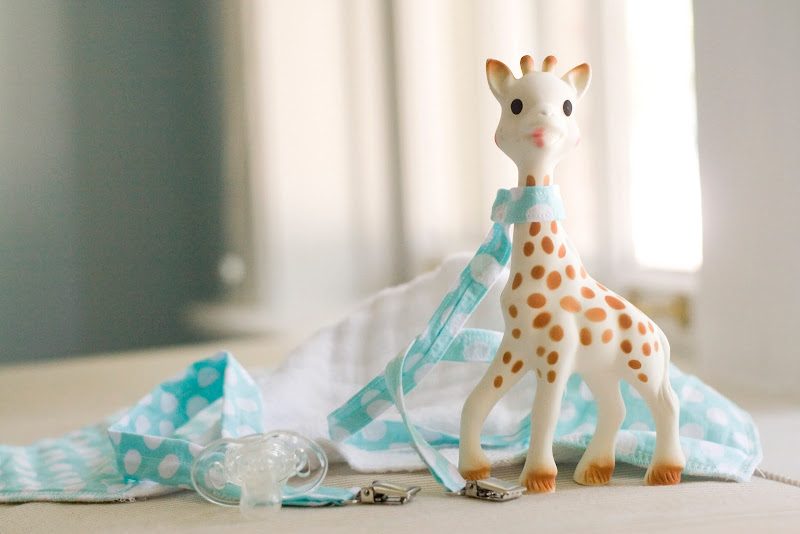
june 7/polka dot baby gear (paci leash, toy leash, burp cloth)
i'll blog about the goods in future posts, but i wanted to be sure to post this week's creative endeavors all in one.

a custom address stamp. with all of the recent thank you cards and upcoming events, i knew i'd be writing my return address quite a few times, otherwise. i had designed a custom monogram stamp for my wedding so i already knew i would use rubberstamps.net. (they are not paying me anything to recommend them, but their turnaround time, prices, and customer service can't be beat, so i certainly don't mind giving them business!)

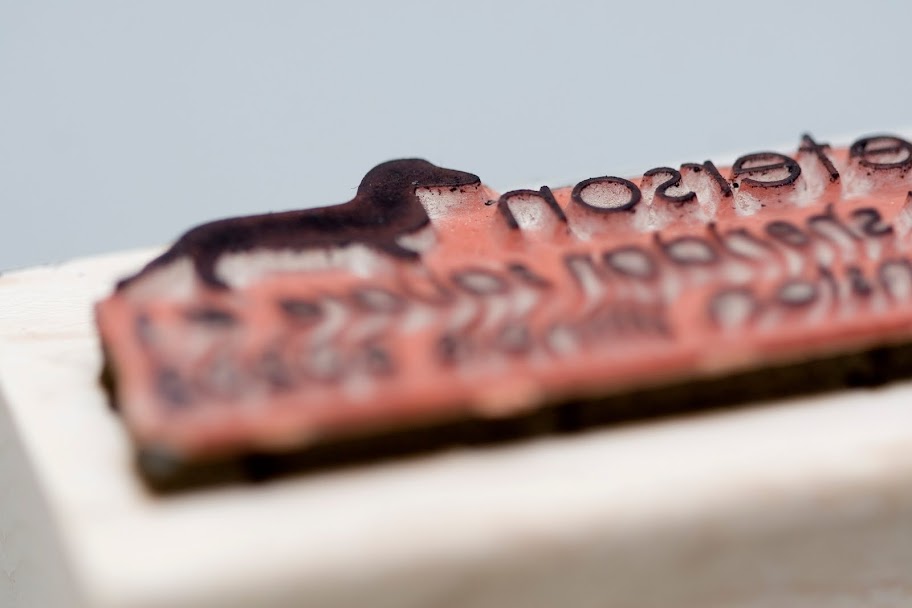
i wanted a simple, modern design, so i used the same little dachshund silhouette from the baby onesie thank you card. i am fond of lowercase, so of course i use tiny letters to spell out our last name and full address. i have (hopefully) blurred it out enough on the images so you don't come and stalk me at my home, but rest assured the stamp produces a perfect image.
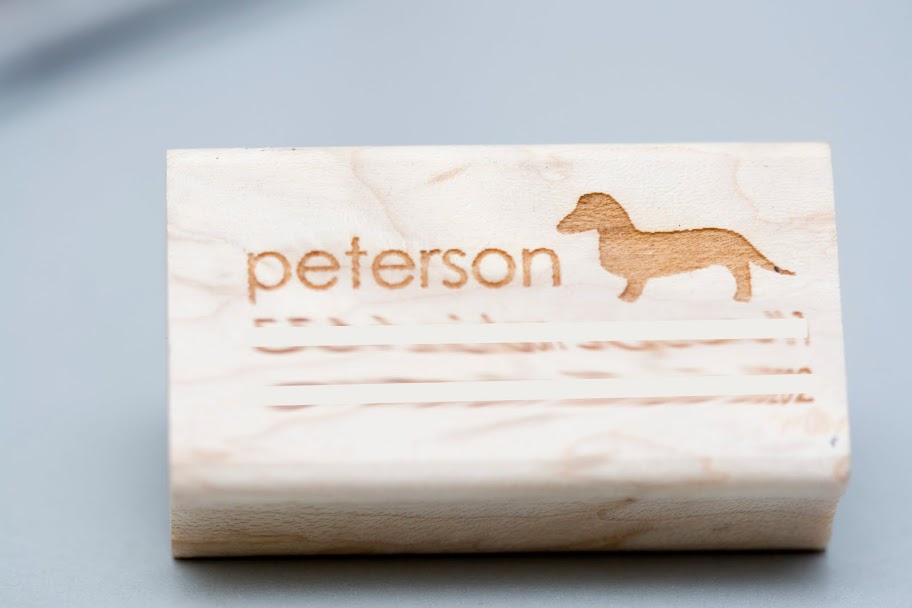
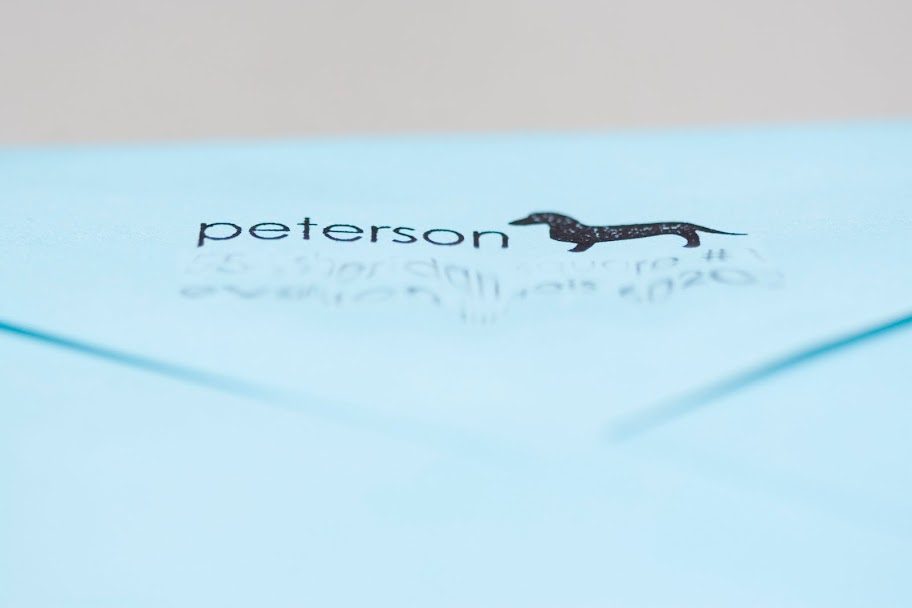
to send to rubberstamps.net, you need to upload a .jpg file at 300 dpi so they can get a clean image to create the stamp from. i chose the size of my stamp, sent my image, and had my custom return address stamp in less than a week. plus, i paid less than $10 for it. love!
Wednesday, June 2, 2010
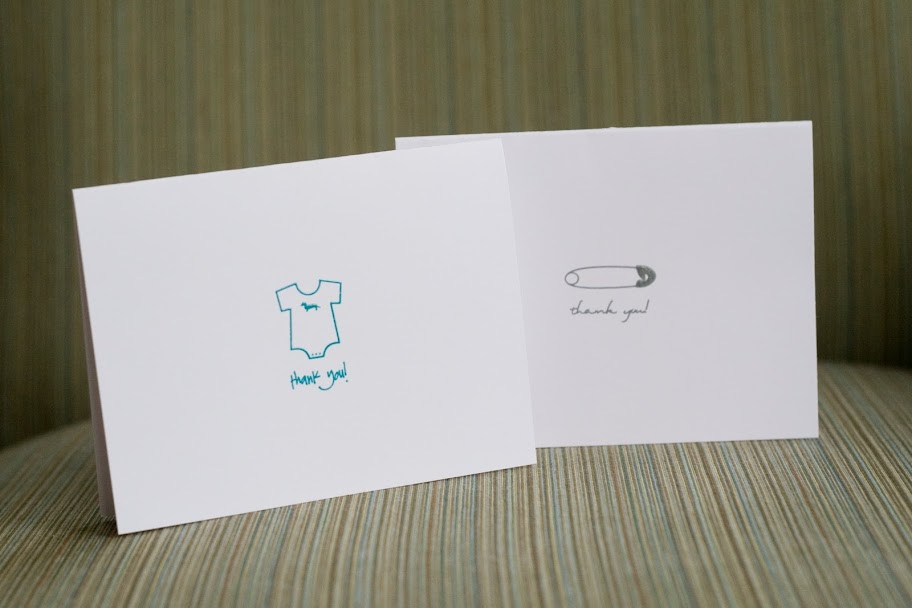
i promise not to turn this into a baby only blog, but i can't help but post a few baby-related items because, well, having a baby is rather consuming.
i made these thank you cards for shower gifts and other wonderful items we received along the way. finn has been so lucky and is spoiled beyond belief. i made 50 thank you cards and have one left (and it's ready to be written in and sent)!


in honor of the first born dogsons, i made a card with a simple dachshund onesie. i designed it in illustrator and used my gocco to print in aqua ink on white cardstock. while the ink was till wet i coated it with clear embossing powder and used my heat gun to emboss.
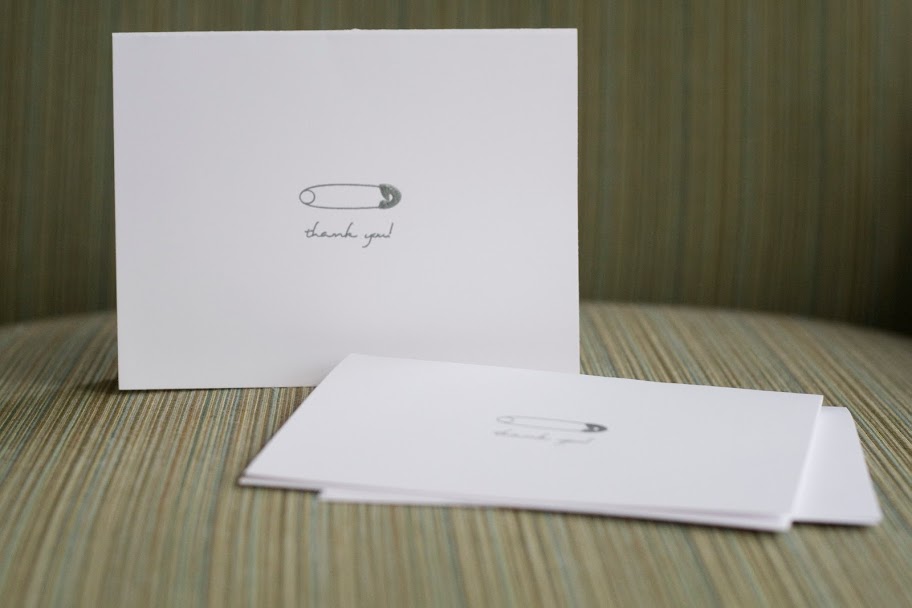
i hope the folks that received these thank you cards were pleased to see the little details. a card can hardly express how thoughtful they are and how thankful we are, but the gesture is the least we can do.
Monday, May 31, 2010
oh hai. i have been busy :) my baby just turned 3 months and i've had requests (demands?) to get my butt in gear and resume blogging. so i will do my best but i make no promises. before i continue, i'm sure you want to see finn, right?

and since we're talking about finn, i'm going to share a diy mobile i made for above his crib. if you haven't seen, this is what it looks like:

the mobile is based off of a beautiful piece i found at fawn & forest. but i was on a budget for decor items and couldn't spend quite that much on a mobile. this was an experiment and i did it without measuring or planning ahead. as a warning, keep away from baby as there is a risk of tangling from the craft line (i have mine securely hung quite far above the crib).

materials:
colored cardstock (about 5 sheets)
circle punch
paperboard disc (i spray painted mine yellow)
clear craft line
needle
this mobile has 7 strands with 9 circle discs on each strand
1. make circles out of cardstock using punch, 63 in total (more for mistakes)
2. punch a needle hole through the center of each disc
3. cut 7 long strands of craft line and tie a small knot at one end of each
4. thread a disc along the craft line (the knot keeps it in place)
5. about 2 inches up, tie another knot, thread another disc
6. repeat process of knot + disc 9 times per strand
7. repeat threading process for all 7 strands
8. punch 7 holes into edge of paperboard disc, evenly spaced around the perimeter
9. thread each strand through a hole from the bottom and tie a knot in each at the top
10. punch 4 holes into paperboard disc at 12, 3, 6, and 9 (as on a clock)
11. cut 2 long strands of craft line of equal length and tie a knot at the end of each
12. from the bottom, thread a strand up from hole "12" and down into "6", tie a knot to secure
13. repeat from "3" to "9" (these strands should fold in half and cross over at the peak)
14. cut a strand of craft line, tie at the cross point of the two crossed hanging strands
15. hang (i used a 3m command hook to hang from the ceiling)
confused? here's a simple diagram:

as you can see, this is an inexpensive alternative. it took a while to complete because punching 60+ discs (thanks husband!) and needles holes and tying a ton of knots does require some time. but it looks great hanging in the nursery and finley loves to watch it as the air from the ceiling fan blows the discs gently.
Wednesday, February 17, 2010
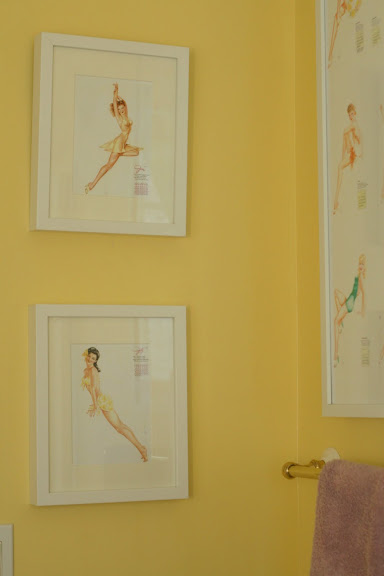
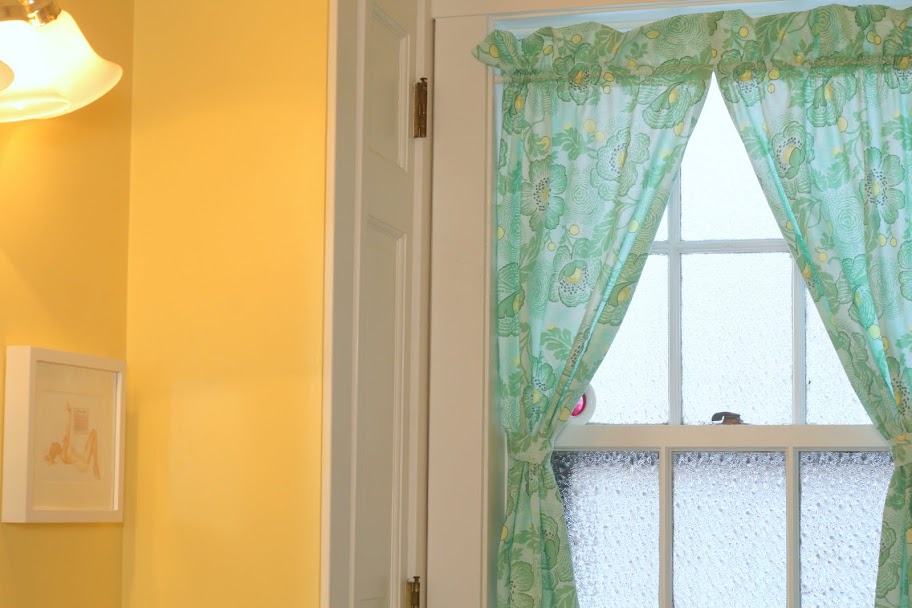
i've had some requests to show the vintage pin up girls i framed in my bathroom. please note that these are NOT my designs. i have found them from sources around the web and you can, too. to give credit where credit is due, they are from esquire calendars designed by alberto vargas. (some nudity will be found when searching his work) i came across them in my friend's dining room, where she has an original calendar, all 12 months, hanging on her wall. i am very jealous.
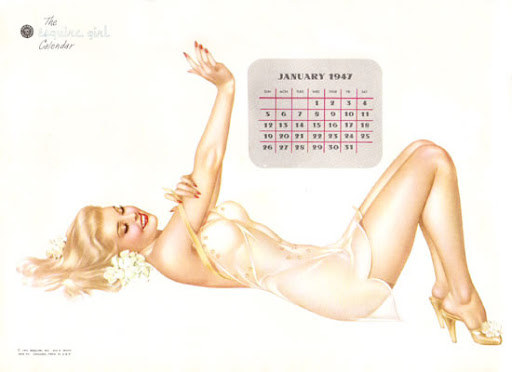
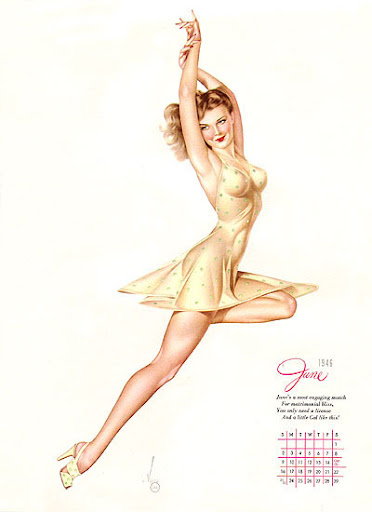

here are three ladies that now hang in my bathroom. i love them! june and july from 1946 and january 1947.
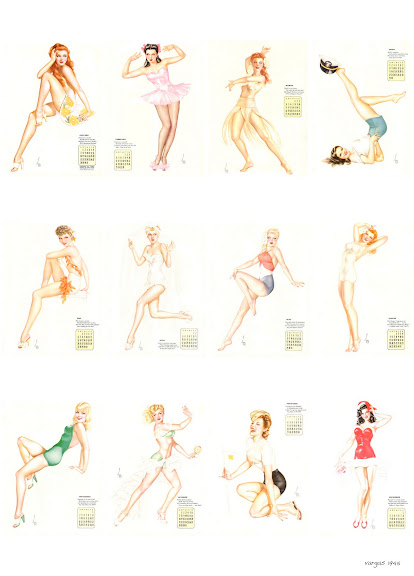
my favorite calendar as a whole is the 1945 one. i have it in 19x27, which is just large enough for the small space. i put the images together into one large poster and had it printed at kinkos.
Thursday, December 24, 2009
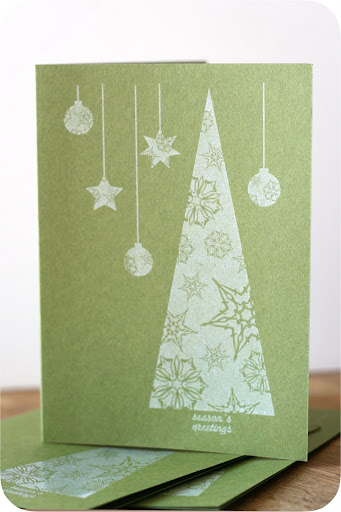
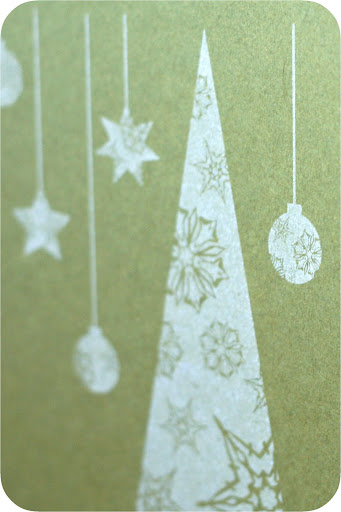
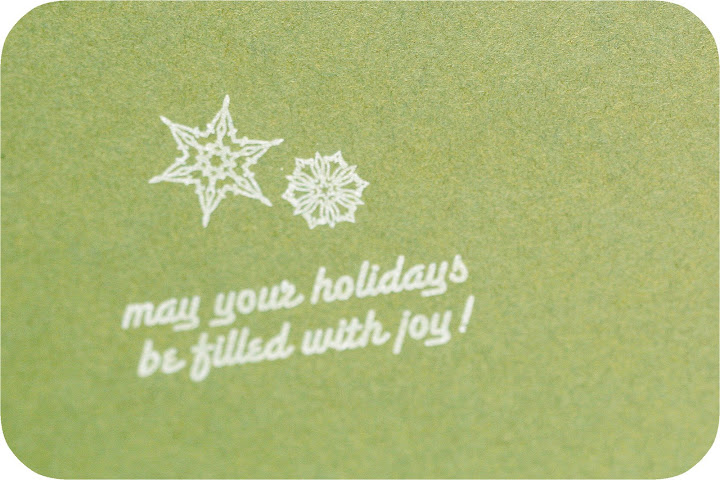
outside and inside (sorry for the shallow depth of field)

raised print
unfortunately, these prints were not without some hiccups. for whatever reason, my screen was missing some print areas in the tree and a number of the prints had blank areas. i still got about 50 good prints and was able to send all of my holiday cards to family and friends. i sincerely hope i didn't miss anyone!
happy holidays, season's greetings, merry chirstmas 2009. enjoy this lovely time of year!
