Showing posts with label miniature. Show all posts
Showing posts with label miniature. Show all posts
Thursday, March 4, 2010
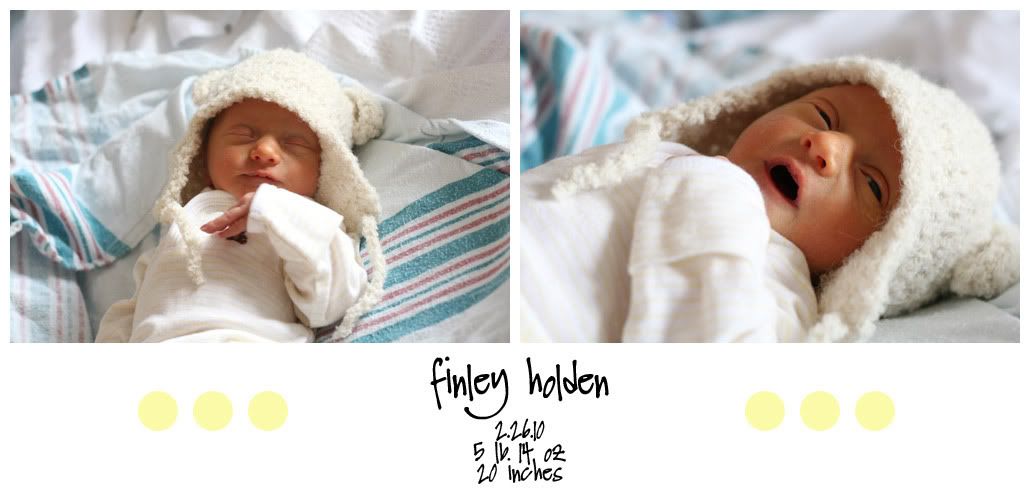
my baby boy arrived exactly one month early at 36 weeks. finley holden was born last friday on 2.26.10, 5lb 14oz and 20 inches. he is the sweetest, most precious being and we are more in love than i ever thought possible. husband and i have spent most of the time since his birth watching him do amazing baby things, just in awe.
as such, posts about crafts and food are on hold. i simply cannot tear myself away for more than this post ;) see you soon!
Tuesday, February 23, 2010
our last valentine's day as a couple without children was spent at home, relaxing and cooking. we decided to do dinner in, similar to last year but without the multi-course meal. i can't stand for that long and can't fit that much food in my already stretched to capacity belly. (as a recap, i am 35 weeks pregnant)
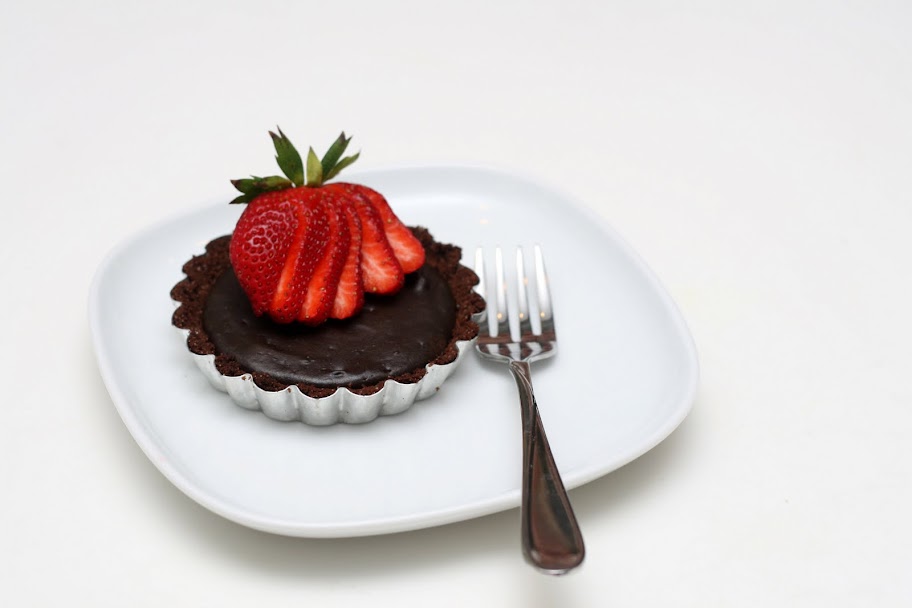
the dinner post is coming after the dessert post because these little tarts are too cute not to share right now. (and already they are late, since valentine's day was over a week ago) i knew i wanted something chocolate and i really wanted to use my tart pans for the first time. i figured little fudgey cheesecakes with chocolate crusts and berries on top fit the festive theme.


(poor teddy graham had no idea what was coming...)
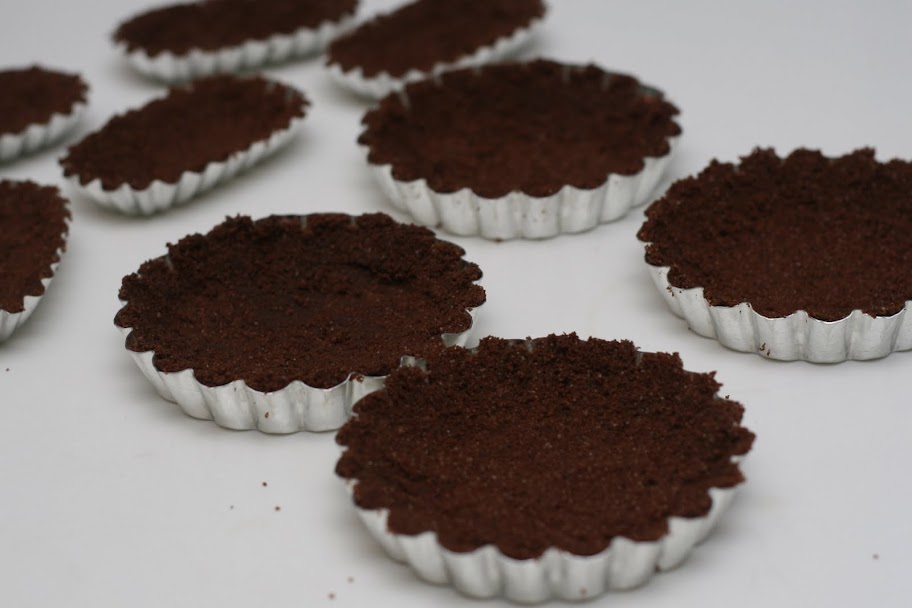
i wasn't concerned about the crust. chocolate grahams, butter, and a touch of sugar. to be honest, i didn't fully measure. plus, the grocery store carries no chocolate graham crackers, so i was forced to chop up teddy grahams for the cause.
chocolate graham crust (for 8-10 mini tart pans)
1 c chocolate grahams, pulsed to crumbs in a food processor
1/8 c melted butter (give or take)
1 tbsp sugar
1. mix together - should stick together slightly and hold shaped when pressed (adjust graham and butter ratios to reach this consistency)
2. scoop into tart pans and press around bottom and up sides
3. bake at 350F for about 5 minutes, cool
chocolate graham crust (for 8-10 mini tart pans)
1 c chocolate grahams, pulsed to crumbs in a food processor
1/8 c melted butter (give or take)
1 tbsp sugar
1. mix together - should stick together slightly and hold shaped when pressed (adjust graham and butter ratios to reach this consistency)
2. scoop into tart pans and press around bottom and up sides
3. bake at 350F for about 5 minutes, cool

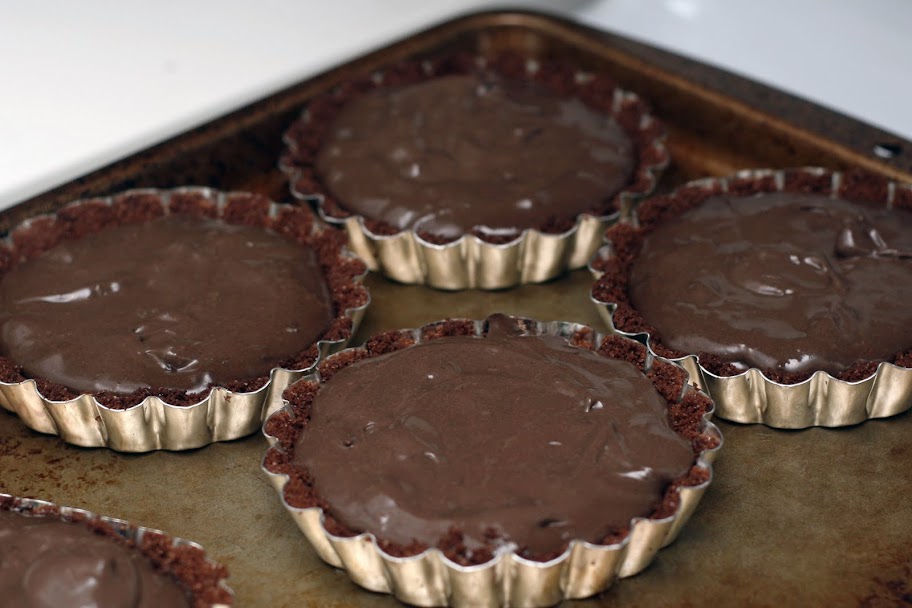
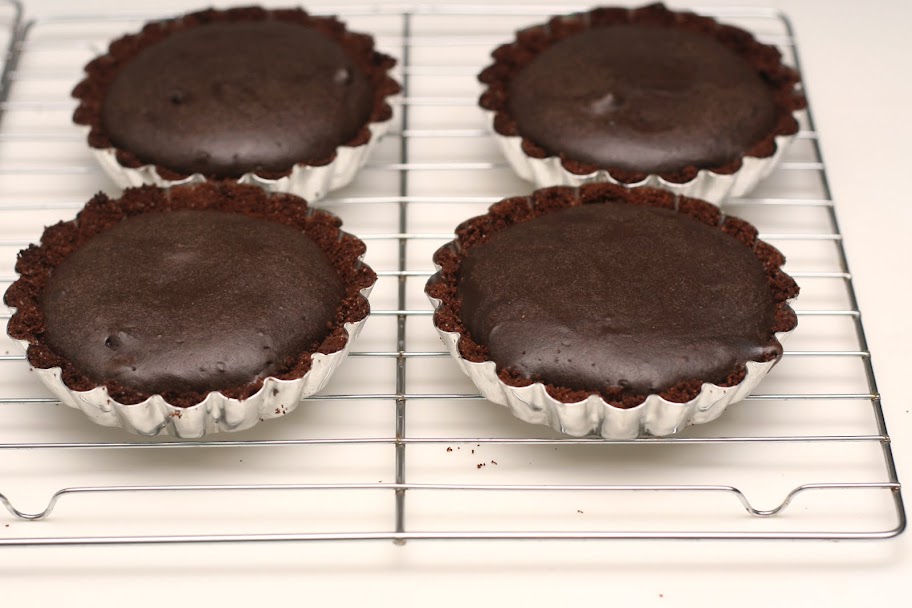
for the filling, i found a basic cheesecake recipe on allrecipes.com and adjusted to fit my smaller servings. i used about 1/3 of the original recipe and skipped the sour cream topping.
chocolate cheesecake filling (adapted from mary walker on all recipes)
1 8 oz package cream cheese, softened
1/4 c sugar
1 egg
1 tbsp strong brewed coffee
1/2 tsp vanilla extract
1/4 c baking cocoa
1/3 c semisweet chocolate chips
1. beat cream cheese and sugar until smooth
2. add eggs; beat on low speed just until combined
3. stir in coffee and vanilla then beat in cocoa just until blended
4. stir in chocolate chips
5. using a cookie scoop or spoon, drop filling into prepared tart pans
6. place on a baking sheet and bake at 375F for 12-15 minutes or until center is almost set
7. cool on a wire rack, then transfer to the refrigerator to chill
8. best served with berries
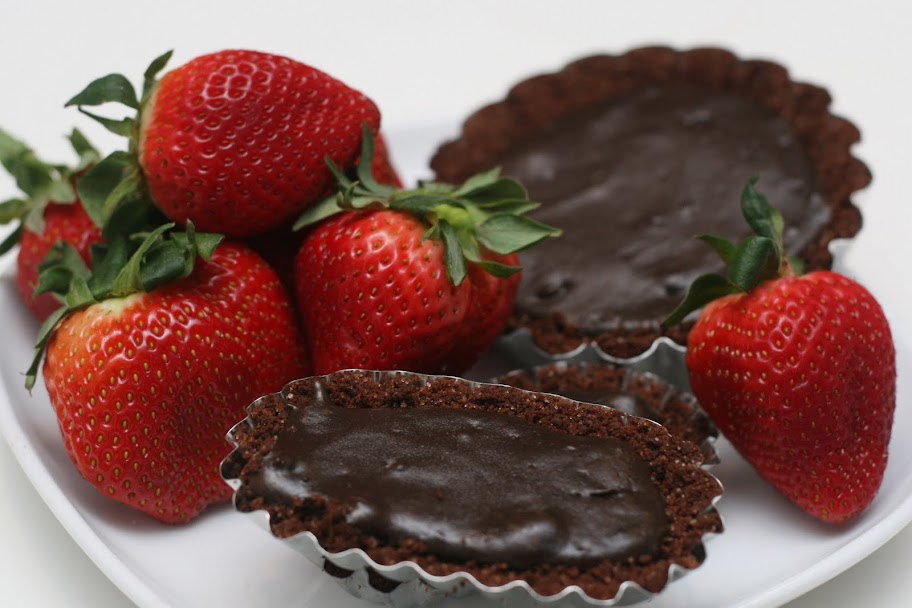
this is an extremely rich little dessert. it really was like cheesecake fudge with a crumbly chocolate crust. it's so rich that the berries were a must - a bit of fresh flavor to cut the chocolate. but oh so good! and everything is better when cutely packaged - these tart pans (the round are from william's sonoma and the ovals are from a local antique shop) are perfect for individual desserts.
as a note, they were best after being in the fridge overnight (day 2), but by day 3 they had hit their max. i can't imagine anyone making it longer than that ;)
as a note, they were best after being in the fridge overnight (day 2), but by day 3 they had hit their max. i can't imagine anyone making it longer than that ;)
Sunday, September 13, 2009

it's true. i've been busy making a tiny human. i haven't been blogging about food and crafts much because 1) looking at food either makes me starving or sick and 2) i sleep instead of doing anything else.
but indeed, i am pregnant. 12 weeks and loving it. this will not turn into a baby blog. i might post a picture or thought or craving, but it will remain the same as it was. hopefully, the same as it was before i stopped blogging frequently...
however, i'll need a few weeks yet, as husband and i are making a big move to chicago. he has just taken a job and everything is happening very quickly. when we're settled in, i have already made a mental commitment to get back to blogging on a more regular basis. i have goals of making homemade bread weekly and testing exciting treats on husband's new coworkers, as i will no longer have any of my own to share goodies with.
please stick around during this transition. good things are on their way :)
but indeed, i am pregnant. 12 weeks and loving it. this will not turn into a baby blog. i might post a picture or thought or craving, but it will remain the same as it was. hopefully, the same as it was before i stopped blogging frequently...
however, i'll need a few weeks yet, as husband and i are making a big move to chicago. he has just taken a job and everything is happening very quickly. when we're settled in, i have already made a mental commitment to get back to blogging on a more regular basis. i have goals of making homemade bread weekly and testing exciting treats on husband's new coworkers, as i will no longer have any of my own to share goodies with.
please stick around during this transition. good things are on their way :)
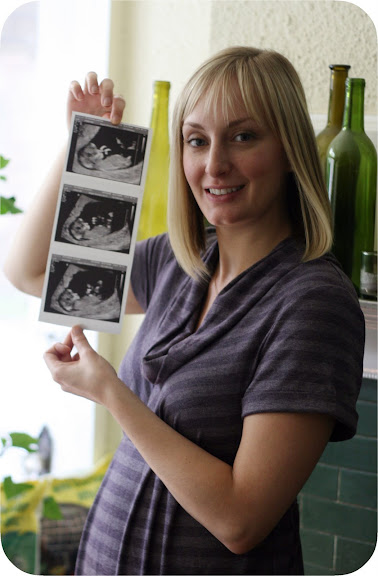
12 weeks with the ultrasound pics
Thursday, July 2, 2009
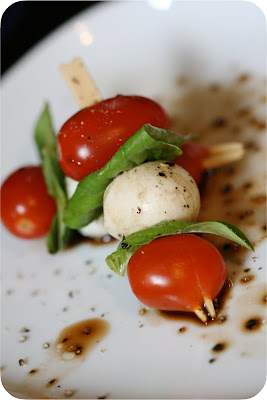
quick and easy
we don't have a garden this year and the very worst part about that is not having an unlimited supply of basil and tiny tomatoes (lord knows we didn't get a decent beefsteak out of that garden). turns out, it is much cheaper to use basil at your leisure when you grow it yourself (i, of course, knew this...but maybe someone doesn't?). this is important because it directly relates to me having to purchase baby tomatoes and basil this summer and for this recipe specifically. i don't have a choice, so i do it...but i had to pout just a bit.
for these simple skewers, you're going to need access to (via garden, farmers market, or the grocery store) some basil and tomatoes, plus tiny mozzarella cheese balls called bocconcini and just a bit of balsamic vinegar. you can make them on toothpicks, party picks, bamboo skewers or whatever floats your caprese boat.
to assemble, thread on at least one grape/cherry tomato, one mozz ball, and one basil leaf - you can do patterns or get fancy if you'd like. to finish, drizzle them with balsamic vinegar and a good shake each of salt and pepper.
for these simple skewers, you're going to need access to (via garden, farmers market, or the grocery store) some basil and tomatoes, plus tiny mozzarella cheese balls called bocconcini and just a bit of balsamic vinegar. you can make them on toothpicks, party picks, bamboo skewers or whatever floats your caprese boat.
to assemble, thread on at least one grape/cherry tomato, one mozz ball, and one basil leaf - you can do patterns or get fancy if you'd like. to finish, drizzle them with balsamic vinegar and a good shake each of salt and pepper.
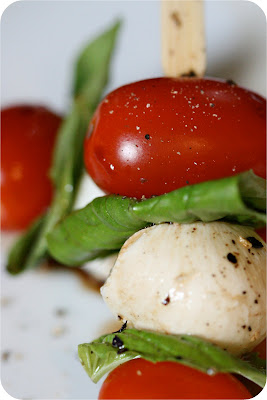
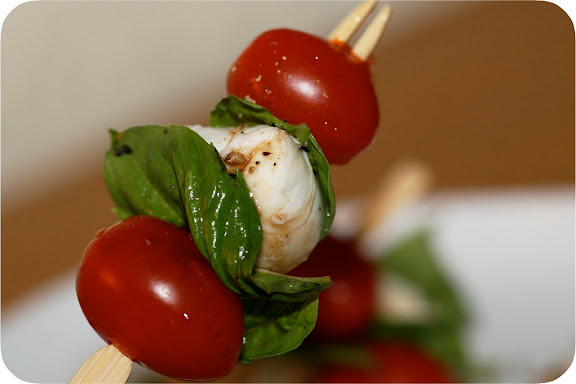
perfect for a bbq or gathering for the 4th!
Tuesday, May 19, 2009


eric carle's very hungry caterpillar joins 100 cupcake bites for a birthday party!
after bringing my first round of cupcake bites into work a few months ago, one of my coworkers loved them so much she decided to have them at her son's 2nd birthday party. after telling her how easy they were to make, she decided she wanted me to to do them for her. of course i agreed and we started brainstorming about the party and how we could work them in.
her son's favorite book is eric carle's brown bear, brown bear, what do you see? (with bill martin jr.), so she wanted to incorporate that into the theme. i did her invitations (brown bear, brown bear, i see owen's 2nd birthday party!) but didn't figure a bunch of chocolate/chocolate cupcake bites would be all that interesting to a bunch of mini-people...so we broadened the scope and used the colorful book the very hungry caterpillar as inspiration for the smash cake and cupcake bites.


so i made up 2 boxes of cake (technicality alert: husband actually made one of the cakes) and got to work. for the smash cake, i added the batter two small ramekins and i wanted a pure white background on which to decorate, i used a whipped white frosting. everything is easier when it's smaller, and making a layer cake is no exception. ramekin cakes have been the easiest yet for me to stack and frost. i crumb coated and froze until chilled and firm, then added the real frosting layer before setting out on the caterpillar design.
i had no real plan...just looked up a picture, mixed some blue and green frosting and added it to a grass-tipped piping bag. i freehanded the body and used a red candy melt for the head. i finished him with eyes made of yellow candies dipped in green frosting and drew on some feet and antennae with melted chocolate from a squeeze bottle. so adorable!
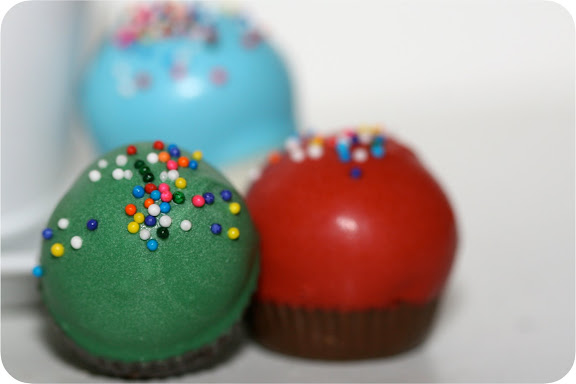
but the job was not complete. oh no, not at all. i had 100 cupcake bites to work on! thankfully i have a very helpful live-in sous chef (husband) who happily (i'm sure) mixed up the cake and cream cheese frosting, formed the balls, and filled all of the molds for me. rightfully, he can take credit for making half of this project. and as with the last set of cupcake bites, i carefully hand dipped each cupcake into melted colored candy to evenly coat the top. basic, kid-pleasing sprinkles for each one and yay, done!
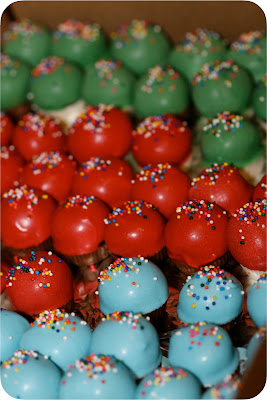
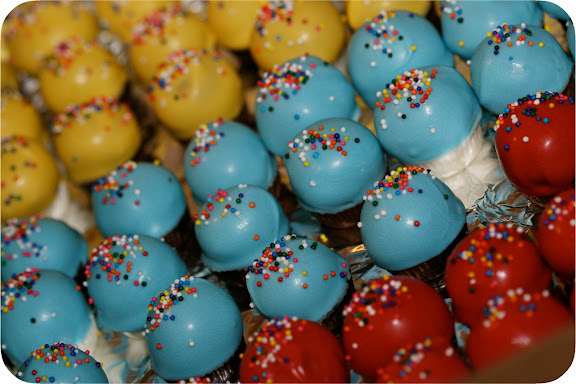
white & chocolate bases with red, yellow, green and blue tops as far as the eye can see.
so i took 100+ cupcake bites and a smash cake into work and let me tell you. i don't know if i could do this baking for events thing as afull time endeavor. i was so scared the cake would topple and was nervous about the rain melting my cupcake bites...it was stressful. i would definately make this many again but i'll need to have a stiff drink before delivery to calm my nerves.
all was better when i heard that everything was a hit at the party. adults and kids alike devoured bite after bite. i'm not sure the mini cake was smashed, but i'm hoping everyone could recognize the familiar character. happy belated 2nd birthday, owen!
all was better when i heard that everything was a hit at the party. adults and kids alike devoured bite after bite. i'm not sure the mini cake was smashed, but i'm hoping everyone could recognize the familiar character. happy belated 2nd birthday, owen!
Saturday, May 9, 2009
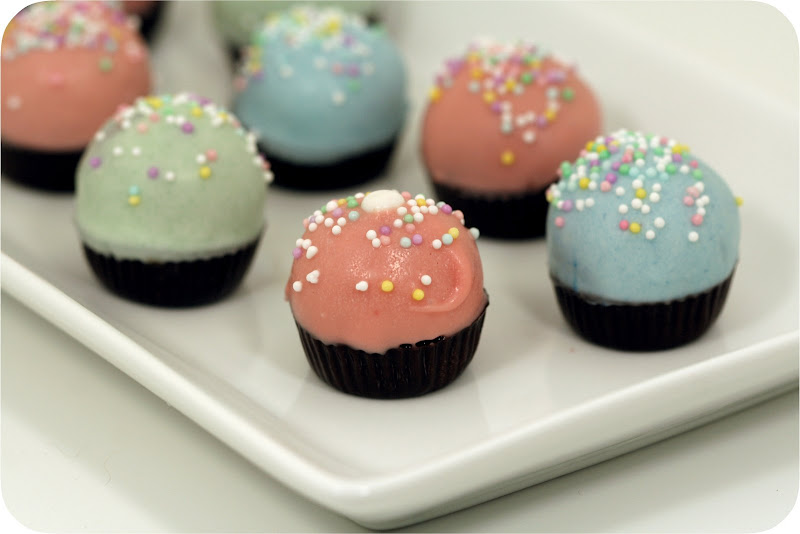
cupcake bites
to clear one thing up: i did not make these for my birthday. i don't want anyone thinking husband sat in the kitchen watching me work on my own birthday treats...oh no, these are from before easter, actually! i told you, i've got posts to catch up on.
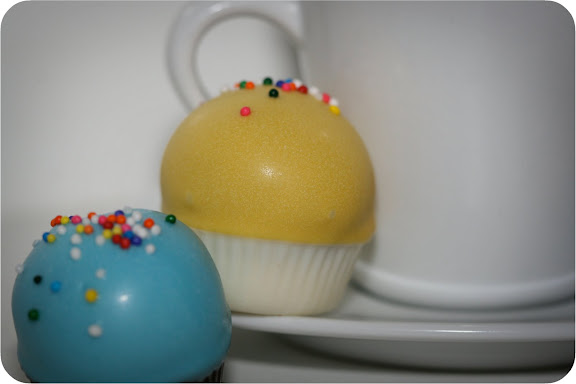
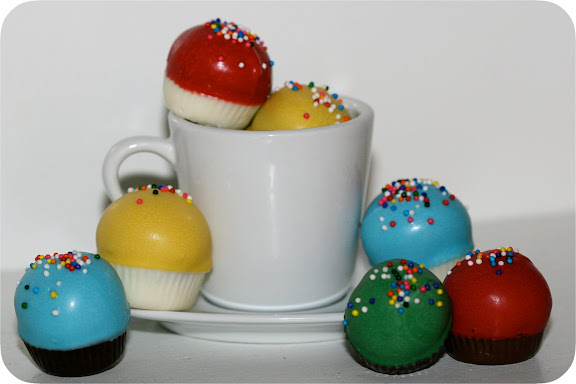
of course you've seen these on bakerella. if you haven't, then you live under a rock. ok, possibly not, but if you frequent food blogs, you must have seen what that girl can do with cake balls. i've made and posted about them here before, but this was my first attempt at the cupcake bite, a miniature "cupcake" coated with chocolate and candy melts.
of course you've seen these on bakerella. if you haven't, then you live under a rock. ok, possibly not, but if you frequent food blogs, you must have seen what that girl can do with cake balls. i've made and posted about them here before, but this was my first attempt at the cupcake bite, a miniature "cupcake" coated with chocolate and candy melts.
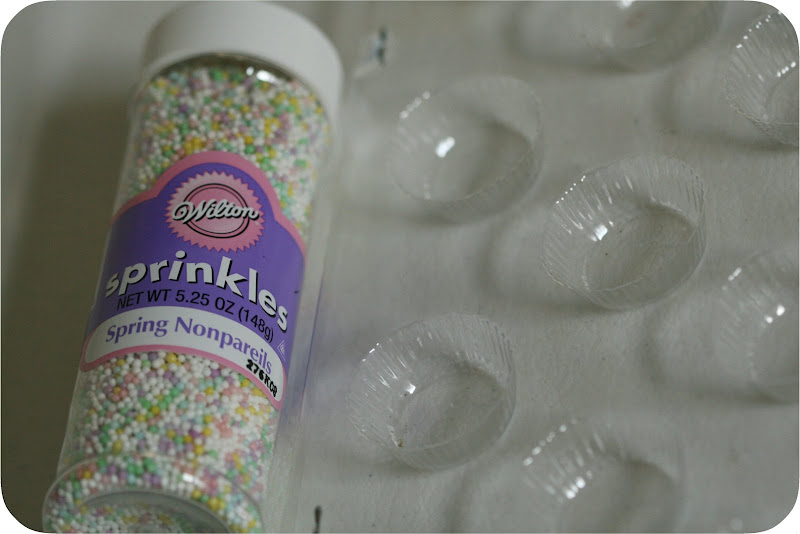
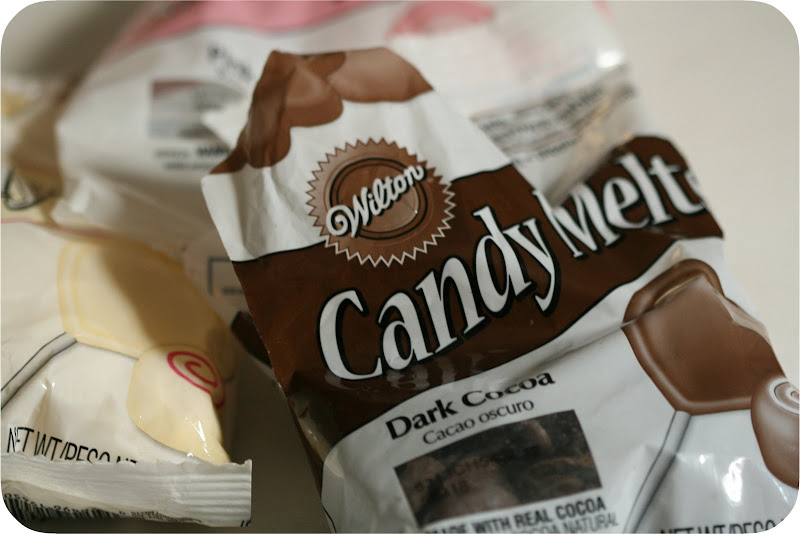
necessary supplies.
you start by making a batch of cake balls. simply, that's a baked boxed caked crumbled with 1/2 to 3/4 can of frosting. your choice, but cream cheese frosting seems to work best. (i used a "buttercream" with these ones and i wouldn't recommend it - they leaked a little oil from the "butter" in the frosting.) once incorporated, you roll the mixture into small balls, pop them on a cookie sheet and throw them in the fridge or freezer until firm.
then, melt some chocolate of candy wafers in a plastic squeeze bottle. into a peanut butter cup mold, fill each spot about 1/2 full and place a ball into each one. let them harden and carefully extract them from the mold. then, dip them into melted wafers just to the edge of the molded chocolate bottom. flip them upright and allow the candy coating to smooth out (thanks, gravity!) if you'd like, sprinkle with jimmies or nonpareils like a cupcake.
then, melt some chocolate of candy wafers in a plastic squeeze bottle. into a peanut butter cup mold, fill each spot about 1/2 full and place a ball into each one. let them harden and carefully extract them from the mold. then, dip them into melted wafers just to the edge of the molded chocolate bottom. flip them upright and allow the candy coating to smooth out (thanks, gravity!) if you'd like, sprinkle with jimmies or nonpareils like a cupcake.
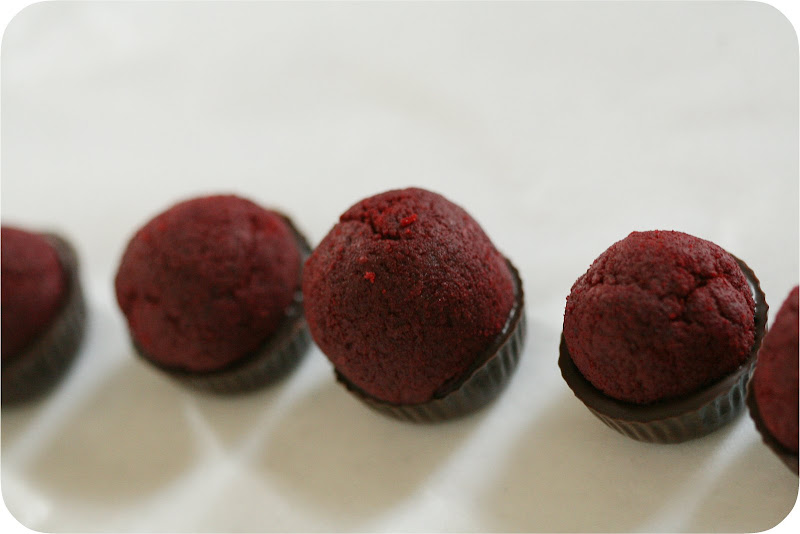
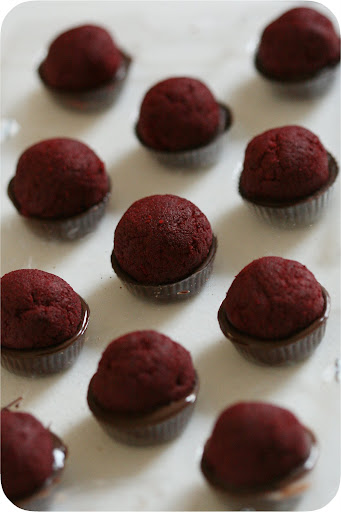
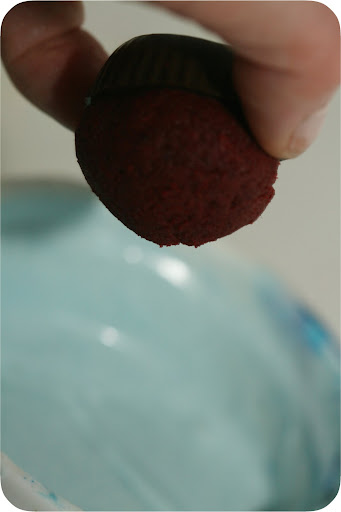
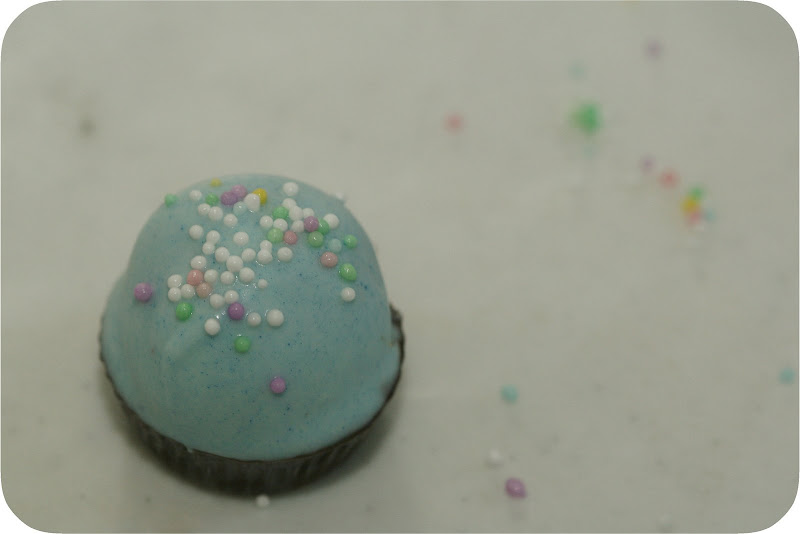
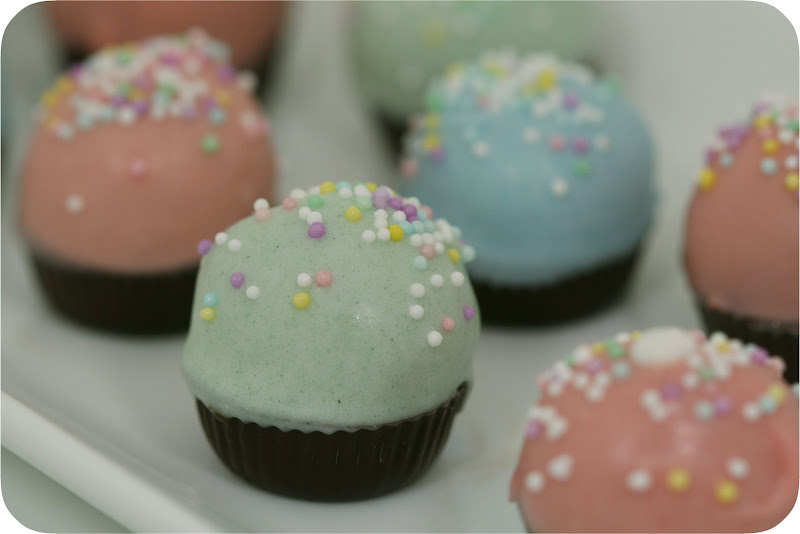
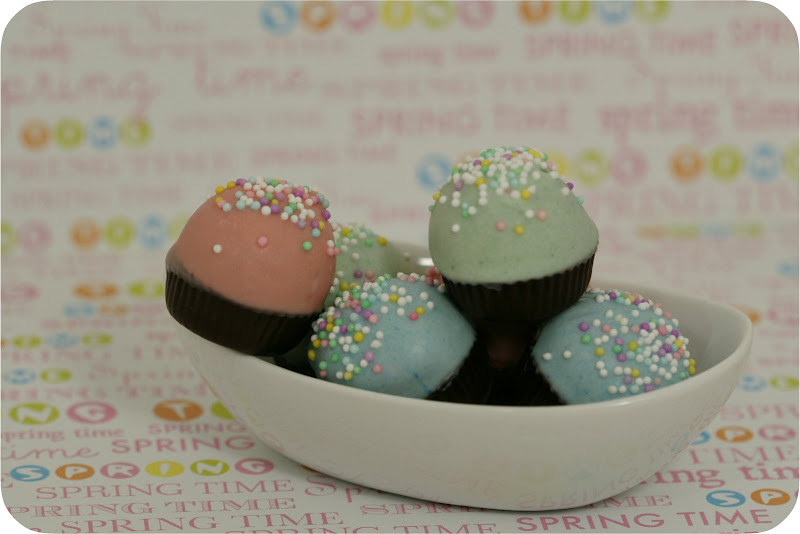
start to finish
these are quite simple, but labor intensive. not hard, no, but be prepared to spend some time if you're making a whole box of cake's worth. it's between 45 and 55 balls! avoid touching them as much as possible, as the hardened outside will melt if you over handle them. you can find all of the supplies at craft stores the whole thing costs next to nothing to do.
and yeah, they are good. there's a perfect ratio of cake to frosting to reach to keep them from being mushy and they are best, in my opinion, fresh out of the fridge. you can't help but eat one, two, three and oops that was a piece of cake right there. i suggest making them to take somewhere, or you will find yourself consuming a box of cake and a can of frosting quite quickly (because c'mon, even if you didn't use the whole can in the mixture, you have since put it on cookies, waffles, a spoon, etc. and suddenly it's gone..right?). that did not happen here, because i purposely made them to take to work, as i do with many things. don't worry, husband sampled plenty and there was even enough for him to take to his own graduate student cohorts. i hear they enjoyed them, too. :)
Wednesday, January 21, 2009
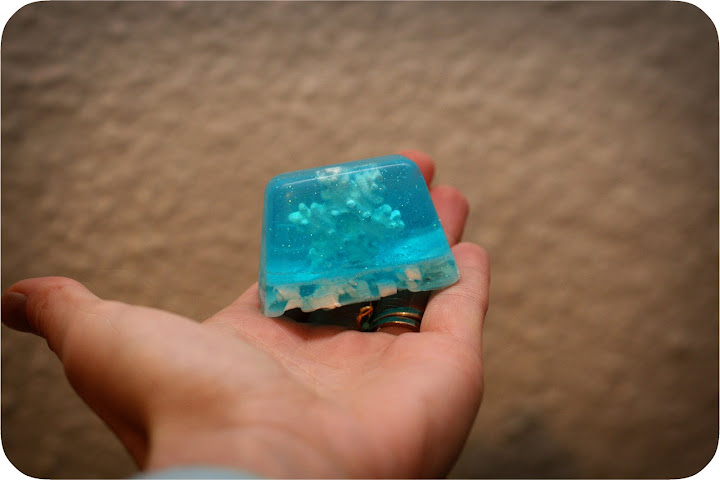
snowflake snow globe soap!
i saw these adorable little snow globe soaps at secret agent josephine, where she blogged about how to make them on a family-friendly site called alpha+mom. i loved them right away, but had no idea when i'd make them or for whom. so i put them in my mental want-to-make folder and hoped i would remember them for next year before the holidays, maybe as gifts or favors. maybe for a winter shower. hahaha. get it?
well, along came tsquared, short a few classes at this mini workshop thing hosted at the university we work at. when he asked me what i could teach, i couldn't think of anything on the spot. i know that seems a little ridiculous, because while i don't have that many talents and interests, there had to be something i could teach. i mean, i do make stuff. so i pondered things i had made or done and things i knew. and then it came to me: i should totally teach those snow globe things!
note: i have never made soap. my only experience with soap + crafts comes from about 2nd grade when i carved into a bar of ivory a fresh water fish i called "LMNOP"...like el-oh-minnow...with a p at the end. yeah.
well, along came tsquared, short a few classes at this mini workshop thing hosted at the university we work at. when he asked me what i could teach, i couldn't think of anything on the spot. i know that seems a little ridiculous, because while i don't have that many talents and interests, there had to be something i could teach. i mean, i do make stuff. so i pondered things i had made or done and things i knew. and then it came to me: i should totally teach those snow globe things!
note: i have never made soap. my only experience with soap + crafts comes from about 2nd grade when i carved into a bar of ivory a fresh water fish i called "LMNOP"...like el-oh-minnow...with a p at the end. yeah.
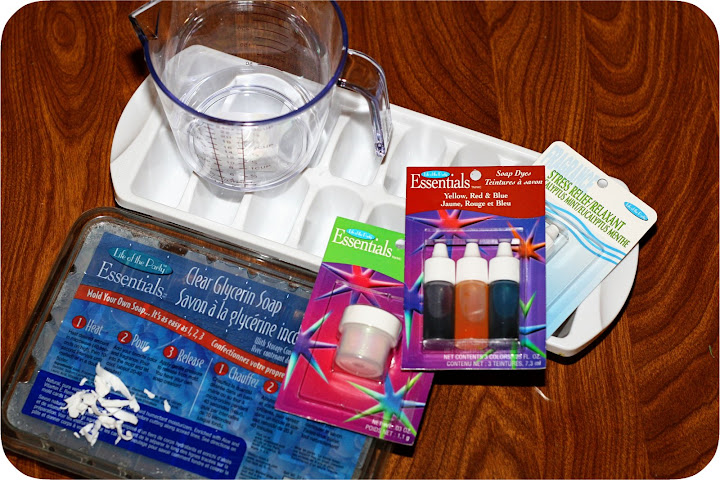
supplies
so i told tsquared i'd teach the soaps and another little craft (i'll show you soon!) and we decided to call the class "easy craft gifts". having not made them before, i figured i would do test run to be sure i could in fact teach other people to make them.
you can find the original instructions at the link above or you can use mine, which are basically exactly like hers, only written in my numbered manner.
you can find the original instructions at the link above or you can use mine, which are basically exactly like hers, only written in my numbered manner.
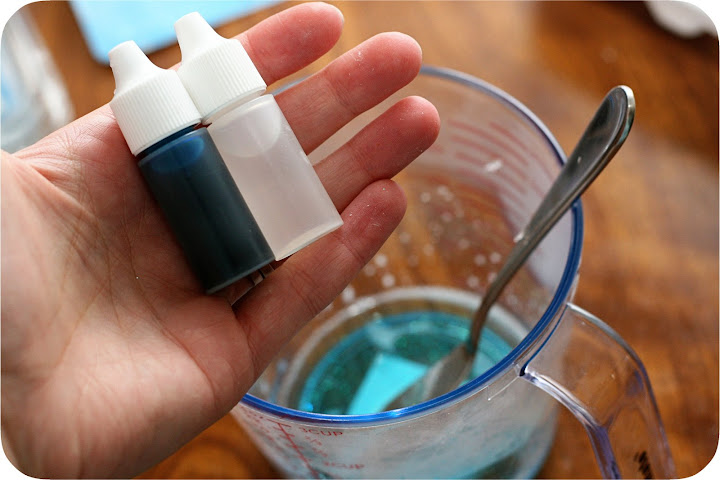
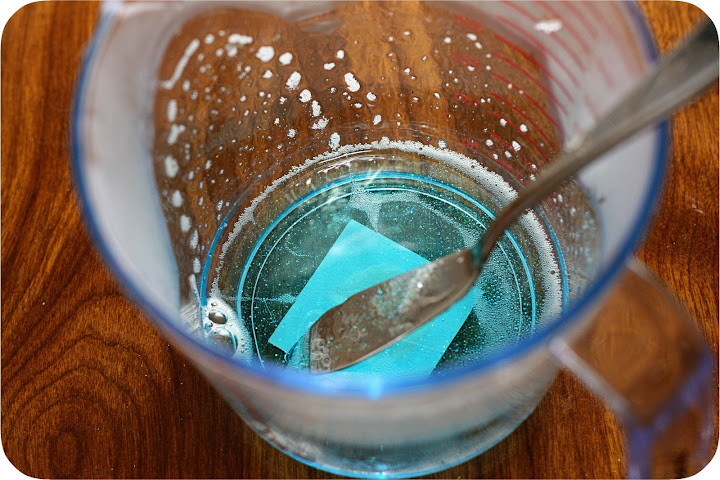
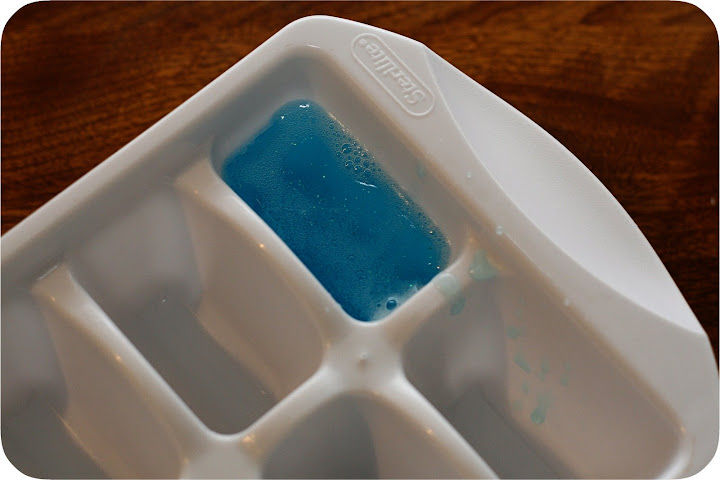
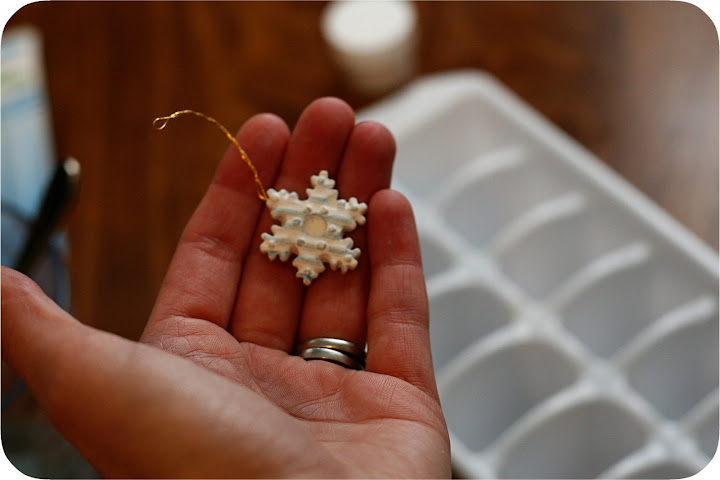
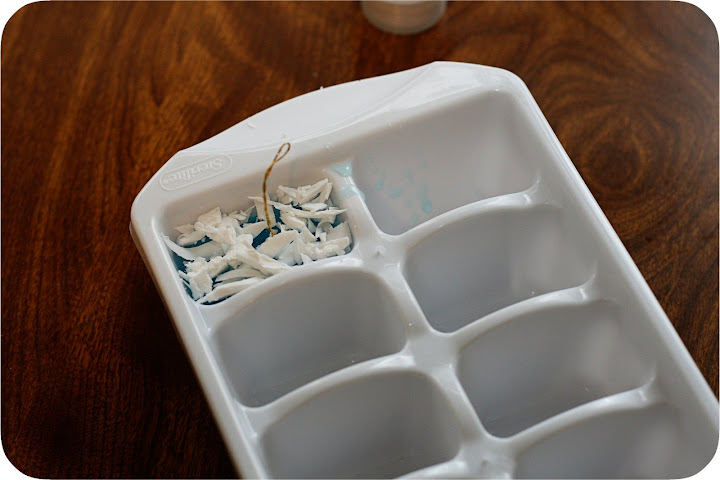
snow globe soaps
ice cube tray(s)
heat-safe measuring cup
clear glcerin soap
soap scent (your choice!)
blue soap dye
soap glitter
white soap shavings (bar of ivory, grated is good)
small ornaments or toys
1. cut glycerin into cubes (i did about 8 cubes at a time in class)
2. add cubes to measuring cup and microwave for 40 seconds
3. stir and continue to microwave in 10 second intervals until melted to liquid
4. stir in a few drops of soap dye and scent - start light and add more if needed
5. sprinkle in a bit of soap glitter and stir
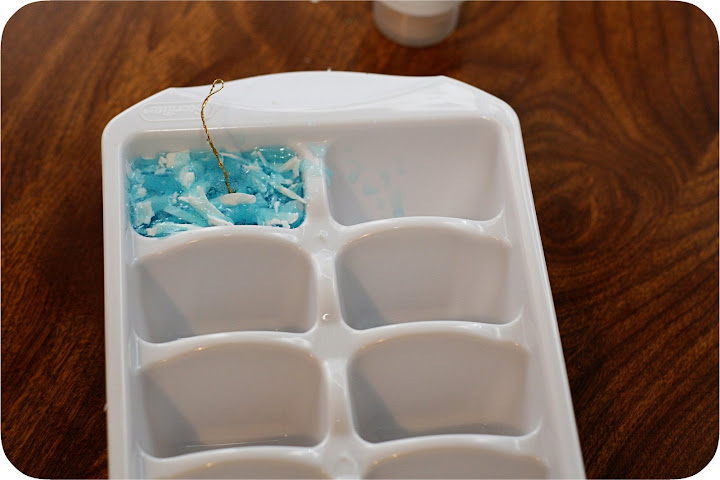
6. fill ice cube tray 3/4 full of blue liquid glycerin
7. wait about 1 minute to allow glycerin to set slightly, then insert small object into each cube
(remember that the bottom of the ice cube tray is the top of the snow globe)
8. sprinkle white shavings on top of each cube - this makes the "snow"
9. melt a few more cubes of glycerin and pour over snow shavings to seal - fill to the top
10. place tray in freezer for 20 minutes
11. when set, remove from freezer and pop out as you would ice...tada!
ice cube tray(s)
heat-safe measuring cup
clear glcerin soap
soap scent (your choice!)
blue soap dye
soap glitter
white soap shavings (bar of ivory, grated is good)
small ornaments or toys
1. cut glycerin into cubes (i did about 8 cubes at a time in class)
2. add cubes to measuring cup and microwave for 40 seconds
3. stir and continue to microwave in 10 second intervals until melted to liquid
4. stir in a few drops of soap dye and scent - start light and add more if needed
5. sprinkle in a bit of soap glitter and stir
6. fill ice cube tray 3/4 full of blue liquid glycerin
7. wait about 1 minute to allow glycerin to set slightly, then insert small object into each cube
(remember that the bottom of the ice cube tray is the top of the snow globe)
8. sprinkle white shavings on top of each cube - this makes the "snow"
9. melt a few more cubes of glycerin and pour over snow shavings to seal - fill to the top
10. place tray in freezer for 20 minutes
11. when set, remove from freezer and pop out as you would ice...tada!
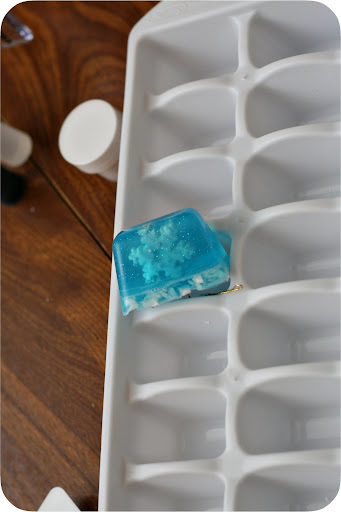
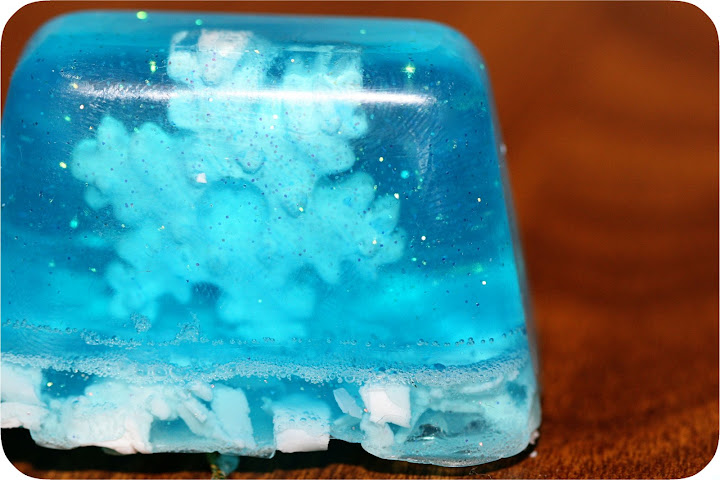
you can clean them up a bit by snipping the ornament string (if it has one) and using a paring knife to cut away stray soap bits. in the photo above, i did neither which left a far more organic snow base...it's really up to you.
i bought clear cello bags and ribbon for the class and put my little cube in one as a sample.
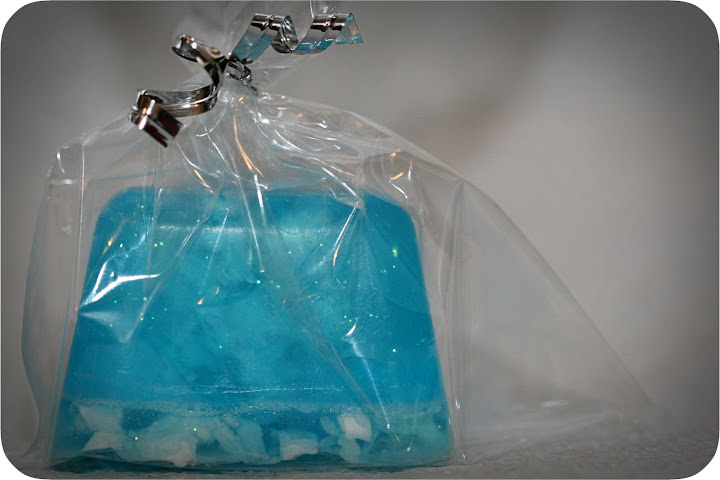
this was such a cute, fun project and with a bit more practice and patience (say, not making the test run at 11 pm) i think these would be great gifts. i ran into some trouble finding small objects because i missed the holiday sale racks, so i found random sea creatures and toys at a papermart. i bet you could find tons of things online and if planned ahead more than 2 days, this wouldn't be a problem.
and since i taught these at a class..let me give a brief run down of how that went. 5 students were signed up. at about 1 minute until the class was to begin, no one was there but three of my coworkers (tsqaured included). then, a guy walked in looking lost, so i asked him, "are you here for the easy craft gifts class?". "um," he said. ::eye shift:: "yeah, [insert annoyed, resigned tone] i got put into this class." ::stares at floor:: [insert awkward pause] i hda no idea what to say, so i suggested he come on in and see if he liked it enough to stay. off to a great start!
so the four of us (coworkers and me) and the one who didn't want to be there set out on making our soaps. i handled the heating and my group stirred, poured, and adorned. in addition to making snow globes, i bought heart shaped ice cube molds and pink dye and people made some valentine's day themed soaps as well. another student joined us halfway through and a third joined us near the end...so i guess it was still a success. though we had so many sea turtle, squid and heart soaps in the end that the few students couldn't even take them all. anyone need a spare snow globe soap?
Friday, June 27, 2008

white chocolate-raspberry covered miniature cheesecakes
i've been wanting a mini cheesecake pan for awhile now and finally bought one from king arthur flour. since receiving it in the mail, i've been waiting for an opportunity to make a batch (no, sitting at home watching movies does not count as an "opportunity"). when we were invited to our friends' house for dinner i thought of my lonely, unused pan and offered to bring dessert.

mah brand new mini cheesecake pan
if you haven't seen one of these before, it's just so smart. the pan makes 12 cheesecakes and each spot has a hole and a disc to cover said hole. when they're done, you poke from the bottom of the pan and out pops a perfect, 3 bite piece of cheesecake. the box came with a recipe, but i only half trusted it because it involved a can of cherry pie filling (have i mentioned before that this is disgusting?)...so i went online and found something better.
mini cheesecakes (from bake or break)
6 tbsp butter, melted
1 1/2 cups graham crackers
1/2 cup sugar (divided)
8 oz cream cheese, softened
1 egg
1 tsp vanilla extract
1. pulse graham crackers in a food processor until a fine crumb
2. mix together melted butter, graham cracker crumbs and 1/4 c of sugar
3. press about 1 1/2 tbsp into bottom and sides of a greased mini cheesecake pan (1/2-3/4 up the sides)
4. in a new bowl, mix cream cheese, 1/4 c sugar, egg, and vanilla until blended
5. pour batter on top of crusts and bake at 350F for 12-14 minutes


the crust was a little harder to do than i expected. making it was a breeze, obviously, but trying to pat it up the sides and on the bottom evenly was difficult. when i was pressing, my fingers kept jabbing into already pressed crusts, causing them to crumble back to the middle into loose piles. i gave up on perfection and opted for an appealing roughness to the edges.


the filling was nice and simple, but i thought i didn't have quite enough. even though i scraped the bowl clean to fill the pan, none of the cakes were full. but i was wrong. they puffed up quite nicely and then settled into adorable little cheesecakes once cooled.

see? we turned out just right!

um, could it get any simpler?
to finish these guys off, i used bake or break's basic white chocolate-raspberry topping. 1 oz melted white chocolate for 1 tbsp raspberry preserves. i made 3 oz/tbsp worth and it was more than enough for 12 cakes. it was quick and easy to "drizzle" (it's not liquid-y, so you have to gently spoon it on) over the top.
topped with some shaved white chocolate, these cuties were perfect for dessert treats.


shiny, sweet glaze over rich, creamy cheesecake!
everyone really loved these and agreed that the cheesecake filling was perfect. it's a great base to top with any number of goodies (husband of course requested chocolate) or to switch up the basic flavor (i was thinking about adding citrus zest). the crust was good, but paired with the white choc-rasp topping, it was sweet overload. i think i may have been a little too generous with the glaze and could have also decreased the sugar by just a tiny bit in the crust.
in all, we agreed that they were great and were mostly just excited to test out new flavor combinations. i'm thinking chocolate crust and turtle topping next time!!
Subscribe to:
Posts (Atom)
